
Azure Bot Service Succinctly®

CHAPTER 5
Finalizing the Bot
Overview
Looking at the authoring canvas, we can see that the BeginDialog looks as follows.
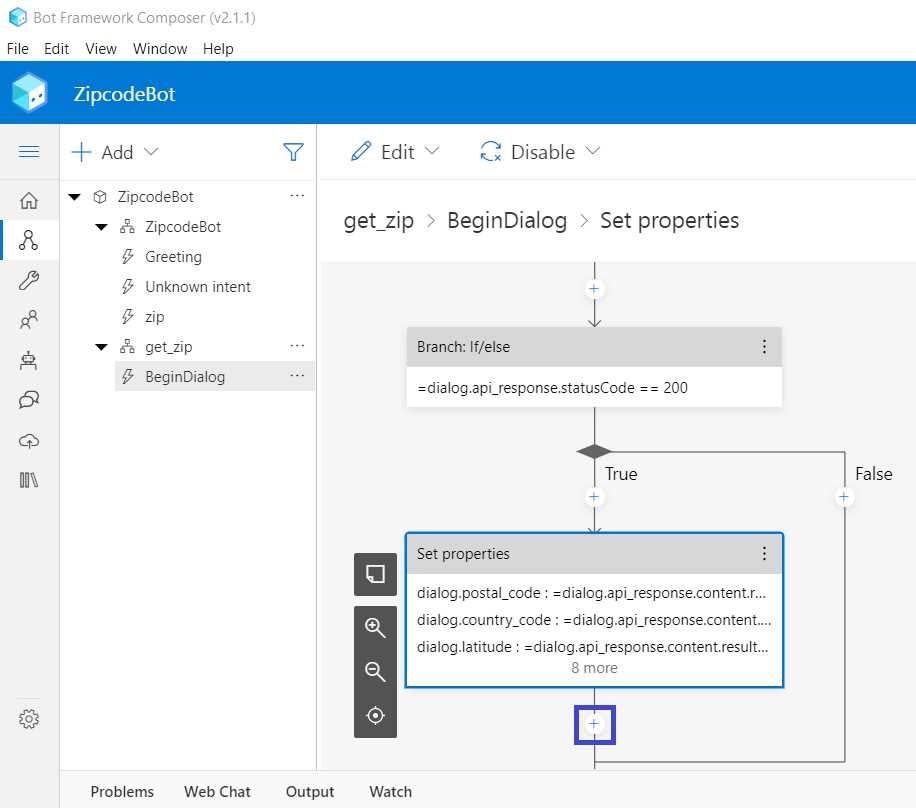
Figure 5-a: Composer – BeginDialog
We can see that the Set properties action now contains all the assignments we previously created, which is excellent!
API results as a response
Let’s send a response to the user with some of the details obtained using the API. Click + just below Set properties. Then, click Send a response.

Figure 5-b: Composer – BeginDialog – Send a response
Select Send a response > Add alternative.
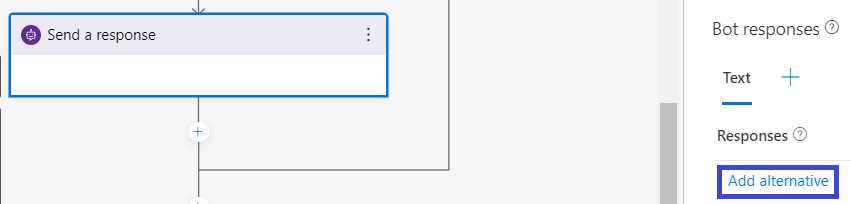
Figure 5-c: Composer – BeginDialog – Send a response – Responses
We can enter the answer that the bot will return to the user (obtained from the API). Let's respond to the user with the city, state, and county (province).
So, let's enter the following text as a response: City: ${dialog.city}, State: ${dialog.state}, County: ${dialog.province}.
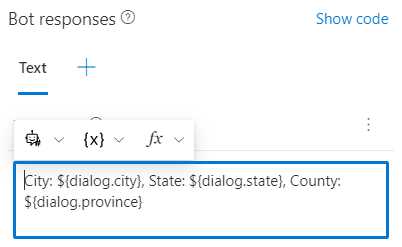
Figure 5-d: Composer – BeginDialog – Send a response – Bot responses
With that done, let's test our bot for the first time.
First execution
To execute the bot for the first time, click Start bot as shown in the following figure. Starting a bot takes a few seconds.

Figure 5-e: Composer – Start a bot
Once the bot is running, click Open Web Chat.
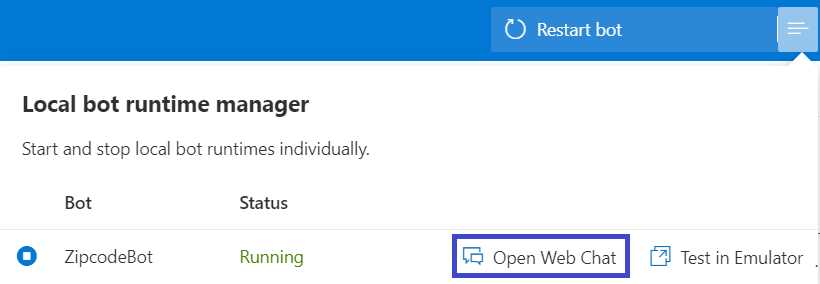
Figure 5-f: Composer – Open Web Chat
The chat window will appear on the right-hand side of Composer.
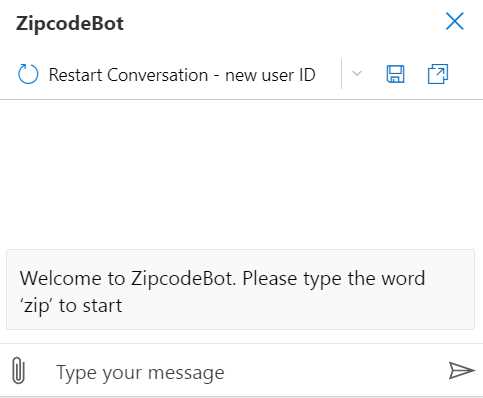
Figure 5-g: Composer – Chat Window (1)
To begin the conversation with the bot, let's type the word zip; this triggers the bot to respond and request the user to enter a zip code to continue.
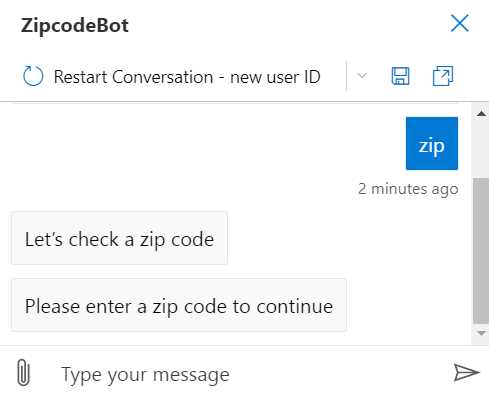
Figure 5-h: Composer – Chat Window (2)
Let's enter 98052 as the zip code and see how the bot responds.
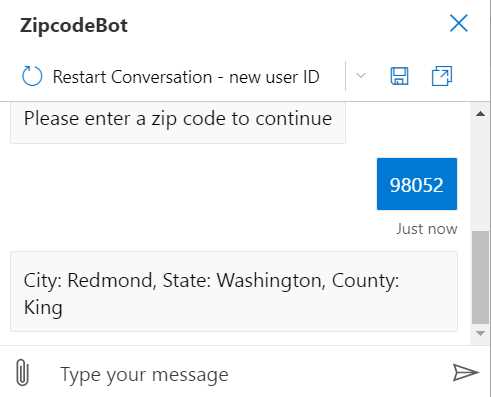
Figure 5-i: Composer – Chat Window (3)
Great—we can see that the bot returned the city, state, and county corresponding to that zip code using the Zipcodebase API.
To stop the execution of the bot, click the buttons highlighted in the following figure (first on 1 and then on 2).

Figure 5-j: Composer – How to Stop the Bot
Different status code branch
When we created the branch to check if the API returns a 200 HTTP status code, we finished the branch that occurs when that condition is true; however, we did not specify what happens if the API returns a status code different than 200.
We can first send a response to the user indicating that an error occurred when calling the API. To do that, click + under False (Branch: If/else action) and then click Send a response.

Figure 5-k: Composer – BeginDialog – Branch: If/else – False Branch – Send a response
Then, under Responses, enter text that indicates that a problem happened when calling the API in the properties pane.

Figure 5-l: Composer – BeginDialog – Branch: If/else – False Branch – Send a response – Responses
In this branch, we need to remove the zip code value entered by the user so that the value doesn't persist on the user.zip variable when the API returns an error or cannot process the request.
To do that, click + under the Send a response action just added.
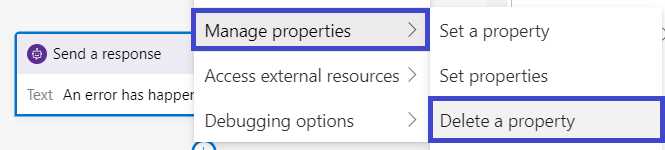
Figure 5-m: Composer – BeginDialog – Manage properties – Delete a property
The Delete a property action is shown. In the properties pane, enter user.zip for the Property field.
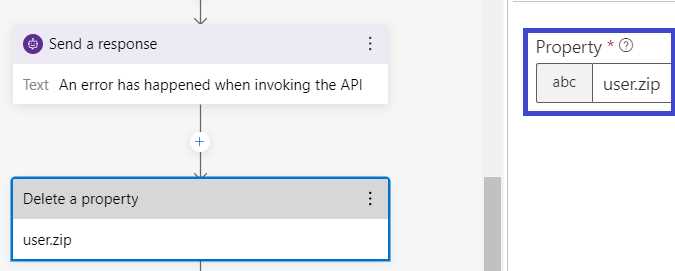
Figure 5-n: Composer – BeginDialog – Delete a property – Property
If the call to the API fails, the bot will not store the zip code value that the user entered.
Adding a package
Another helpful feature that any bot should have is the ability to allow the user to interrupt the conversation, which involves canceling the active dialog. So let's implement this. In Composer, click the Package manager icon (which resembles three books).
![]()
Figure 5-o: Composer – Package Manager Icon
Then, within the search field, type helpandcancel and press Enter. Click the package Microsoft.Bot.Components.HelpAndCancel to select it.

Figure 5-p: Composer – Package Manager – Microsoft.Bot.Components.HelpAndCancel (1)
Then, click the installation button.

Figure 5-q: Composer – Package Manager – Microsoft.Bot.Components.HelpAndCancel (2)
After that, Composer will install the package. Following the package installation, a Project Readme pop-up window might appear. If it does, click OK.
Then you will see the package as installed.

Figure 5-r: Composer – Package Manager – Microsoft.Bot.Components.HelpAndCancel (Installed)
Interrupting the conversation
Now we have the technical ability to interrupt the conversation if the user wishes to, but we still need to implement that functionality.
The installation of this new package added a CancelDialog and a HelpDialog to the bot. If this is not visible, close Composer and open it again. After opening Composer, you will see the following welcome screen.
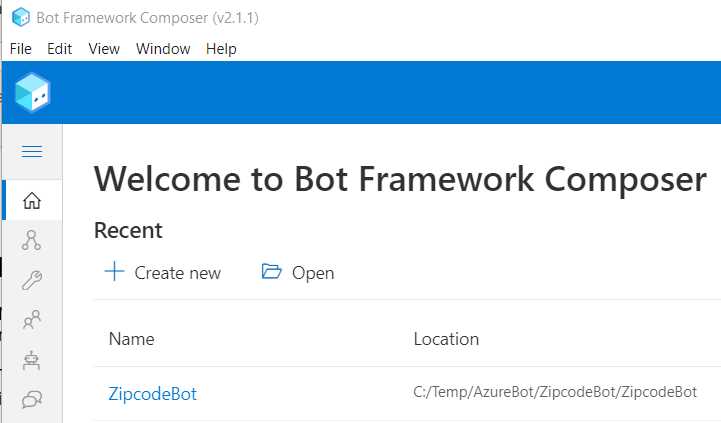
Figure 5-s: Composer – Welcome Screen
Click ZipcodeBot to open the bot. This will take you to the authoring canvas, where you can continue to work on the bot. Notice that now, in bot explorer, you can see the CancelDialog and HelpDialog added to the bot.
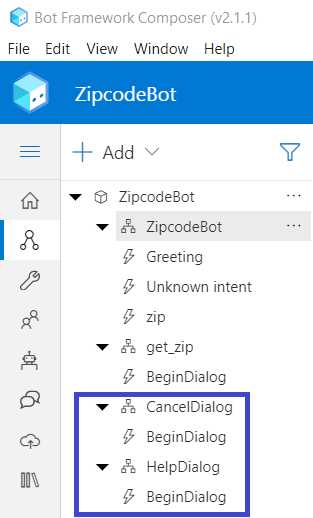
Figure 5-t: Composer – Bot Explorer – CancelDialog and HelpDialog
We will use the CancelDialog to give the user the option of canceling the conversation with the bot.
To do that, select the ZipocodeBot dialog, and then click + Add new trigger.
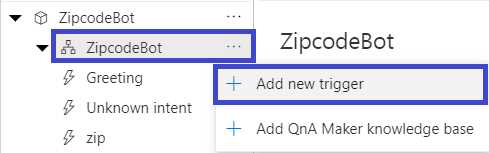
Figure 5-u: Composer – ZipcodeBot – Add new trigger
As the trigger type, leave the default option Intent recognized. Let's enter cancel as the trigger name, and as for the input pattern, let's enter the value stop|quit|cancel. When you’re done, click Submit.

Figure 5-v: Composer – Create a trigger
Now, Composer creates the cancel trigger.
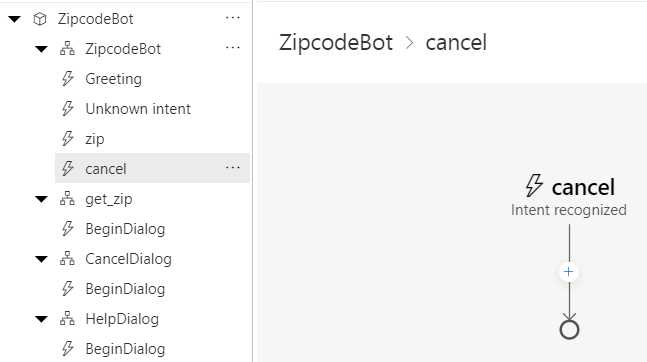
Figure 5-w: Composer – The cancel Trigger
Next, we need to add a CancelDialog, so let's do that.
Adding a CancelDialog
In the authoring canvas, under cancel (Intent recognized), click + > Dialog management > Begin a new dialog.
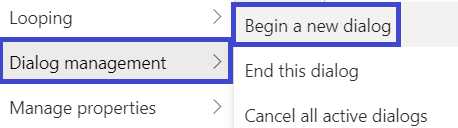
Figure 5-x: Composer – Dialog management – Begin a new dialog
Then in the properties pane, under Dialog name, select the option CancelDialog.
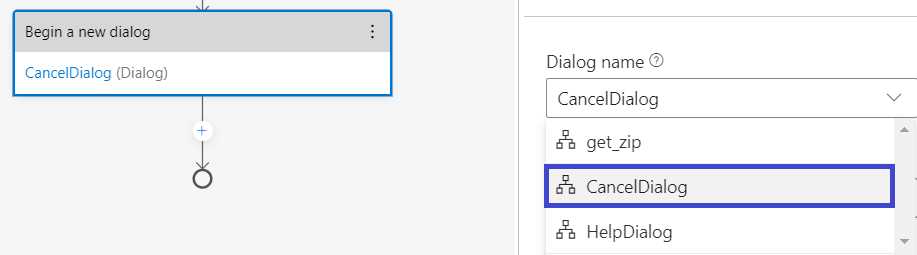
Figure 5-y: Composer – Cancel – Begin a new dialog – Dialog name – CancelDialog
The cancel trigger connects to the CancelDialog, and we have the basic framework for allowing the user to stop the conversation with the bot.
Enabling interruptions
So far, the bot knows how to retrieve the zip code information using the Zipcodebase API, but it still doesn't know what to do when the user wants to interrupt the conversation. Therefore, we will now enable interruptions so that the conversation can stop when the user requests it.
In the bot explorer, click get_zip, and then select the BeginDialog trigger. In the authoring canvas, select the Prompt for text action. Then, in the properties pane, under Other, change the value of Allow Interruptions to true.
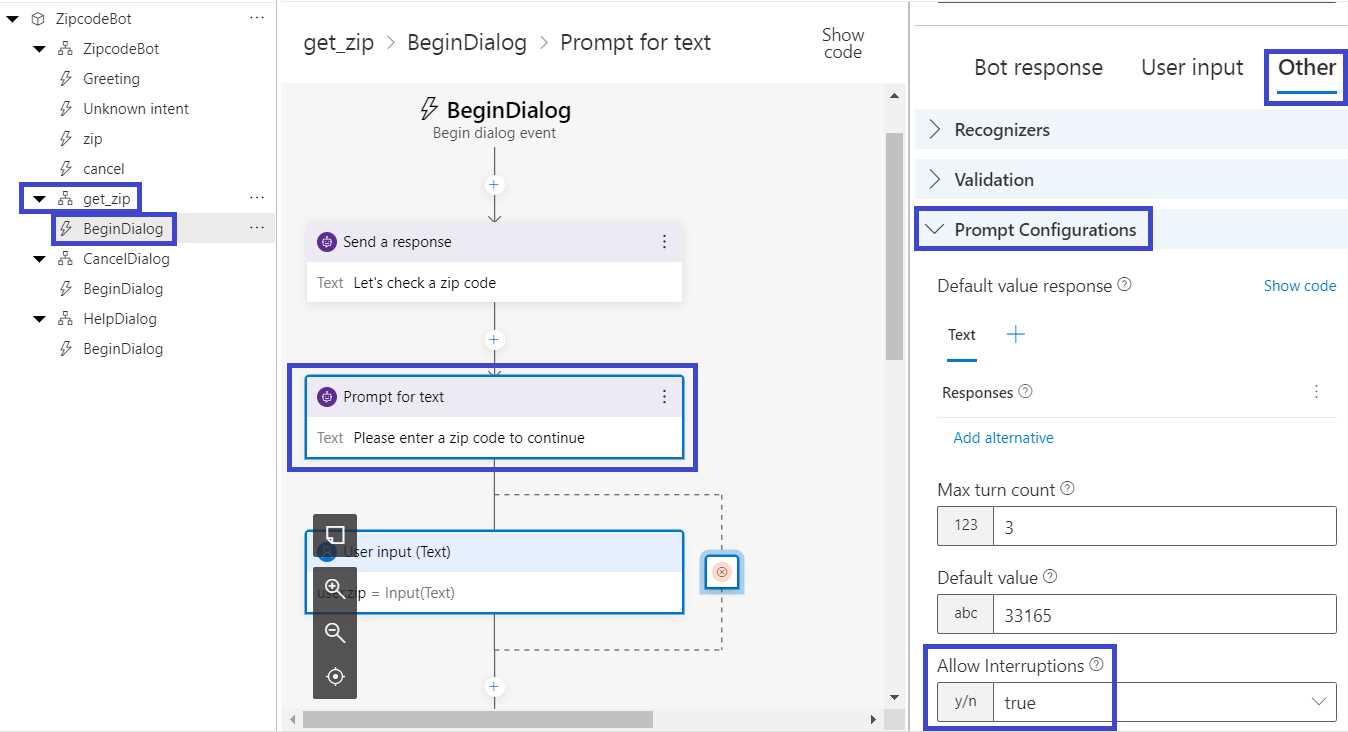
Figure 5-z: Composer – Enabling Interruptions
By enabling interruptions following the steps described within the get_zip dialog, the bot can respond to any cancellation requests that the user makes.
Testing interruptions
Let's give this a try. Click the Start bot button to execute the bot and start a new conversation. Once the bot starts, click Open Web Chat.
Let's begin the conversation by entering the word zip. Then, after the bot responds, enter cancel, stop, or quit.
Once you do that, the CancelDialog kicks in, and the bot responds by asking if you would like to cancel the conversation. We can see this conversational flow as follows.

Figure 5-aa: Composer – ZipcodeBot Conversation – Using the CancelDialog (1)
The bot will stop the conversation when the Yes button is clicked, and when the No button is clicked, the regular conversational flow will continue. I will click the Yes button.
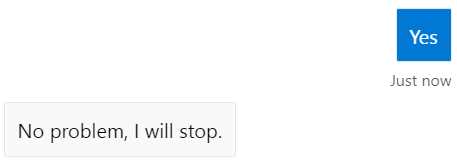
Figure 5-ab: Composer – ZipcodeBot Conversation – Using the CancelDialog (2)
As you can see, the bot responded correctly to the request to stop the conversation. So, by using the CancelDialog, we made the bot slightly more intelligent by understanding the intent to abort a conversation.
Nicer output
The last thing I'd like to cover in this chapter is returning the bot’s response as a card rather than a single line of text. By doing this, we make the bot’s response look better and more professional.
Select the get_zip dialog in bot explorer (which is probably already selected). Choose the Send a response action on the True branch in the authoring canvas.
With that done, go to the properties pane and click + > Attachments.
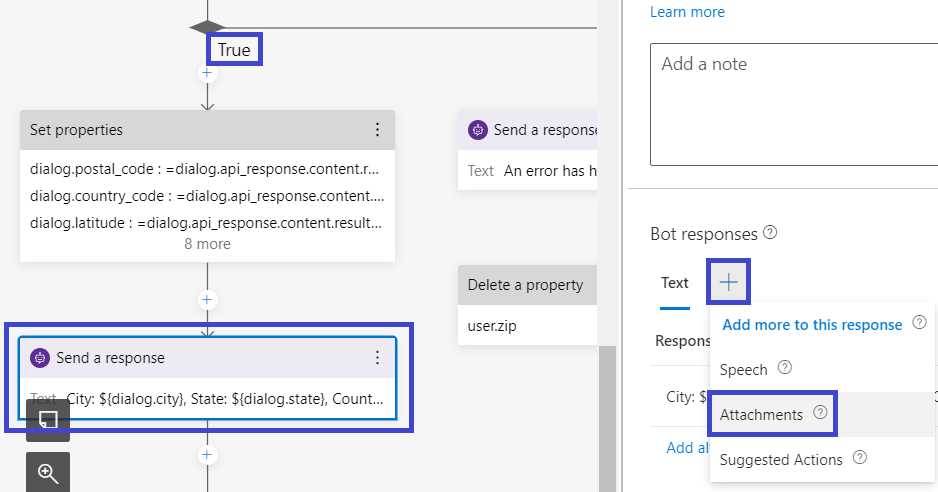
Figure 5-ac: Composer – True Branch – Send a response – Attachments
Next, click Add new attachment > Create from template > Adaptive card.
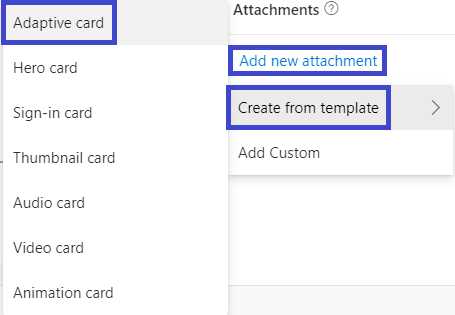
Figure 5-ad: Composer – Add new attachment – Create from template – Adaptive card
In the editor, modify the text field with the following:
${user.zip} = ${dialog.city}, ${dialog.state} (${dialog.province} county)
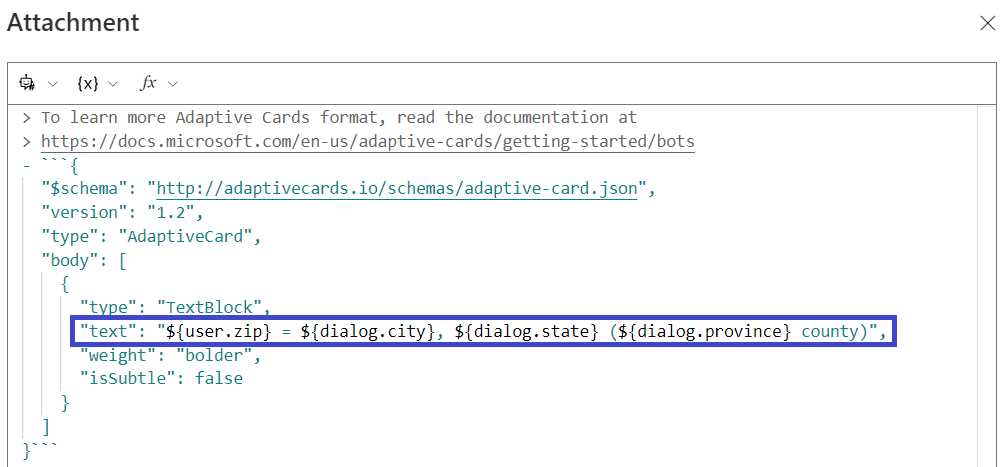
Figure 5-ae: Composer – Attachment Editor (Expanded)
With that done, we can restart the bot and test it again. Click the Restart bot button, and then Open Web Chat.
![]()
Figure 5-af: Restart bot Button
Click Restart conversation – new user ID to begin fresh. Then, as usual, enter the word zip, and enter any valid U.S. zip code. I'll enter 80027.
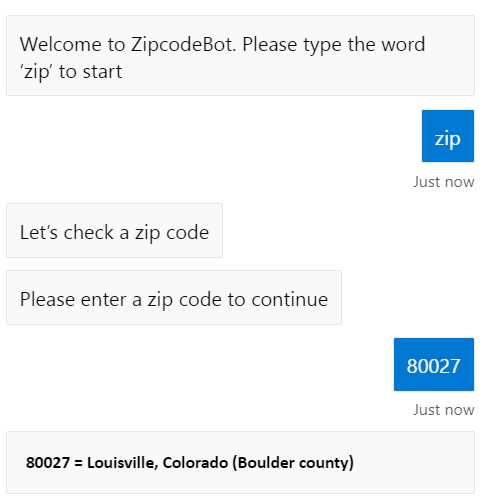
Figure 5-ag: Conversation with an Adaptive Card Response
As you can see, the bot's response is an adaptive card rather than a line of text. Although it's not state-of-the-art UI, it's a step forward.
Summary
Throughout this chapter, we went through the necessary steps to finalize our ZipcodeBot by giving it the ability to stop conversations.
Although the bot's functionality is straightforward, the process for creating the bot has been rather effortless. So far, we haven’t had to write a single line of code.
That's part of the magic of Composer—to take something as complex as a bot's code and completely abstract it from the person creating the bot.
In the chapter that follows, we'll get to see firsthand all the work (and code) that Composer has created behind the scenes for us, which otherwise we would have written (before Composer).
Furthermore, we'll take that generated code and push it to Azure so we can have a fully functioning bot running in the cloud, using Azure Bot Service.
- 1800+ high-performance UI components.
- Includes popular controls such as Grid, Chart, Scheduler, and more.
- 24x5 unlimited support by developers.