
Aurelia Succinctly®

CHAPTER 18
Bundling
As you reach a critical point in your application, you will want to be able to bundle it for deployment. It is possible to do this using a variety of ways, but we will look at doing this using WebPack. The command is simple: simply type the following into your console:
Code Listing 146
npm run build |
This will create a development bundle and place it into the dist/ folder.
If you wish to have your bundle optimized and minified for production, you can enter the following command:
Code Listing 147
npm run build:prod |
To test either a development build or a production build, enter the following command:
Code Listing 148
npm run server:prod |
You should get something similar to the following output:
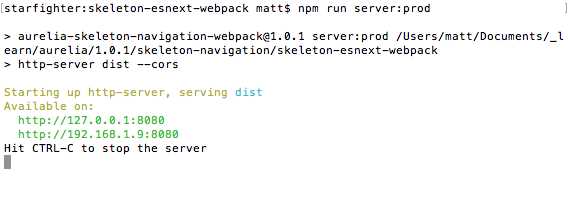
Figure 36: Running a development or production bundle.
Then, if you navigate to http://192.168.1.9:8080, you should see the same output as before (when you were developing).
Note: If you wish to target production in your bundle, be sure to set your NODE_ENV variable to production so that the webpack-dev-server.js does not load into the browser.
Don’t forget that you can always go back to your development workflow and have your changes update your browser automatically by going back to the following command:
Code Listing 149
npm start |
This should at least get you started in the right direction when it comes to bundling.
- 1800+ high-performance UI components.
- Includes popular controls such as Grid, Chart, Scheduler, and more.
- 24x5 unlimited support by developers.