
ASP.NET Core Succinctly®

CHAPTER 6
How to Deploy ASP.NET Core Apps
You’ve built your application with simple ASP.NET Core or by using ASP.NET Core MVC for more complex sites, and the time has come to show it to the world. A few years ago, we were mostly interested in deploying to internal servers, but with the rise of cloud computing, now it's just as likely that we deploy to Azure.
Nevertheless, in this chapter we will discuss both experiences for local servers and for Azure.
Deploying on IIS
ASP.NET Core, being based on OWIN, doesn't depend on the server, but it could in theory run on top of any server that supports it.
Normally, during development, an ASP.NET Core application runs hosted by a local web server, called Kestrel, that is configured within the Program.cs file that starts the application. Basically, each ASP.NET Core application is self-contained and could run without external web servers. But while being optimized for performance and being super-fast, Kestrel misses all the management options of a full-fledged web server like IIS.
Being self-contained applications (and not just DLLs) requires a different approach for hosting them inside IIS. Now, IIS is just a simple proxy that receives the requests from the client and forwards them to the ASP.NET Core application on Kestrel. It then sits and waits for processing to be completed and finally returns the response back to originator of the request.
In order to host ASP.NET Core applications in IIS, you need to install a specific module that does the reverse proxy work and makes sure the application is running. This module is called AspNetCoreModule and can be installed from the ASP.NET Core server hosting bundle.
If you want to try running ASP.NET Core via IIS on a development machine, there is nothing to do as this module is installed as part of the SDK. If, on the other hand, you want to try it on a real server, the module has to be installed. Figure 6-1 shows the module listed inside the IIS manager application.
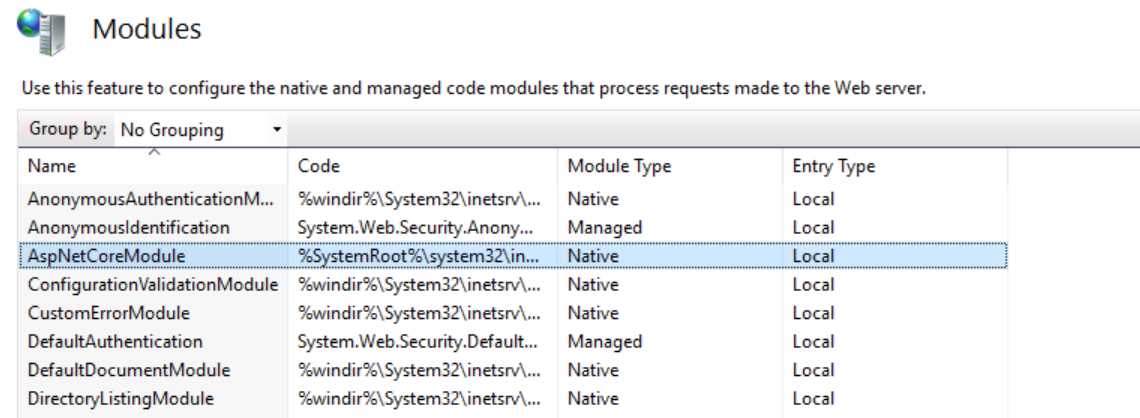
Figure 6-1: IIS Modules
With the module installed, the next step is creating a website. Since the module will just act as a proxy without running any .NET code, the website needs an application pool configured to run without any CLR, so the option No Managed Code must be selected, as in Figure 6-2.
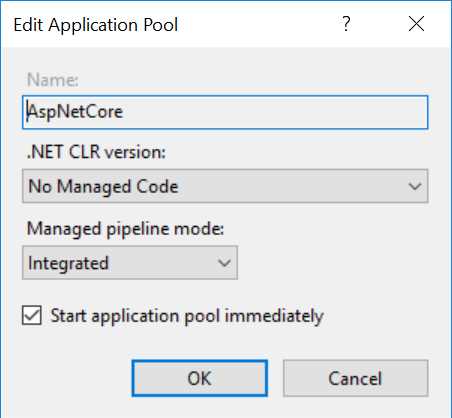
Figure 6-2: IIS Application Pool Basic Configuration
The configuration of the AspNetCoreModule comes from the web.config file in the root of the folder.
Code Listing 6-1
<configuration> |
Publishing the application is easy using the dotnet command-line tool. Just use the publish command to build and generate a self-contained folder that can be easily copied to the location where the website is. Normally, the published application is saved to the ./bin/[configuration]/[framework]/publish folder, but the target location can also be changed with a command-line option.
Code Listing 6-2
dotnet publish |
The publish operation also executes the postpublish scripts, so if the project has been created with the default project template, the publish-iis command is called, which automatically updates the web.config file with the right values for the project.
Now, all that’s left is copying the folder to where the website is configured. The ASP.NET Core site is running on IIS.
One thing that is missing in the dotnet publish command is the possibility to publish to a remote server and to do incremental updates. Another publish method is the Publish Dialog in Visual Studio.
Typically, a system administrator will provide a publishing profile that can be imported into the Publish Dialog. When publishing, the application will be built and then pushed to the remote server via Web Deploy.
Deploying on Azure
Instead of deploying on premises, you could use the Cloud. And when we talk about the Cloud, we cannot forget to mention Microsoft Azure, which is absolutely one of the most important cloud computing platforms available right now. It offers tons of services supporting almost all possible user needs.
Whether our application needs to scale or not, Microsoft Azure could be a good solution to reduce the friction of server administration, configuration, hardware problems, backup, and so on.
If you prefer to use another cloud hosting service, like Amazon Web Services (AWS) or Google Cloud, you can, of course, but usually they offer virtual machines. Deploying there is similar to doing it on a remote IIS that you manage.
Azure is different because it offers a service called App Service, which breaks down the barriers of configurations.
Deploy to Azure from Visual Studio with Web Deploy
Deploying to Azure from Visual Studio is really easy, especially if all resources have already been created on Azure. If that is the case, follow these steps:
Click the Publish button.
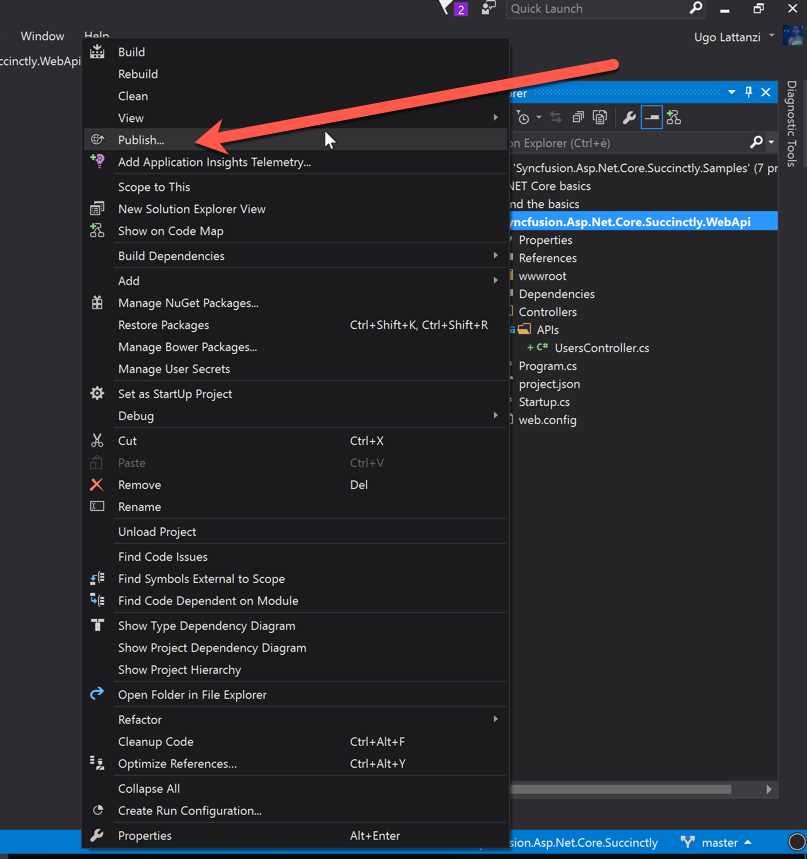
Figure 6-3: Publish Web Application Using Visual Studio
Connect to Azure.
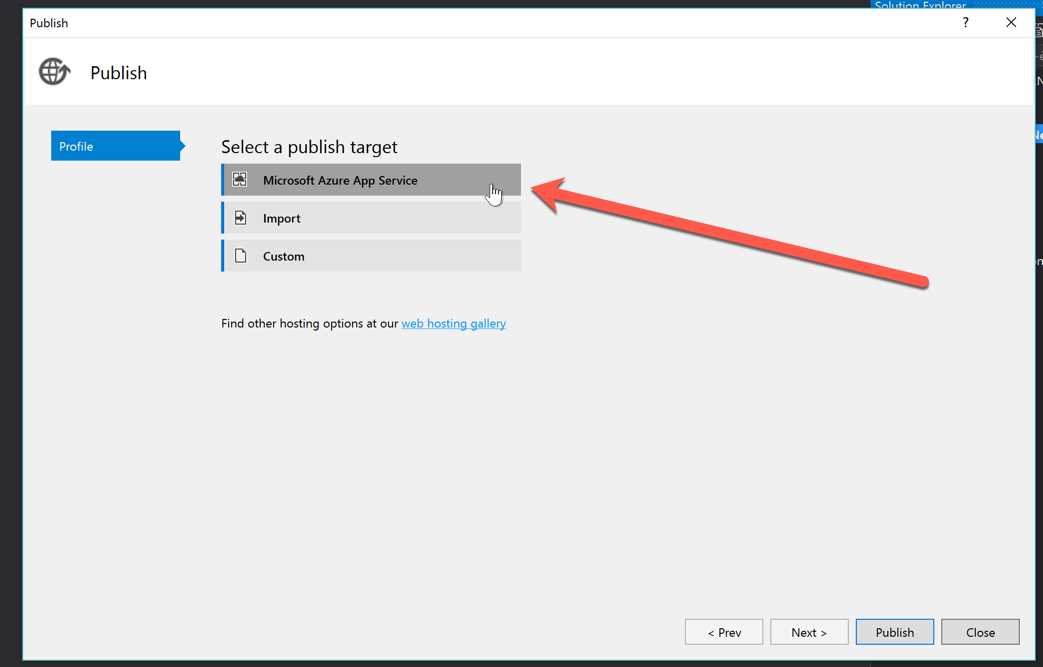
Figure 6-4: Select Publishing Targets
Log in if needed.
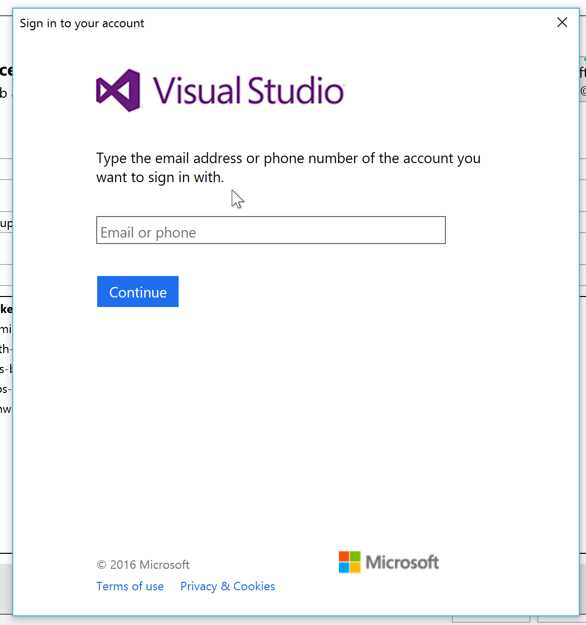
Figure 6-5: Azure Credentials Input
Select the App Service where you want to deploy.
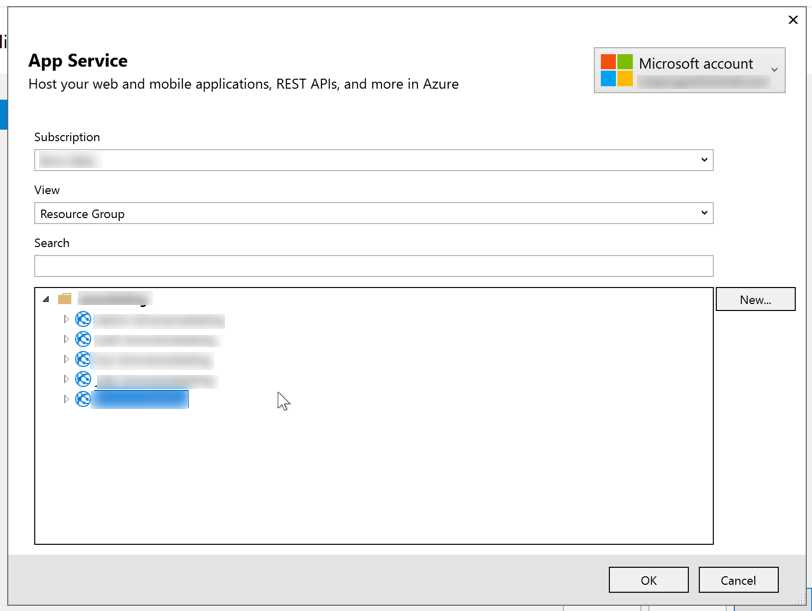
Figure 6-6: Azure App Service Selection

Figure 6-7: Publishing
At the end of the publishing procedure, Visual Studio will open the website with a browser, and, if everything is fine, you should see your application running on Azure.
Conclusion
In this chapter we discussed how easy it is to deploy ASP.NET Core applications on IIS on premises and how it’s even easier to do it on Azure. No wonder everyone is now moving to the Cloud.
Now that you’ve built an application with Visual Studio and deployed it for the world to see, the next chapter goes more in depth on how to build apps without Visual Studio.
- 80+ high-performance ASP.NET Core controls, including DataGrid, Charts, and Scheduler.
- Lightweight and responsive.
- Modular and touch-friendly.
- Built-in themes.