
AngularDart Succinctly®

CHAPTER 2
Project Structure
Overview
To develop our application, we’ll need to make some changes to the project structure, as we’ll need to add a CSS framework. We’ll also need to add some additional Dart packages and files that will be used within our application.
Dart packages
Let’s start by making some changes to the default pubspec.yaml file that was automatically created when the project was scaffolded. Within VS Code, locate the pubspec.yaml file using the project explorer. Click on the file name to open it.
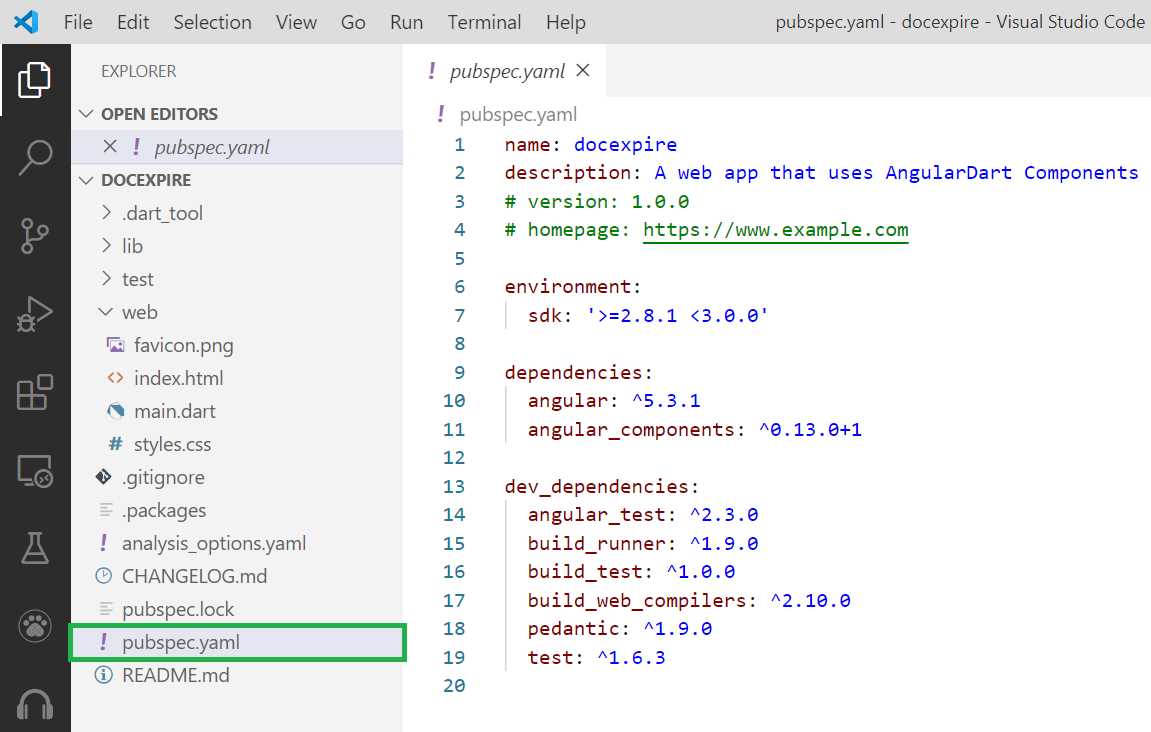
Figure 2-a: The Default pubspec.yaml File
The pubspec.yaml file contains the definitions of which Dart SDK version the project uses, as well as packages and development dependencies required to compile and build the project. Let’s modify this file and paste the content outlined in Code Listing 2-a.
Code Listing 2-a: New Content of the pubspec.yaml File
name: docexpire description: A web app that uses AngularDart # version: 1.0.0 # homepage: https://www.example.com environment: sdk: '>=2.8.1 <3.0.0' dependencies: angular: ^5.3.1 angular_forms: any firebase: ^7.3.0 #angular_components: ^0.13.0+1 dev_dependencies: angular_test: ^2.3.0 build_runner: ^1.9.0 build_test: ^1.0.0 build_web_compilers: ^2.10.0 pedantic: ^1.9.0 test: ^1.6.3 |
As you’ve noticed, we will be using the angular_forms and firebase packages as dependencies. Please note that prefixing a version number with the carat (^) character will accept versions even if the minor release number isn't an exact match.
We don’t need angular_components; we will replace it with a lighter and easier-to-use Material Design for Bootstrap library.
Once you have pasted the code into pubspec.yaml, save the file within VS Code. With the file saved, we need to update the required dependencies. We can do this by clicking on the button highlighted in Figure 2-b, or by running the pub get command within the built-in VS Code terminal.
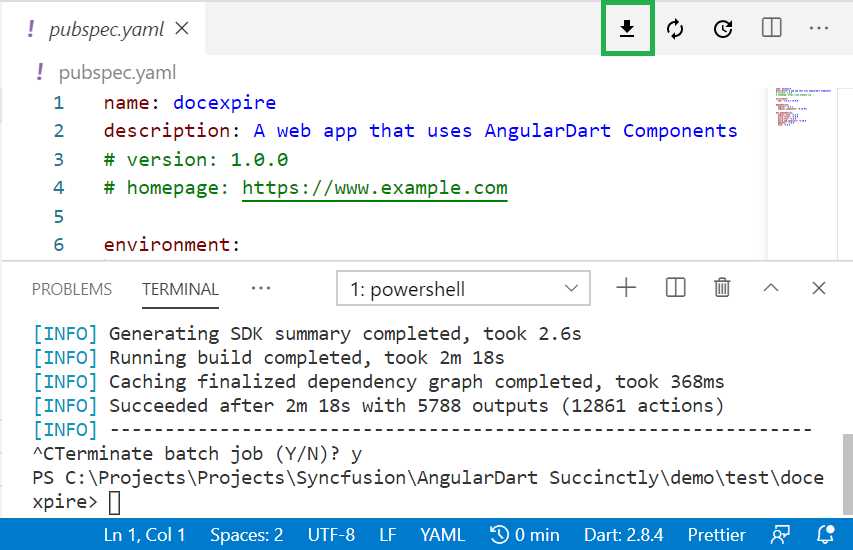
Figure 2-b: The Dependencies Update Button (pubspec.yaml – VS Code)
With the Dart packages updated and ready, let’s make the necessary adjustments to our project files and folder structure.
Project structure
The project that was scaffolded is well organized and has the base structure that the application we will be building requires. Nevertheless, there are some changes we need to make. First, let’s have a look at the out-of-the-box scaffolded project structure.
The project structure has three main parts. The first part is the root folder, which is where the pubspec.yaml file resides. The second part is the web folder, where the index.html, main.dart, and styles.css files reside. We’ll need to modify the index.html file.
The third part is the lib folder, which contains the AngularDart components our application will use. This is where we will do most of our work. Within the lib folder, we have the application’s main component files, these are app_component.css, app_component.html, and app_component.dart.
The lib folder also contains an src subfolder, which we will use for adding additional components that our application will use. The src folder is where, along with the lib folder, we will spend most of our time.

Figure 2-c: The Scaffolded Project Structure
With our project structure defined and understood, we can now make the necessary adjustments to the scaffolded application.
Updating index.html
The first major change we need to do is to update the index.html file. We are going to include references to Font Awesome, Material Design for Bootstrap, and Firebase.
The following listing contains the changes required for index.html. Let’s have a look.
Code Listing 2-b: Updated index.html File
<!DOCTYPE html> <html> <head> <title>DocExpire</title> <meta charset="utf-8"> <meta name="viewport" content="width=device-width, initial-scale=1"> <link rel="stylesheet" href="https://use.fontawesome.com/releases/v5.11.2/css/all.css"> <link rel="stylesheet" href="https://fonts.googleapis.com/css?family=Roboto:300,400,500,700&display=swap"> <link href="https://cdnjs.cloudflare.com/ajax/libs/twitter-bootstrap/4.5.0/css/bootstrap.min.css" rel="stylesheet"> <link href="https://cdnjs.cloudflare.com/ajax/libs/mdbootstrap/4.19.0/css/mdb.min.css" rel="stylesheet"> <link rel="stylesheet" href="styles.css"> <link rel="icon" type="image/png" href="favicon.png"> <script src="https://www.gstatic.com/firebasejs/7.13.1/firebase.js"> </script> <script defer src="main.dart.js"></script> <body> <my-app>Loading...</my-app> </body> </head> </html> |
As you have seen, it’s nothing too overwhelming—just references to the external libraries previously mentioned, and to main.dart.js, which will contain the app’s Dart code compiled to JavaScript.
Notice that within the body tag, there is a reference to the my-app tag, which corresponds to the app’s main component, app_component. The my-app tag is where the app’s remaining HTML markup that renders the user interface will be injected.
There are no other changes required in the app’s web folder.
Updating app_component
The next set of changes we need to do is going to be within the app’s lib folder. We’ll start by making adjustments to all app_component-related files.
So, open the app_component.html file and replace the existing markup with the one contained within the listing that follows.
Code Listing 2-c: Updated app_component.html File
<de-base></de-base> |
DocExpire Base (de-base) is a custom component that we yet have to create, and it will be the base component for the application’s user interface. We will later create the corresponding files for the de-base component.
The next thing we need to do is update the app_component.dart file. Let’s do that by replacing the existing code with the following.
Code Listing 2-d: Updated app_component.dart File
import 'package:angular/angular.dart'; import 'src/de_base/de_base_component.dart'; @Component( selector: 'my-app', templateUrl: 'app_component.html', directives: [DocExpireBase], styleUrls: ['app_component.css'] ) class AppComponent { } |
We start by referencing the AngularDart package (package:angular/angular.dart) and our user interface base component (de_base_component.dart), which we yet have to create.
We then define the AppComponent class and annotate it using the @Component attribute. By using this annotation on the AppComponent class, we are indicating that the AppComponent class is no longer a regular Dart class, but instead an AngularDart component class.
The selector annotation property within the class annotation specifies the name of the tag that will be used within the markup (my-app), which is referenced within the body section of index.html.
The templateUrl annotation property indicates the name of the file that will contain the markup for app_component—which, as we previously saw, is found within app_component.html.
The directives annotation property is an array that is passed to the AppComponent class, which indicates the child components that are used and referenced within the code or markup of app_component.dart or app_component.html, respectively.
The styleUrls annotation property indicates the name of the stylesheet (CSS file) that will be referenced and used by app_component.html, which in this case is app_component.css.
With regards to the content of the app_component.css file, open the file and remove the predefined CSS styling contained within it.
Updating the lib and src folders
Go to the src folder (which resides within the lib folder) and delete any subfolders and files contained within, as shown in Figure 2-d.
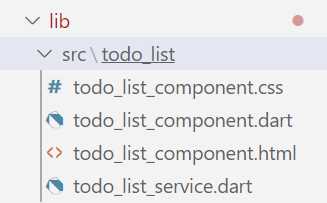
Figure 2-d: The lib\src Folder Content
With the src folder empty, create the following subfolders within it: de_base, de_form, model and services. The de_base and de_form folders will contain the two AngularDart subcomponents that our application will use.
The de_base component will render the app’s main screen, which includes the list of documents that will expire. The following figure shows how the de_base component will look when the app is finished.
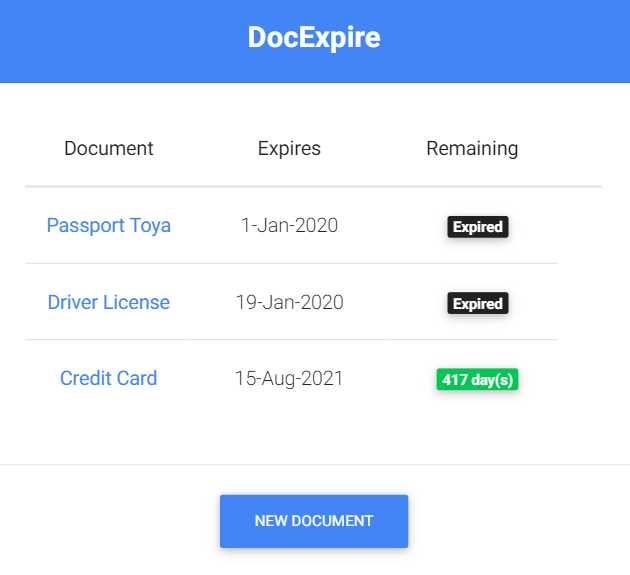
Figure 2-e: The de_base Component (Finalized App)
Please note that for the de_base component, the list of documents seen is variable and not fixed to three items, as shown on the figure. On the other hand, the de_form component will display the properties of each document. The following figure shows how the de_form component will look when the app is finished.
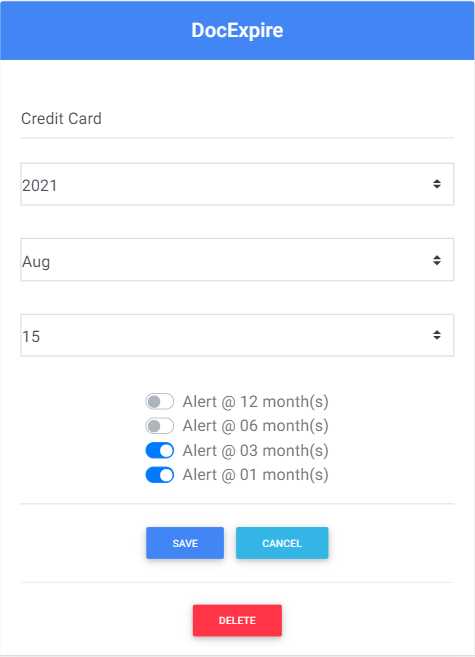
Figure 2-f: The de_form Component (Finalized App)
The model folder will contain the application’s data model, which will be used for hosting the app’s classes that will be responsible for manipulating document data. We’ll use Firebase as our backend.
The services folder will contain the application’s classes that will interact with Firebase, using the app’s data model.
The de_base folder
It’s now time to focus our attention on the de_base folder. Within the de_base folder we just created, let’s create these files: de_base_component.dart and de_base_component.html.
For now, we are just going to create the files and leave them empty. Once you have created these files, you should have the following de_base folder structure.
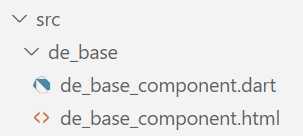
Figure 2-g: The de_base Folder Structure
Now, let’s do the same for the de_form component.
The de_form folder
Within the de_form folder we recently created, let’s create these files: de_form_component.dart and de_form_component.html. For now, we are just going to create the files and leave them empty. Once you have created these files, you should have the following de_form folder structure.
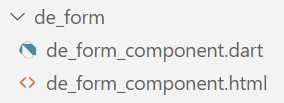
Figure 2-h: The de_form Folder Structure
The model folder
Within the model folder, let’s create a file called docs.dart, which will contain the classes that will be used to work and manipulate the app’s data model. For now, just create the file and leave it empty. Once you have created the file, you should have the following model folder structure.
![]()
Figure 2-i: The model Folder Structure
The services folder
Within the services folder, let’s create a file called docs_service.dart, which will contain the classes that will be used to interact with Firebase, using the app’s data model. For now, just create the file and leave it empty. Once you have created the file, you should have the following services folder structure.
![]()
Figure 2-j: The services Folder Structure
Summary
We’ve now modified the app’s original scaffolded project folder and file structure, and we have adapted it to our app’s requirements and functionality. This is a great starting point that cements the foundations for what will become our application. In the next chapters, we will focus on writing the app’s logic—which is going to be awesome!
- 80+ high-performance Angular components, including DataGrid, Diagram, and Scheduler.
- Support for AOT compilation and tree shaking.
- Lightweight and user-friendly.