
Angular Succinctly®

CHAPTER 3
Angular CLI
Angular CLI (command-line interface) is a new tool that was developed to make it easier to create and deploy Angular applications. Much of the setup and configuration work you need to do can be done through the Angular CLI. Deploying applications is much simpler when you’re using the CLI tool.
Getting Angular CLI
To use Angular CLI, you need to have the latest versions of Node and NPM. You can check the versions at the command line with the following lines:
- npm –-version
- node -v
NPM must be version 3 or higher, and Node must be version 4 or higher. If you don’t have these versions, you can update NPM using NPM itself. The command is:
Code Listing 11
npm install npm@latest -g |
If you need to make an update, the easiest and safest approach is to visit the Node.js website and download the latest version. Once you have these versions, simply run the following command from a command prompt to install Angular CLI.
Code Listing 12
npm install -g @angular/cli |
This will install angular-cli, and you can use the ng command to run it.
Code Listing 13
ng help |
This will provide a list of all the commands and their parameters. For this chapter, we are focusing on the new and build commands.
Note: If you want to update Angular CLI to the latest version, you need to uninstall the current version and get the latest version, as shown in the following code.
npm uninstall -g angular-cli
npm cache clean
npm install -g @angular/cli@latest
Creating a new project
Once you’ve installed Angular CLI, you can create a new project using the new command. Its syntax is:
Code Listing 14
ng new <projectName> |
You will be prompted to add Angular routing (default of N) and to select which style-sheet format should be generated (CSS, SCSS, SASS, LESS, etc.). Choose your style sheet preference for the styles created by the new command.
The command will create a folder with the project name and place the needed files into the folder. The package.json file will be generated automatically for you, with the latest version of the Angular modules. The installation process will be performed as part of the creation, so the node_modules folder will be populated for you.
Once this step is complete, you have a working application, including the needed configuration files. The application itself will reside with the src folder, with the familiar app folder within it.
Project root
The project root folder will hold several configuration files: the package.json file (we will cover this in the next chapter), a configuration file for Angular (angular.json), and a file for the lint checker (tslint.json). You’ll also find a GitHub readme file (README.md). This is a Markdown-syntax file with basic instructions to run and test the application.
Note: A new file is generated, called package-lock.json. The package.json file allows you to specify a minimum version for dependent modules, so your code should work with later versions as well. Package-lock provides exact versions, so if you build your application with package-lock, you will produce the exact same application each time, while package.json may get built with later versions of some dependencies.
src
In the src folder, you’ll find the index.html file and an empty style sheet file, as well as some other files for testing, a favicon file, and more. Two configuration files for TypeScript (tsconfig.app.json and tsconfig.spec.json) will be here as well.
There is a folder within src called environments. This folder contains a pair of TypeScript components that export a production flag, so you can do debug and production builds. During development builds, environments.ts is loaded. When you do a production build, the environments.prod.ts file is loaded instead.
src\app
Within the src\app folder, you’ll find the base module and component. You will likely adjust app.module.ts and app.component.ts to be your application starting points. The base files are simply an Angular version of Hello World.
Tip: The generated folders will contain spec files (app.component.spec.ts and others). These files are used for unit testing. You can add the –skip-tests option to the new command if you don't want to generate these files.
ng serve
You can run the ng serve command to start a web server on local host, port 4200. If you run ng serve and open a browser to http://localhost:4200, you will see the basic application display the message “Welcome to my-app!”
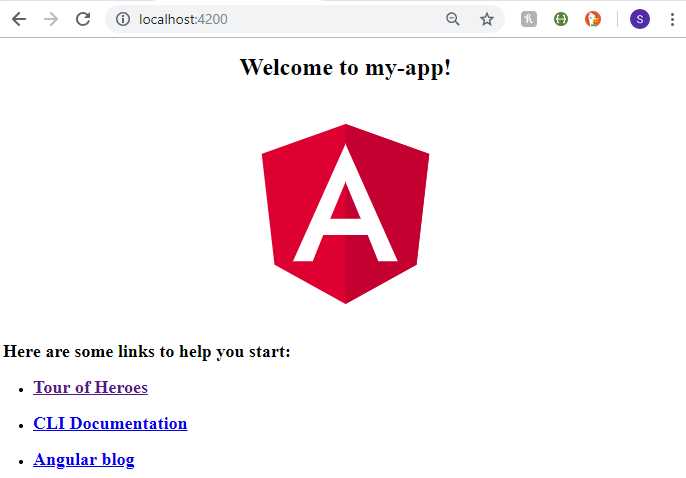
Figure 5: Angular CLI Hello World
Tip: The scripts and styles are bundled and can be found in the dist folder.
ng build
The ng build command is used to create a set of distribution files in the output folder (usually dist). You can do a dev build (the default) by simply running the following command.
Code Listing 15
ng build |
The dist folder will contain the bundles and any required assets for running the application. To do a production build (which will result in substantially smaller bundle files), you can use the following command.
Code Listing 16
ng build --prod |
Environments folder
The environments folder contains Angular modules that can be loaded, depending on the type of build.
Code Listing 17: Environment.prod.ts
export const environment = { production: true }; |
You can import this file into your component with the following code.
Code Listing 18
import { environment } from '../environments/environment'; |
This will give you access to the properties in the environment files, which will allow you to adjust your code if need be, based on whether it is a development or production build.
Summary
Angular CLI is a very helpful application to use in your Angular development. We touched upon some of the basics, but the CLI is powerful and worth exploring more. It includes support for unit tests, and it can generate starting components of any Angular type.
You should periodically visit the official Angular CLI website to see the growth and enhancements the tools provide. It is not necessary to use the Angular CLI, but as you get familiar with Angular, you will come to appreciate how the CLI makes your overall Angular development work easier.
- 80+ high-performance Angular components, including DataGrid, Diagram, and Scheduler.
- Support for AOT compilation and tree shaking.
- Lightweight and user-friendly.