Follow the step-by-step procedure below to create a Blazor Server Application in Visual Studio 2019.
Download and install Visual Studio 2019
Download and install the latest version of Visual Studio 2019 with the ASP.NET and web development workload.
Create a new project
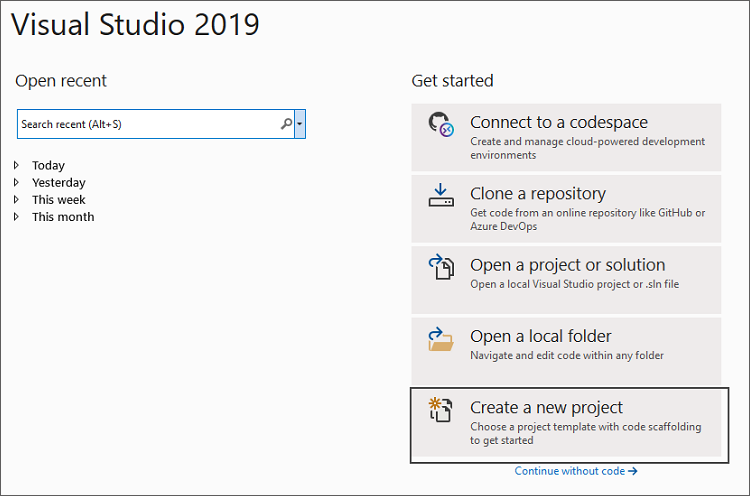
Open Visual Studio 2019 and click Create a new project.
Select Blazor app from the template
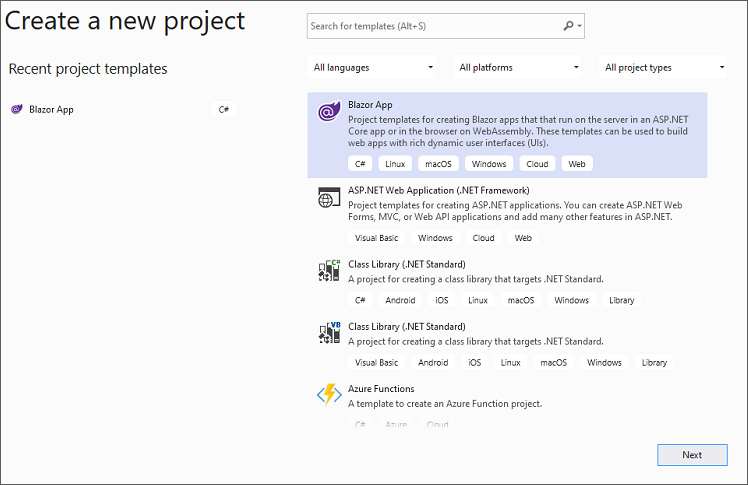
Select Blazor App from the template list and click the Next button.
Configuring the project
The project configuration window will pop up. Click the Create button to create a new project with the default project configuration.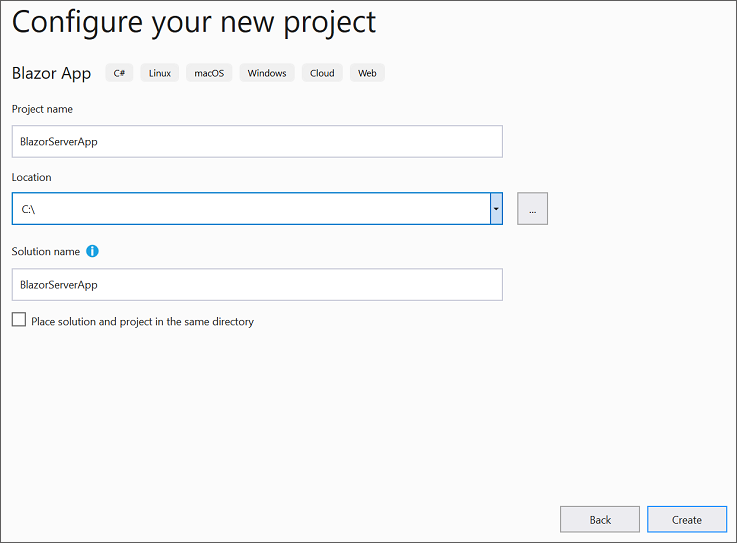
Choose Blazor Server App
Select a target framework based on your requirement, choose the Blazor Server App from the dashboard, and then click Create to create a new Blazor Server application.
Blazor Server App structure
Now the Blazor Server App is created, and the structure look like the following image.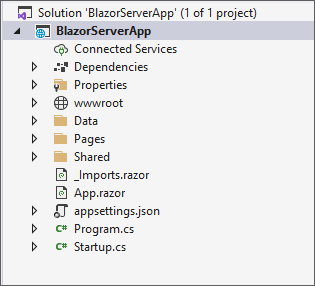
Run the application.
Press Ctrl + F5 to run the application and find the output in default browser.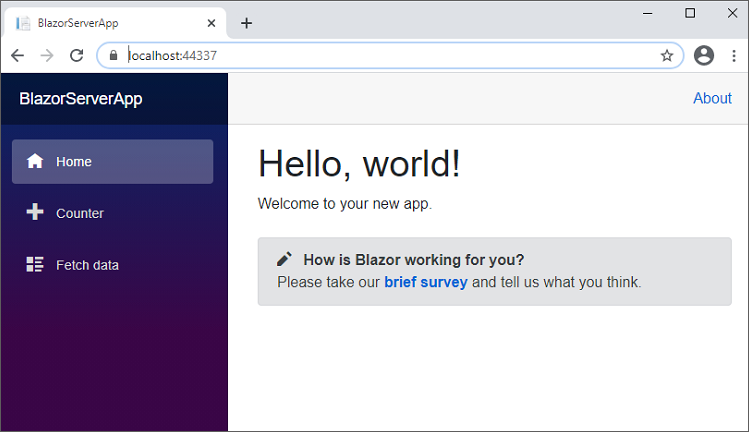
Refer to this link for more details.


Share with