- SYNCFUSION A2UI COMPONENTS
Turn AI responses into interactive interfaces
Build AI-ready, adaptive applications with Syncfusion’s reusable A2UI components that can be dynamically discovered, configured, and assembled.
- What are Syncfusion A2UI Components?
Agent-defined interfaces rendered with trusted UI components
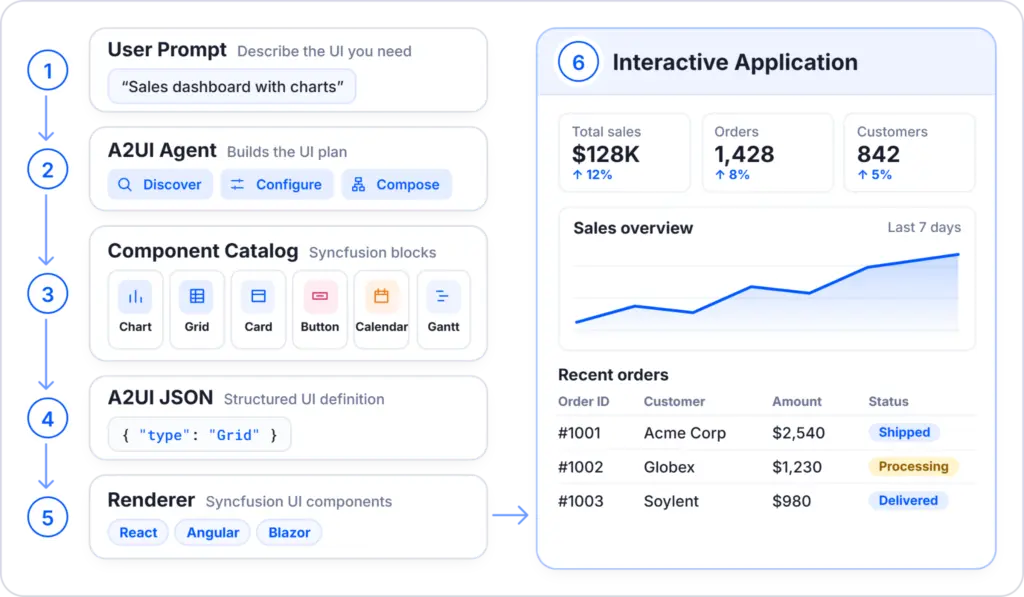
A2UI (Agent-to-User Interface) lets an AI agent respond with a structured UI definition rather than plain text. Syncfusion’s A2UI components render these definitions as interactive Syncfusion UI, so the forms, grids, and dashboards already in use become reusable building blocks that agents can discover, configure, and assemble. Built on Syncfusion’s mature UI platform, A2UI components provide a trusted, enterprise-grade foundation for creating adaptive application experiences.
- How A2UI Components work
From an agent response to interactive application UI
The runtime turns structured A2UI messages into validated, data-bound Syncfusion components and routes user interaction back into the application workflow.
User request
Intent or action
AI agent
Creates A2UI messages
A2UI runtime
Validate & process
Component surface
Map data & controls
Interactive UI
Render in the app
- COMPONENT GALLERY
Use familiar enterprise UI as agent-driven building blocks
Give agents access to supported Syncfusion controls across the interface patterns your applications already need.
-
Data & Visualization
-
Input Components
-
Scheduling Components
-
Navigation Components
-
Layout Components
-
Viewer/Editor Components
Data & Visualization Components
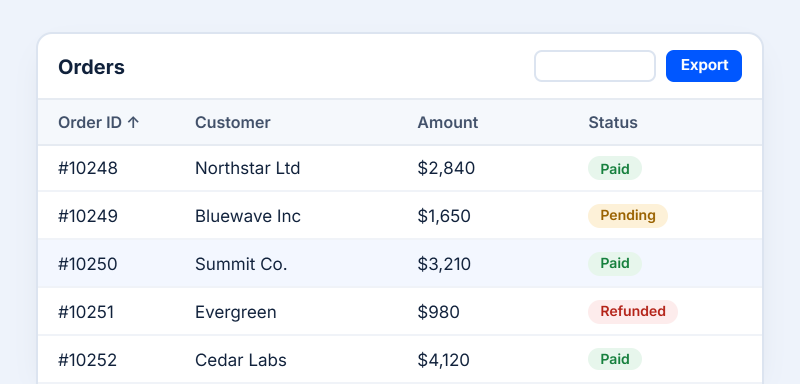
Data Grid
Display and organize records in rows and columns.
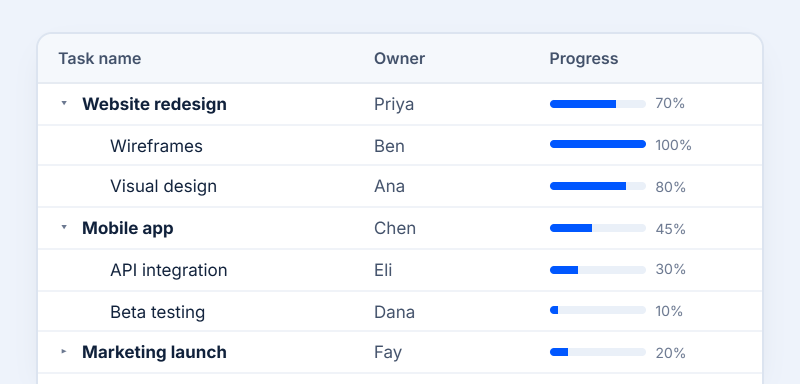
Tree Grid
Explore records with parent-child relationships.
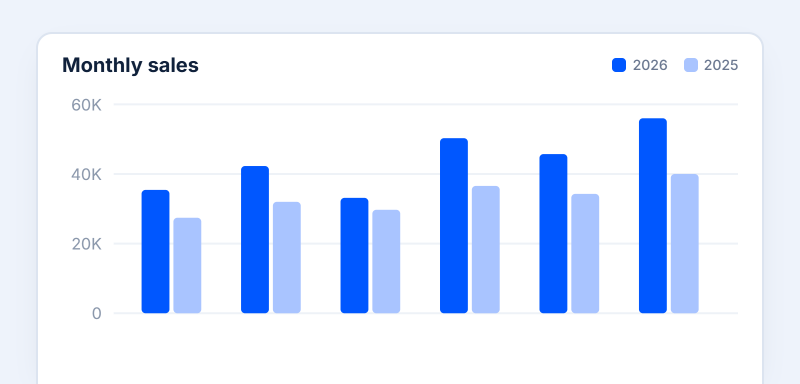
Chart
Show patterns and comparisons in your data.
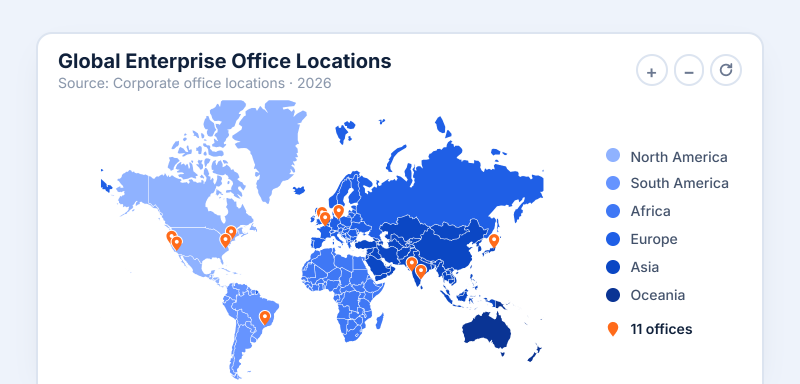
Map
Present data in a map-based geographic view.
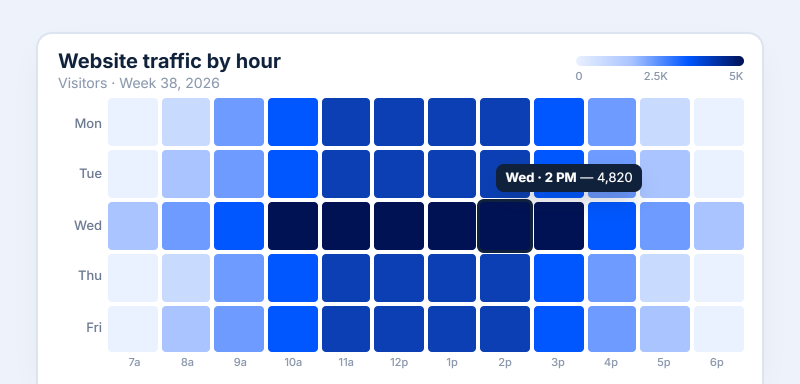
HeatMap
Color-coded matrix to reveal data patterns.
Input Components
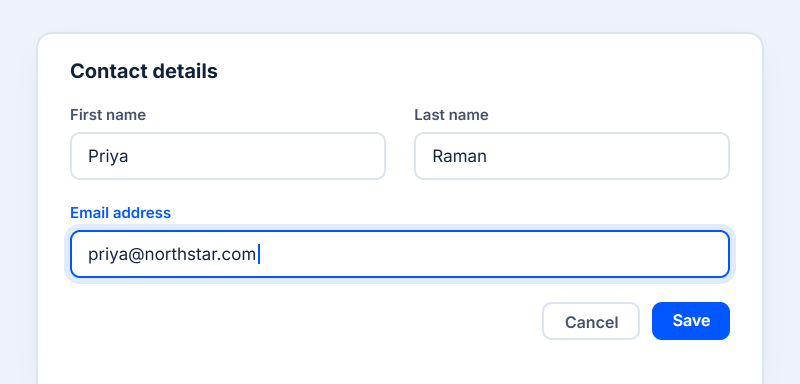
Text
Add a heading, label, or body text to a UI.
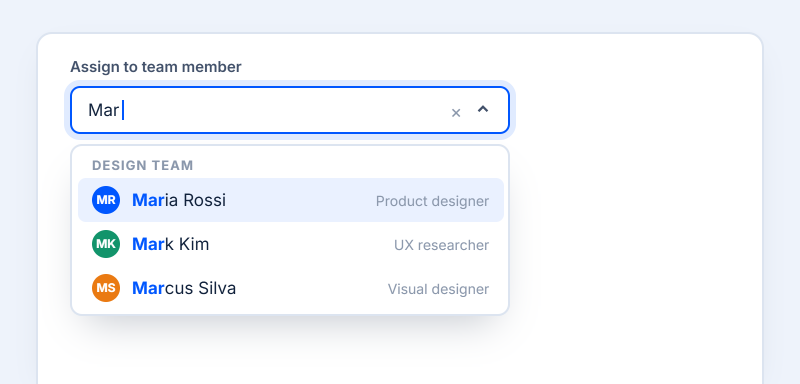
ComboBox
Type to filter and select a single option.
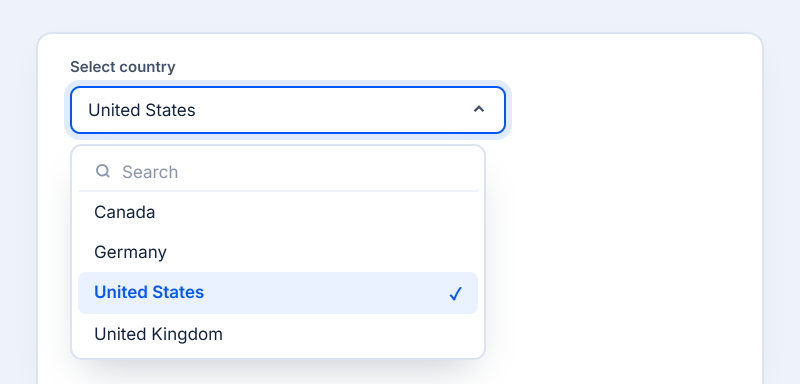
Dropdown
Let people choose from a list of options.
Scheduling Components
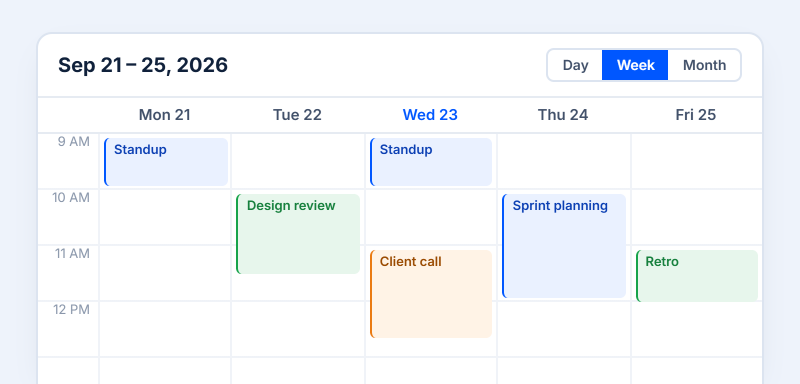
Scheduler
Manage appointments across calendar views.
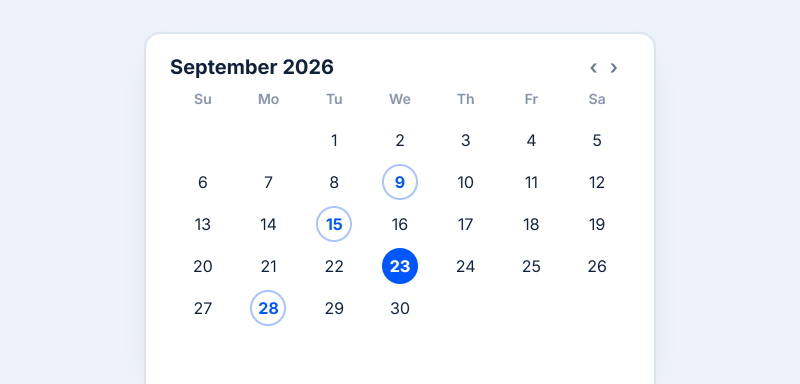
Calendar
Browse a calendar and quickly choose a date.
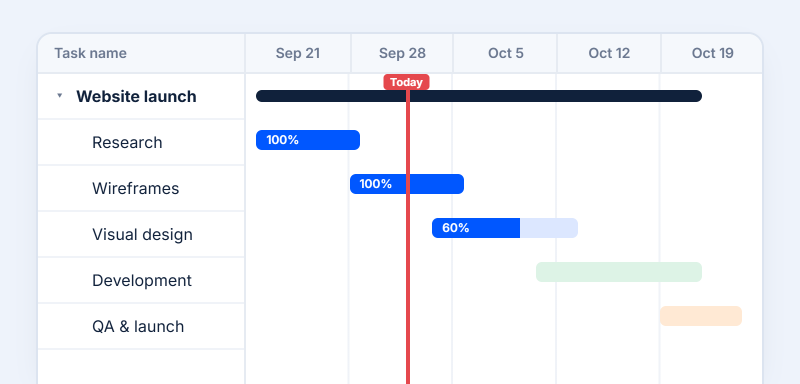
GanttChart
Plan tasks, dependencies, and timelines.
Navigation Components
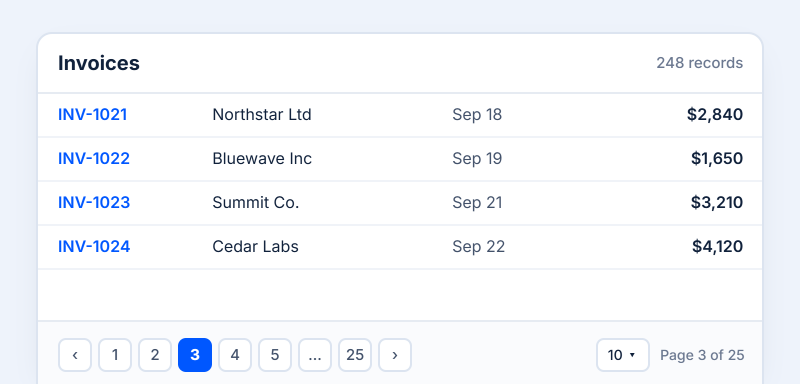
Pager
Move between pages and set the page size.
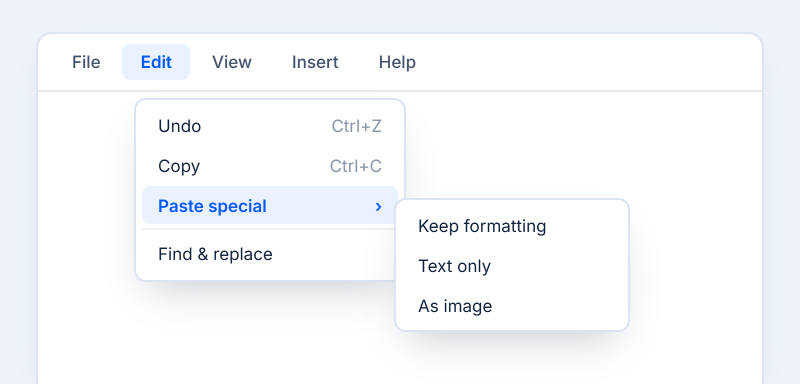
Menu
Help people move between your app sections.
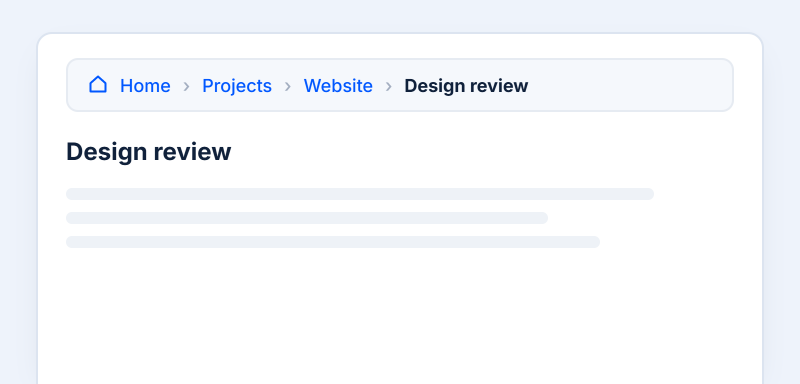
Breadcrumb
Show where a page sits in the navigation.
Layout Components
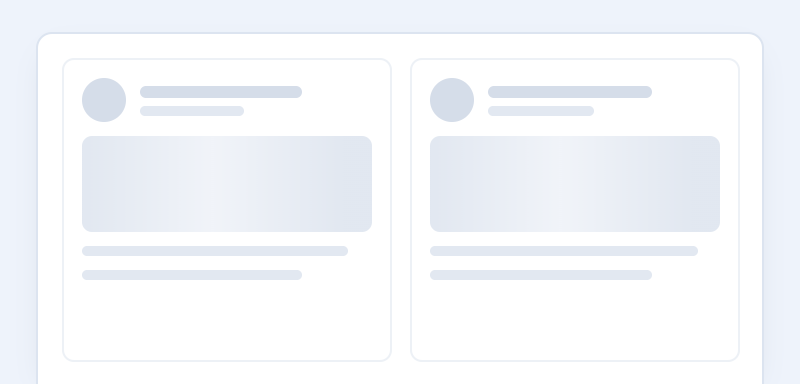
Skeleton
Placeholder with shimmer while content loads.
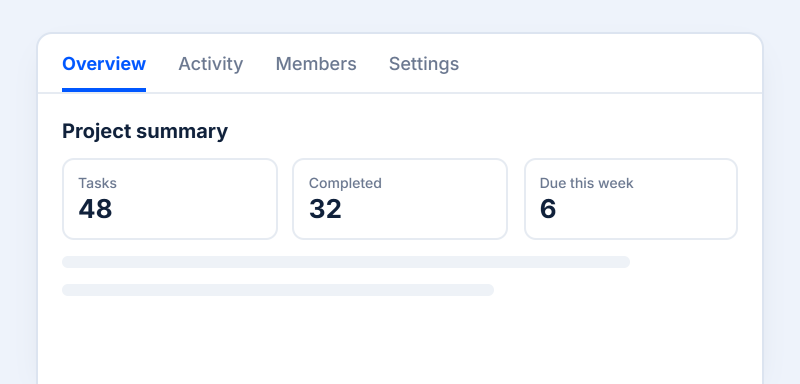
Tabs
Switch between related views in one place.
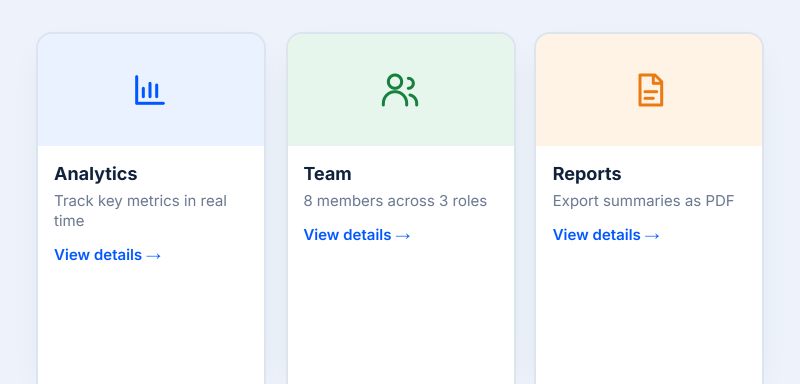
Cards
Group related information in a single container.
Document Solutions
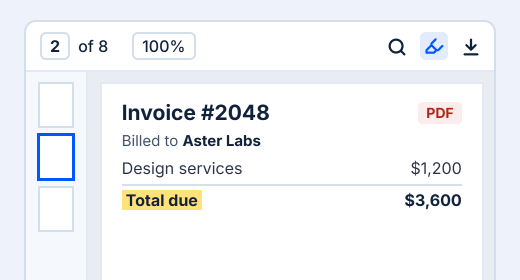
PDF Viewer
View, annotate, and fill forms in PDF files.
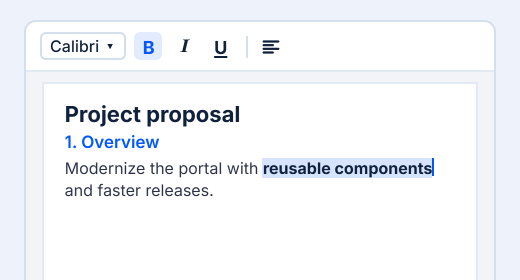
DOCX Editor
Create, edit, and format Word documents.
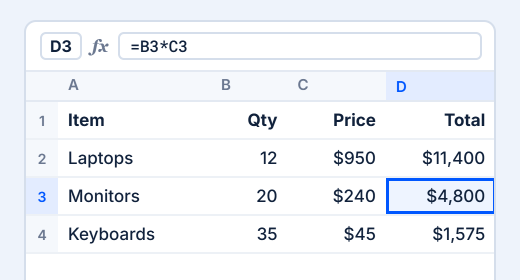
Spreadsheet
- From definition to interface
See an A2UI definition become real application UI
An agent can describe a Syncfusion component using structured A2UI data. The runtime validates the definition, maps it to the corresponding component, and renders it inside the application.
					{
  "id": "orders-grid",
  "component": "SyncfusionDataGrid",
  "dataSource": { "path": "/orders" },
  "allowPaging": true,
  "allowSorting": true,
  "columns": [
    { "field": "id", "headerText": "Order ID" },
    { "field": "customer", "headerText": "Customer" },
    { "field": "amount", "headerText": "Amount" }
  ]
}
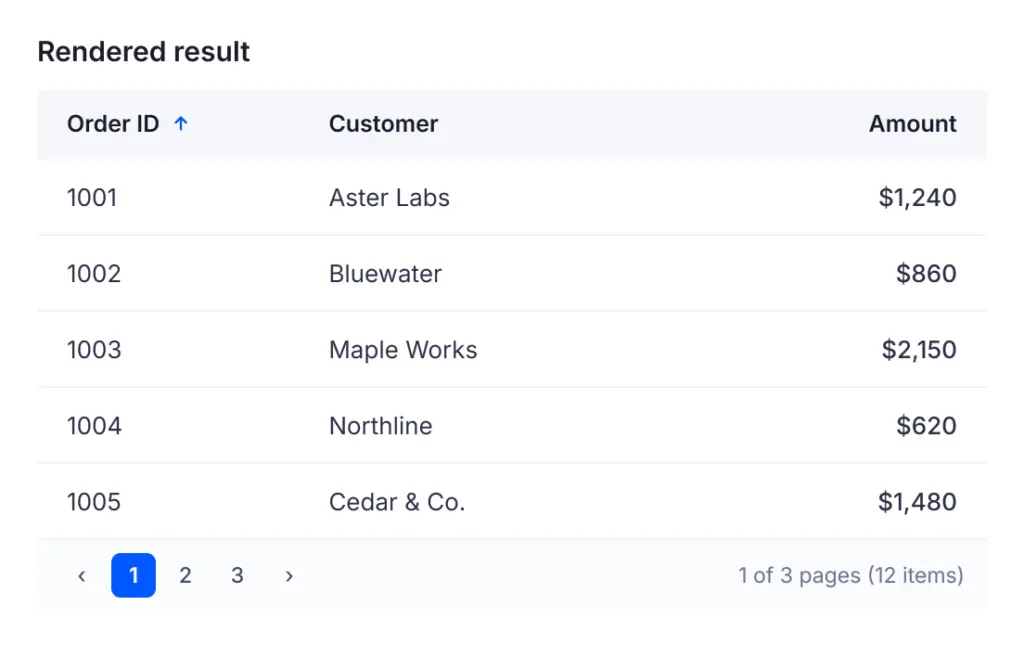
{
  "id": "orders-grid",
  "component": "SyncfusionDataGrid",
  "dataSource": { "path": "/orders" },
  "allowPaging": true,
  "allowSorting": true,
  "columns": [
    { "field": "id", "headerText": "Order ID" },
    { "field": "customer", "headerText": "Customer" },
    { "field": "amount", "headerText": "Amount" }
  ]
}
{
  "id": "orders-grid",
  "component": "SyncfusionDataGrid",
  "dataSource": { "path": "/orders" },
  "allowPaging": true,
  "allowSorting": true,
  "columns": [
   { "field": "id", "headerText": "Order ID" },
   { "field": "customer", "headerText": "Customer" },
   { "field": "amount", "headerText": "Amount" }
  ]
}
- Runtime capabilities
Built for dynamic agent-driven UI
Use a controlled runtime layer instead of asking an agent to generate arbitrary application markup.

Validated definitions
Validate incoming A2UI messages before rendering the interface.

Data-bound UI
Connect structured agent data to interactive Syncfusion controls.

Bidirectional interaction
Route user actions back to the application or agent workflow.

Reliable rendering
Render supported components through a consistent, reliable runtime.
- Get started
Add Syncfusion A2UI to your application
Install the runtime, configure the component catalog and renderer, then connect your agent or backend to the application workflow.
Install the package
Install the A2UI package and a Syncfusion theme in your React application.
npm install @syncfusion/ej2-react-a2ui @syncfusion/ej2-tailwind3-themeAdd the required styles
Import the theme styles for the components your A2UI definition uses
(for example, DataGrid) in
src/App.css.
@import "@syncfusion/ej2-tailwind3-theme/styles/grid/index.css";Use material3, fluent2, bootstrap5 or another theme in place of tailwind3.
Render an A2UI definition
Create a MessageProcessor with the Syncfusion catalog, pass it your A2UI messages, and render the surface with SyncfusionA2UIProvider.
import { useState, useEffect, useRef } from 'react';
import { syncfusionCatalog, SyncfusionA2UIProvider } from '@syncfusion/ej2-react-a2ui';
import { MessageProcessor } from '@a2ui/web_core/v0_9';

function App() {
    const [surface, setSurface] = useState(null);

    const processor =
        useRef(new MessageProcessor(syncfusionCatalog())).current;

    useEffect(() => {
        const sub = processor.onSurfaceCreated(setSurface);
        processor.processMessages(GRID_MESSAGES); // your A2UI v0.9 definition

        return () => sub.unsubscribe();
    }, [processor]);

    return surface && <SyncfusionA2UIProvider surface={surface} />;
}
A definition is a set of A2UI v0.9 messages: createSurface, updateComponents and updateDataModel.
Connect an agent
Send the user's prompt to your A2UI agent and pass the A2UI messages it returns to the processor. The interface is generated and updated automatically.
const res = await fetch(AGENT_URL, {
    method: 'POST',
    headers: { 'content-type': 'application/json' },
    body: JSON.stringify({
        jsonrpc: '2.0',
        id: `req-${Date.now()}`,
        method: 'message/send',
        params: {
            message: {
                kind: 'message',
                messageId: `msg-${Date.now()}`,
                role: 'user',
                parts: [{ text: prompt }]
            }
        }
    }),
});

const envelope = await res.json();

const messages =
    envelope?.result?.artifacts?.[0]?.parts?.[0]?.data?.a2uiEnvelope;

if (messages) {
    processor.processMessages(messages);
}
User actions in the generated UI go back to the agent through the MessageProcessor action handler, so the agent can update the surface.
Run the application
Start the app and try a prompt such as “Show me last quarter's sales by region.”
Install the package
Install the A2UI package and a Syncfusion theme in your Angular application.
npm install @syncfusion/ej2-angular-a2ui @syncfusion/ej2-tailwind3-themeNote: Requires Node.js 20+ and Angular CLI 17 or later.
Add the required styles
Import the theme styles for the components your A2UI definition uses
(for example, DataGrid) in
src/styles.css.
@import "@syncfusion/ej2-tailwind3-theme/styles/grid/index.css";Note: Use material3, fluent2, bootstrap5 or another theme in place of tailwind3.
Register the Syncfusion catalog
In src/app/app.config.ts,
provide the A2UI renderer with the Syncfusion catalog and an action handler.
import { A2UI_RENDERER_CONFIG, A2uiRendererService } from '@a2ui/angular/v0_9';
import { syncfusionCatalog } from '@syncfusion/ej2-angular-a2ui';

export const appConfig: ApplicationConfig = {
    providers: [
        {
            provide: A2UI_RENDERER_CONFIG,
            useValue: {
                catalogs: [syncfusionCatalog],
                actionHandler: (action: unknown) =>
                    console.log('surface action:', action),
            },
        },
        A2uiRendererService,
    ],
};Render an A2UI definition
Add SyncfusionA2UIProvider to your component and pass your A2UI messages
to the
syncfusion-a2ui-provider
element.
import { Component, signal } from '@angular/core';
import { SyncfusionA2UIProvider } from '@syncfusion/ej2-angular-a2ui';

@Component({
    standalone: true,
    selector: 'app-root',
    imports: [SyncfusionA2UIProvider],
    template: `
        @if (messages(); as msgs) {
            <syncfusion-a2ui-provider
                [messages]="msgs"
                [dataContextPath]="'/'" />
        }
    `,
})
export class AppComponent {
    // your A2UI v0.9 definition
    protected readonly messages =
        signal<unknown[] | null>(GRID_MESSAGES);
}
Note: A definition is a set of A2UI v0.9 messages: createSurface, updateComponents and updateDataModel.
Connect an agent
Send the user's prompt to your A2UI agent and pass the returned messages to A2uiRendererService. The interface is generated and updated automatically.
private readonly renderer = inject(A2uiRendererService);

protected async sendQuery(): Promise<void> {
    const response = await postAgentEnvelope({
        jsonrpc: '2.0',
        id: `req-${Date.now()}`,
        method: 'message/send',
        params: {
            message: {
                kind: 'message',
                messageId: `msg-${Date.now()}`,
                role: 'user',
                parts: [{ text: this.query() }]
            }
        },
    });

    const messages = extractA2uiEnvelope(response);

    if (messages) {
        this.renderer.processMessages(messages as never);
    }
}Install the package
Add the Syncfusion A2UI NuGet package to your Blazor Web App.
dotnet add package Syncfusion.Blazor.A2UI
Note: Requires .NET 8, 9 or 10. In Visual Studio, run
Install-Package Syncfusion.Blazor.A2UI
from the Package Manager Console.
Add the namespaces
Add the A2UI namespaces to
_Imports.razor.
@using Syncfusion.Blazor
@using Syncfusion.A2UI.Core.Processing
@using Syncfusion.A2UI.Core.Serialization
@using Syncfusion.A2UI.Core.State
@using Syncfusion.Blazor.A2UI.NodeView
@using Syncfusion.Blazor.A2UI.SyncfusionComponentsRegister the services
Register Syncfusion Blazor and the A2UI services with the Syncfusion
components in
Program.cs.
using Syncfusion.Blazor;
using Syncfusion.Blazor.A2UI.SyncfusionComponents;

builder.Services.AddSyncfusionBlazor();
builder.Services.AddHttpClient();
builder.Services.AddA2UIWithSyncfusionComponents();Add the theme and script
Reference a Syncfusion theme in the head and the Syncfusion script in
the body of
App.razor.
<head>
    <link href="_content/Syncfusion.Blazor.Themes/fluent2.css" rel="stylesheet" />
</head>

<body>
    <script src="_content/Syncfusion.Blazor.Core/scripts/syncfusion-blazor.min.js"
            type="text/javascript"></script>
</body>Render an A2UI definition
In Home.razor, parse your A2UI
messages, pass them to MessageProcessor, and render the surface with
SyncfusionA2UIProvider.
@page "/"
@rendermode InteractiveServer
@using System.Text.Json
@inject MessageProcessor Processor

<SyncfusionA2UIProvider Surface="@surface" />

@code {
    private SurfaceModel? surface;

    protected override void OnInitialized()
    {
        // Json holds your A2UI v0.9 definition
        var messages =
            A2uiJson.ParseMessages(JsonDocument.Parse(Json).RootElement);

        Processor.ProcessMessages(messages);
        surface = Processor.Model.GetSurface("orders");
    }
}
Note: A definition is a set of A2UI v0.9 messages: createSurface, updateComponents and updateDataModel.
Connect an agent
Post the user's prompt to your A2UI agent with HttpClient and pass the returned messages to MessageProcessor. The interface is generated and updated automatically.
var response = await Http.PostAsJsonAsync(AgentUrl, new
{
    jsonrpc = "2.0",
    id = $"req-{DateTimeOffset.UtcNow.ToUnixTimeMilliseconds()}",
    method = "message/send",
    @params = new
    {
        message = new
        {
            kind = "message",
            messageId = $"msg-{DateTimeOffset.UtcNow.ToUnixTimeMilliseconds()}",
            role = "user",
            parts = new[] { new { text = _query } }
        }
    }
});

using var doc =
    JsonDocument.Parse(await response.Content.ReadAsStringAsync());

var envelope = doc.RootElement
    .GetProperty("result")
    .GetProperty("artifacts")[0]
    .GetProperty("parts")[0]
    .GetProperty("data")
    .GetProperty("a2uiEnvelope");

Processor.ProcessMessages(
    A2uiJson.ParseMessages(envelope)
);
Note: Subscribe to
Processor.Model.OnAction
to send user actions in the generated UI back to the agent, so it can
update the surface.
Run the application
Start the app and try a prompt such as "Show me last quarter's sales by region."
Add the A2UI package to your .NET MAUI application.
Install-Package Syncfusion.Maui.A2UI
Next: Add styles and render your first definition.
Support for more platforms is coming soon.
- AI-POWERED UI BUILDER
Build dynamic UI by using A2UI Composer
Describe the interface you need, preview it live with Syncfusion components, and copy a ready-to-use A2UI definition. Hand-written JSON is no longer needed.

Describe
Type what you need or pick a starter template.

Preview
See it rendered with Syncfusion components.

Refine
Adjust layout, columns and data in the Workspace.

Copy
Take the A2UI definition into your application.
- Prefer to design first?
Use A2UI Composer to shape the interface
Start from a prompt or template, preview the surface, refine the A2UI JSON, and then use the resulting definition in your application.
Why choose Syncfusion’s A2UI components?
Modern applications contain valuable UI assets such as forms, grids, dashboards, workflows, and business screens. Syncfusion’s A2UI components help organizations transform these assets into reusable building blocks that can be used repeatedly — without rewriting applications or replacing existing user experiences.
Accelerate application modernization
Modernize one screen at a time without replacing the underlying application.
Increase reusability
Forms, grids, and dashboards already owned become building blocks instead of being rebuilt.
Improve consistency
Every composed screen inherits the same design language, behavior, and accessibility standards.
Reduce complexity
AI assembles trusted components, so the resulting interface stays predictable and easy to review.
Support enterprise governance
Maintain visibility and control across applications and teams.
Accelerate AI adoption
New UIs are composed from components rather than hand-written screens.
- Prefer to design first?
Build agent-driven UI with Syncfusion A2UI Components
Add structured, interactive interfaces to your application using supported Syncfusion components and a controlled A2UI runtime.
- Start building
Build agent-driven UI with Syncfusion A2UI Components
Add structured, interactive interfaces to your application using supported Syncfusion components and a controlled A2UI runtime.