
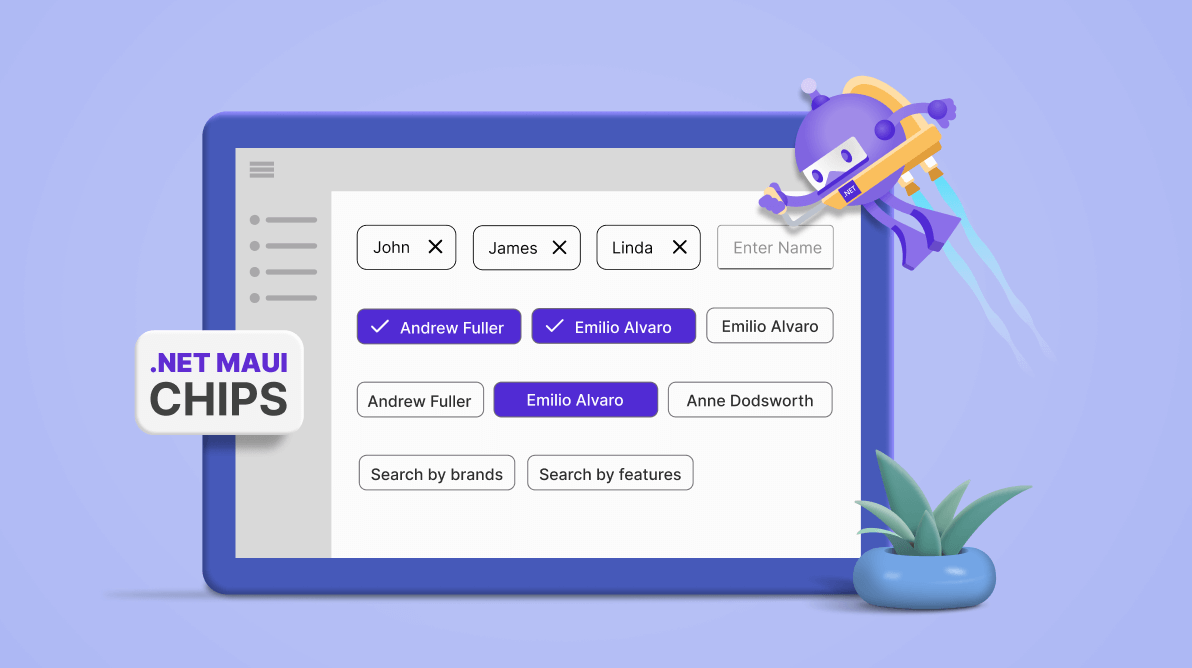
In Syncfusion’s Essential Studio® 2023 Volume 2 release, we introduced a new button control called Chips in the .NET MAUI platform. This control is designed specifically for .NET MAUI applications, making it a perfect fit for developers building cross-platform mobile apps with .NET.
The .NET MAUI Chips control offers an intuitive and visually appealing way to present selectable items or tags. It enables you to arrange multiple chips in a layout and group them for seamless selection and interaction.
In this article, we will see the key features of the new .NET MAUI Chips control and the steps to getting started with it.
Key features
The .NET MAUI Chips control supports many user-friendly features. You can:
- Choose from various layout options, such as stack and flex, to arrange the chips.
- Convert text into compact chips, displaying information in a concise way.
- Customize the appearance of the chips by adding a background image.
- Easily modify the text color, background color, border color, border thickness, and selection color of the chips, ensuring a cohesive and visually appealing design.
This flexibility enables the creation of visually consistent and aesthetically pleasing chips.
Chip types
There are four types of chips available in the SfChipGroup: input, filter, choice, and action.
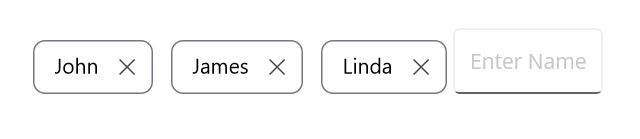
Input
Enter a piece of information in a compact form to convert text into chips. The input type of .NET MAUI Chips can be removed from a layout with the close icon. It also has an optional input view (an entry) to provide chip text when creating a new chip at runtime.
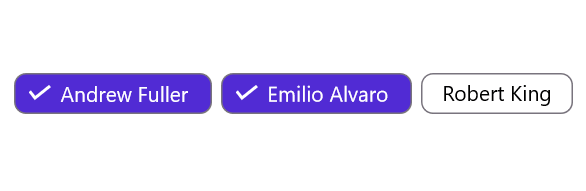
Filter
The filter type of .NET MAUI Chips provides a way to make multiple selections in a chip group. A selection indicator will appear when a chip is selected.
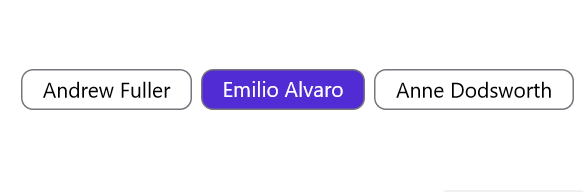
Choice
The choice type of .NET MAUI Chips provides a way to select a single option from several options.
Action
The action type of .NET MAUI Chips executes a command on tapping a chip. It returns the tapped chip or its data context as a command parameter.
Customization
The .NET MAUI Chips control lets you customize its background image, corner radius, border thickness, and color.
Background image
You can easily customize the appearance of your chip with a background image to illustrate the chip text.

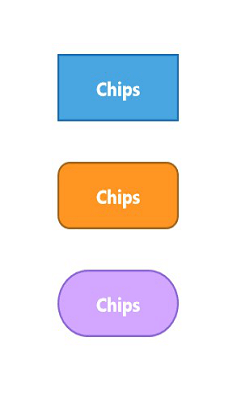
Corner radius
The .NET MAUI Chips control’s corner radii can easily be customized to create rounded edges.
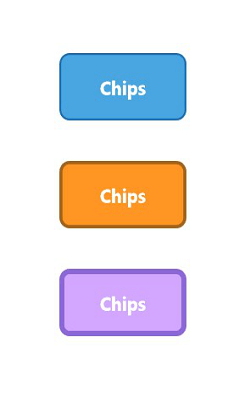
Border color
You can apply a desired color as the border color of the .NET MAUI Chips control.
Border thickness
The border thickness of the chips can easily be customized to the desired value. You can also remove the border if it is not required.
Note: For more details, refer to the .NET MAUI Chips documentation.
Getting started with the .NET MAUI Chips control
We have seen the key features of the .NET MAUI Chips control. Let’s next learn how to integrate it into your .NET MAUI app and utilize its features.
Step 1: First, create a .NET MAUI application.
Step 2: The Syncfusion .NET MAUI controls are available on NuGet Gallery. To add the .NET MAUI Chips control to your project, open the NuGet package manager in Visual Studio. Search for Syncfusion.Maui.Core and then install it.
Step 3: Register the handler for the Syncfusion core in the MauiProgram.cs file.
using Microsoft.Maui;
using Microsoft.Maui.Hosting;
using Microsoft.Maui.Controls.Compatibility;
using Microsoft.Maui.Controls.Hosting;
using Microsoft.Maui.Controls.Xaml;
using Syncfusion.Maui.Core.Hosting;
namespace ChipSample
{
  public static class MauiProgram
  {
	public static MauiApp CreateMauiApp()
	{
		var builder = MauiApp.CreateBuilder();
		builder
		.UseMauiApp<App>()
		.ConfigureSyncfusionCore()
		.ConfigureFonts(fonts =>
		{
	           fonts.AddFont("OpenSans-Regular.ttf", "OpenSansRegular");
		});
		return builder. Build();
	 }
  }
}
Step 4: Add the Syncfusion.Maui.Core namespace in your XAML page.
xmlns:chip="clr-namespace:Syncfusion.Maui.Core;assembly=Syncfusion.Maui.Core"
Step 5: Initialize the Syncfusion .NET MAUI Chips control like in the following code example.
<chip:SfChip WidthRequest="100" Text="Chip" x:Name="chips" />
We’ll get the .NET MAUI Chips control like in the following image.
Step 6: Let’s initialize the ChipGroup to show multiple chips in a group view. Refer to the following code example.
xmlns:local="clr-namespace:ChipSample"
xmlns:chip="clr-namespace:Syncfusion.Maui.Core;assembly=Syncfusion.Maui.Core"


<ContentPage.BindingContext>
 <local:ViewModel> </local:ViewModel>
</ContentPage.BindingContext>
<chip:SfChipGroup Margin="0,20,0,0"
		  ItemsSource="{Binding Employees}"
		  ChipPadding="8,8,0,0"
	          DisplayMemberPath="Name"
                  ItemHeight="33"
		  ChipBackground="white"
		  ChipTextColor="Black"
		  HorizontalOptions="CenterAndExpand"
		  VerticalOptions="Center">
</chip:SfChipGroup>
Step 7: To display the employees’ names in the chips group, add the ViewModel class and Person Model class for the ChipGroup.
ViewModel
public class ViewModel : INotifyPropertyChanged
{
    private ObservableCollection<Person> employees;
    public ObservableCollection<Person> Employees
    {
        get { return employees; }
        set { Employees = value; OnPropertyChanged("Employees"); }
    }

    public ViewModel()
    {
        employees = new ObservableCollection<Person>();
        employees.Add(new Person() { Name = "John" });
        employees.Add(new Person() { Name = "James" });
        employees.Add(new Person() { Name = "Linda" });
        employees.Add(new Person() { Name = "Rose" });
        employees.Add(new Person() { Name = "Mark" });
    }

    public event PropertyChangedEventHandler PropertyChanged;

    public void OnPropertyChanged(string property)
    {
        if (PropertyChanged != null)
        {
            PropertyChanged(this, new PropertyChangedEventArgs(property));
        }
    }
}
Model
public class Person
{
    public string Name
    {
        get;
        set;
    }
}
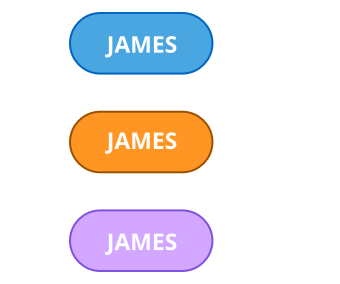
After executing these code examples, we’ll get output like in the following image.

GitHub reference
For more details, refer to the .NET MAUI Chips control GitHub demo.
Conclusion
Thanks for reading! In this blog, we have seen the features of the new Syncfusion .NET MAUI Chips control rolled out in the 2023 Volume 2 release. With this control, enable users to select options with a visually appealing user interface and better user experience.
Our Release Notes and What’s New pages provide information about our other new controls and features from this release. Try them out and leave your feedback in the comments section below!
If you are not a Syncfusion customer, download a free trial of Essential Studio® for .NET MAUI to start evaluating the suite immediately.
For questions, you can contact us through our support forum, support portal, or feedback portal. We are always happy to help you!


 No spam, just valuable updates.