

“If debugging is the process of removing software bugs, then programming must be the process of putting them in.”
–Edsger W. Dijkstra
The latest version Angular 9 includes a lot of major improvements, including the Ivy compiler and the reduction of bundle size using tree-shaking. You can explore the features of Angular 9 in this blog post.
The new Angular 9 enhances the way we debug and interact with components in development mode. With this update, you can:
- Easily access the instance of components, pipes, or services.
- Call methods, inspect any object values, or even change them manually with the help of instance.
- Trigger the Angular change detection to reflect the changes in UI.
These capabilities are possible with the globally exposed ng object in the browser developer console.
Before going further, to more easily follow along with this blog post, we encourage you to create a new application using the latest version of Angular CLI.
In this blog, we are going to walk through some frequently required debugging options that are available by default in an Angular 9 CLI application.
Let’s dive in!
Getting the Angular global instance
The Angular team has exposed the global object ng, which is a lifesaver that makes the debugging process much easier. Follow these steps to get access to this global instance:
- Run the following command to launch the application locally.
ng serve --open
- Open the browser developer console or press F12.
- In the Console tab, type ng and press Enter. All the default functions of the global ng object will be listed as shown in the following screenshot.
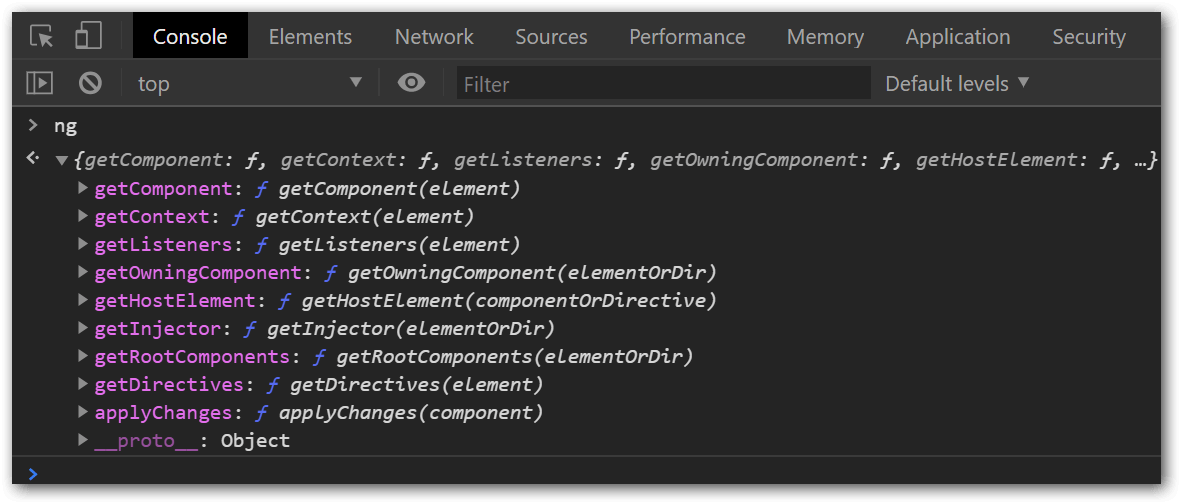
The Global ng Object in the Developer Console
You can play with Angular components using the exposed functions. Now, let’s have a look at it in action with the default Angular CLI application.
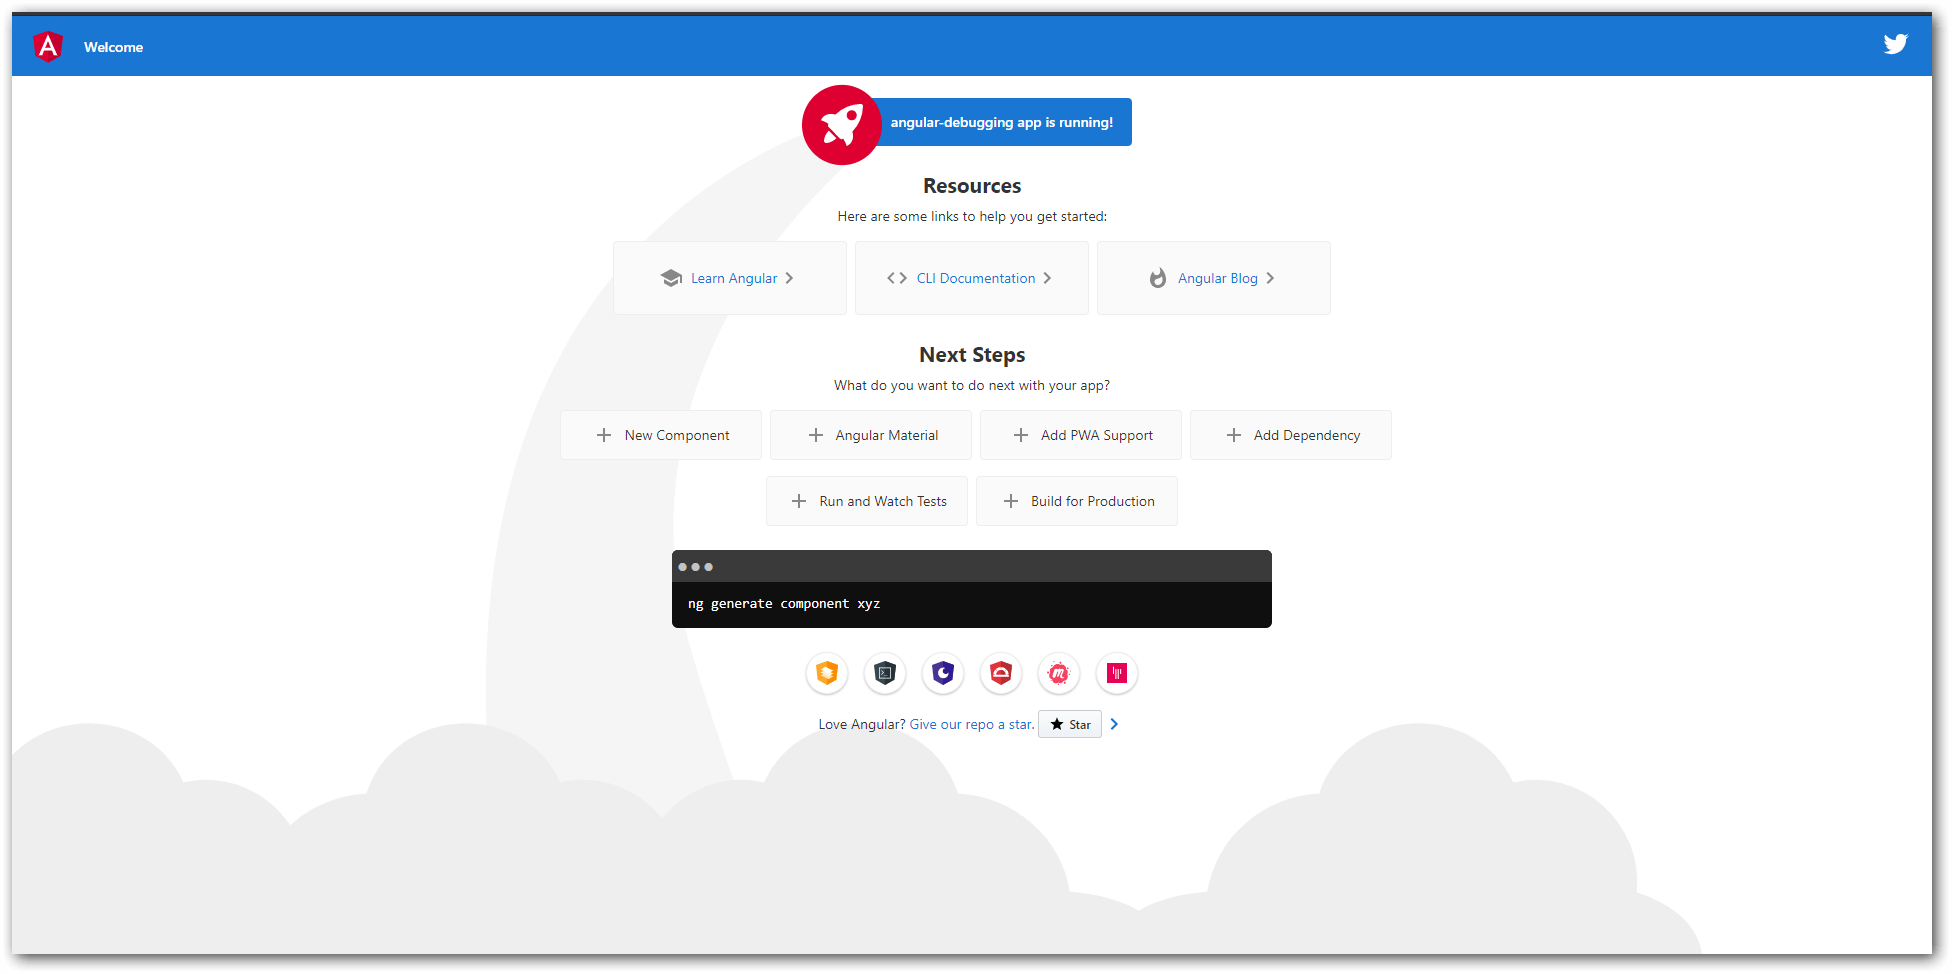

Getting the Angular component instance
The method ng.getComponent is used to retrieve the component instance associated with the given DOM element. Follow these steps to get an underlying Angular component:
- Open the developer console and navigate to the Elements tab view.
- Select the element <app-root>, which will expose the $0 variable in the JavaScript console.
- Now, write the following line of code in the JavaScript console:
ng.getComponent($0)
Now you can see the magic as shown in the following GIF.
Interacting with the Angular component
Now, the <app-root> Angular component instance is available along with all the variables, methods, and injected services, including the private methods and variables.
Interaction with the Angular component is easier using this instance. Run the following code to change the title of the component:
ng.getComponent($0).title = "Custom Title"
Unfortunately, no change can be seen in the UI part. This is because we didn’t notify Angular that the title of the component is changed from the JavaScript. Unless we notify the changes to Angular, they won’t be reflected in the UI.
A quick solution to overcome this is to trigger the Angular change detection manually. Angular has a method ng.applyChanges(component) to trigger the change detection.
ng.applyChanges($0)
Now you will see the title updated to Custom Title.
In a similar way, you can call any method exposed in the ng object. All the available functions in the ng object are listed in the table below, reproduced from the Angular documentation at @angular/core/global. You can refer to that documentation for further details.
| ng.applyChanges | Marks a component for check (in case of OnPush components) and synchronously performs change detection on the application this component belongs to. |
| ng.getComponent | Retrieves the component instance associated with a given DOM element. |
| ng.getContext | If inside an embedded view (e.g., *ngIf or *ngFor), retrieves the context of the embedded view that the element is part of. Otherwise retrieves the instance of the component whose view owns the element (in this case, the result is the same as calling getOwningComponent). |
| ng.getDirectives | Retrieves directive instances associated with a given DOM element. Does not include component instances. |
| ng.getHostElement | Retrieves the host element of a component or directive instance. The host element is the DOM element that matched the selector of the directive. |
| ng.getInjector | Retrieves an Injector associated with an element, component, or directive instance. |
| ng.getListeners | Retrieves a list of event listeners associated with a DOM element. The list does include host listeners, but it does not include event listeners defined outside of the Angular context (e.g., through addEventListener). |
| ng.getOwningComponent | Retrieves the component instance whose view contains the DOM element. |
| ng.getRootComponents | Retrieves all root components associated with a DOM element, directive, or component instance. Root components are those which have been bootstrapped by Angular. |
Interacting with Syncfusion Angular component
In this section, we are going to integrate the Syncfusion DatePicker Angular component with the Angular CLI application and interact with it.
- Follow the steps in the following user guide to integrate the Syncfusion DatePicker Angular component:
Getting Started with Syncfusion Angular DatePicker ComponentNote: For simplicity, use the following code in the app.component.ts file:
[app.component.ts]
import { Component } from '@angular/core';

@Component({
  selector: 'app-root',
  templateUrl: './app.component.html',
  styleUrls: ['./app.component.css']
})
export class AppComponent {
  title = 'angular-debugging';
  date: Date = new Date();
}
[app.component.html]
Include the following code next to the highlighted card section.<!-- Highlight Card --> <div class="card highlight-card card-small"> ------- ------- ------- </div> <ejs-datepicker “If debugging is the process of removing software bugs, then programming must be the process of putting them in.”
-Edsger W. Dijkstra
The latest version Angular 9 includes a lot of major improvements, including the Ivy compiler and the reduction of bundle size using tree-shaking. You can explore the features of Angular 9 in this blog post. The new Angular 9 enhances the way we debug and interact with components in development mode. With this update, you can:- Easily access the instance of components, pipes, or services.
- Call methods, inspect any object values, or even change them manually with the help of instance.
- Trigger the Angular change detection to reflect the changes in UI.
Getting the Angular global instance
The Angular team has exposed the global object ng, which is a lifesaver that makes the debugging process much easier. Follow these steps to get access to this global instance:- Run the following command to launch the application locally.
ng serve --open
- Open the browser developer console or press F12.
- In the Console tab, type ng and press Enter. All the default functions of the global ng object will be listed as shown in the following screenshot.
The Global ng Object in the Developer Console
You can play with Angular components using the exposed functions. Now, let’s have a look at it in action with the default Angular CLI application.
Angular CLI Application Getting the Angular component instance
The method ng.getComponent is used to retrieve the component instance associated with the given DOM element. Follow these steps to get an underlying Angular component:
- Open the developer console and navigate to the Elements tab view.
- Select the element <app-root>, which will expose the $0 variable in the JavaScript console.
- Now, write the following line of code in the JavaScript console:
ng.getComponent($0)
Now you can see the magic as shown in the following GIF.
Get the Angular Component in the Developer Console Interacting with the Angular component
Now, the <app-root> Angular component instance is available along with all the variables, methods, and injected services, including the private methods and variables.
Interaction with the Angular component is easier using this instance. Run the following code to change the title of the component:
ng.getComponent($0).title = "Custom Title"
Unfortunately, no change can be seen in the UI part. This is because we didn’t notify Angular that the title of the component is changed from the JavaScript. Unless we notify the changes to Angular, they won’t be reflected in the UI.
A quick solution to overcome this is to trigger the Angular change detection manually. Angular has a method ng.applyChanges(component) to trigger the change detection.
ng.applyChanges($0)
Now you will see the title updated to Custom Title.
In a similar way, you can call any method exposed in the ng object. All the available functions in the ng object are listed in the table below, reproduced from the Angular documentation at @angular/core/global. You can refer to that documentation for further details.
ng.applyChanges Marks a component for check (in case of OnPush components) and synchronously performs change detection on the application this component belongs to. ng.getComponent Retrieves the component instance associated with a given DOM element. ng.getContext If inside an embedded view (e.g., *ngIf or *ngFor), retrieves the context of the embedded view that the element is part of. Otherwise retrieves the instance of the component whose view owns the element (in this case, the result is the same as calling getOwningComponent). ng.getDirectives Retrieves directive instances associated with a given DOM element. Does not include component instances. ng.getHostElement Retrieves the host element of a component or directive instance. The host element is the DOM element that matched the selector of the directive. ng.getInjector Retrieves an Injector associated with an element, component, or directive instance. ng.getListeners Retrieves a list of event listeners associated with a DOM element. The list does include host listeners, but it does not include event listeners defined outside of the Angular context (e.g., through addEventListener). ng.getOwningComponent Retrieves the component instance whose view contains the DOM element. ng.getRootComponents Retrieves all root components associated with a DOM element, directive, or component instance. Root components are those which have been bootstrapped by Angular. Interacting with Syncfusion Angular component
In this section, we are going to integrate the Syncfusion DatePicker Angular component with the Angular CLI application and interact with it.
- Follow the steps in the following user guide to integrate the Syncfusion DatePicker Angular component:
Getting Started with Syncfusion Angular DatePicker ComponentNote: For simplicity, use the following code in the app.component.ts file:
[app.component.ts]
import { Component } from '@angular/core';

@Component({
  selector: 'app-root',
  templateUrl: './app.component.html',
  styleUrls: ['./app.component.css']
})
export class AppComponent {
  title = 'angular-debugging';
  date: Date = new Date();
}
[app.component.html]
Include the following code next to the highlighted card section.<!-- Highlight Card --> <div class="card highlight-card card-small"> ------- ------- ------- </div> <ejs-datepicker [value]='date' placeholder='Enter date'></ejs-datepicker>
- Now, the Angular CLI will look like the following screenshot.
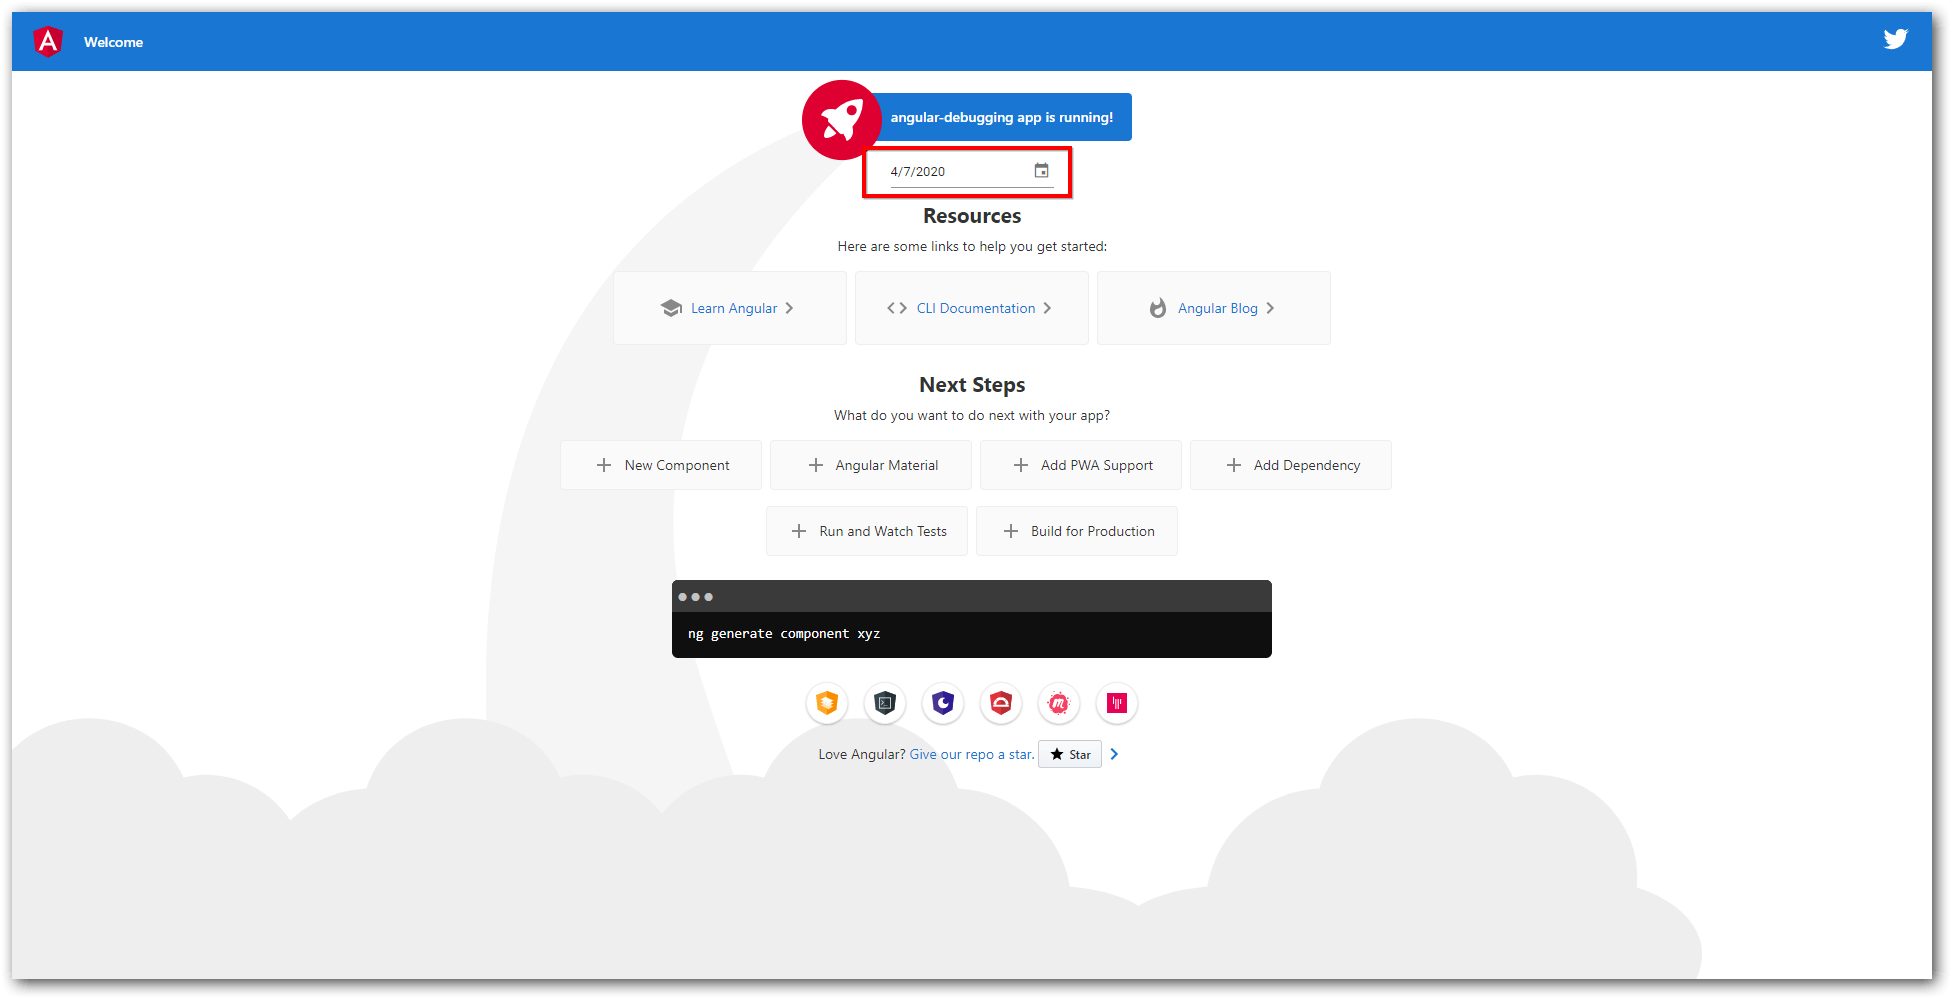
Syncfusion Angular DatePicker Component - Now, access the DatePicker component and change the date value using the <app-root> element in the developer console. The following code example does this:
ng.getComponent($0).date = new Date("1/1/2021")
ng.applyChanges($0)
Changing Date Value
Note: Don’t forget to call the method ng.applyChanges(component) to see the changes in the UI.
Conclusion
I hope you now have a clear idea how accessing the Angular global instance in the developer console makes debugging web applications easier.
Bonus round!
Attention Angular developers: Syncfusion offers over 65 high-performance, lightweight, modular, and responsive Angular components to speed up development.
For existing customers, the latest version of our controls is available for download from the License and Downloads page. If you are not yet a customer, you can try our 30-day free trial to check out all our Angular components have to offer. You can also explore samples in our GitHub repository.
Related blogs
- Easily Create Interactive Digital Logic Circuits in Angular
- Maximizing Angular Charts Performance with Lazy Loading
- Easily Build an Interactive BPMN Viewer and Editor in Angular
- A Full-Stack Web App Using Angular and GraphQL: Part 1
='date' placeholder='Enter date'></ejs-datepicker>
- Now, the Angular CLI will look like the following screenshot.
Syncfusion Angular DatePicker Component - Now, access the DatePicker component and change the date value using the <app-root> element in the developer console. The following code example does this:
ng.getComponent($0).date = new Date("1/1/2021")
ng.applyChanges($0)
Changing Date Value
Note: Don’t forget to call the method ng.applyChanges(component) to see the changes in the UI.
Conclusion
I hope you now have a clear idea how accessing the Angular global instance in the developer console makes debugging web applications easier.
Bonus round!
Attention Angular developers: Syncfusion offers over 65 high-performance, lightweight, modular, and responsive Angular components to speed up development.
For existing customers, the latest version of our controls is available for download from the ® product” href=”https://www.syncfusion.com/downloads” target=”_blank” rel=”noopener”>free trial to check out all our Angular components have to offer. You can also explore samples in our GitHub repository.
 No spam, just valuable updates.