
The process of ascertaining a user’s identity and validating whether the person has access to a resource is known as authentication. By adding authentication support to your web apps, you can specify who has view access.
The Syncfusion ASP.NET Core project template provides authentication support for creating secure ASP.NET Core web apps with model-view-controller, Angular, and React templates. It supports various authentication types, namely individual accounts, Microsoft identity platform, and Windows.
Let’s see how to use the different authentications supported in the Syncfusion ASP.NET Core project template to secure your apps.
Prerequisites
Install the Syncfusion ASP.NET Core project template extension
The Syncfusion ASP.NET Core project template is available as an extension in the Visual Studio Marketplace.
You can also directly install it from Visual Studio by navigating to Extensions -> Manage Extensions -> Online, searching for the Syncfusion ASP.NET Core Extension, and installing it.
Note: Refer to the blog Syncfusion VS Extensions Now on the Visual Studio Marketplace! to learn more about the extensions and how to install them.
Create a web app with authentication using Syncfusion ASP.NET Core project template
Follow these steps to create your web app using the Syncfusion ASP.NET Core project template in Visual Studio.
Step 1: To create the Syncfusion ASP.NET Core project, do one of the following options:
Option 1
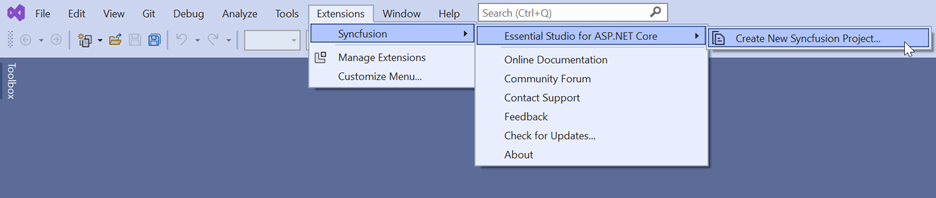
Click Extensions -> Syncfusion –> Essential Studio® for ASP.NET Core –> Create New Syncfusion Project in Visual Studio. Refer to the following image.
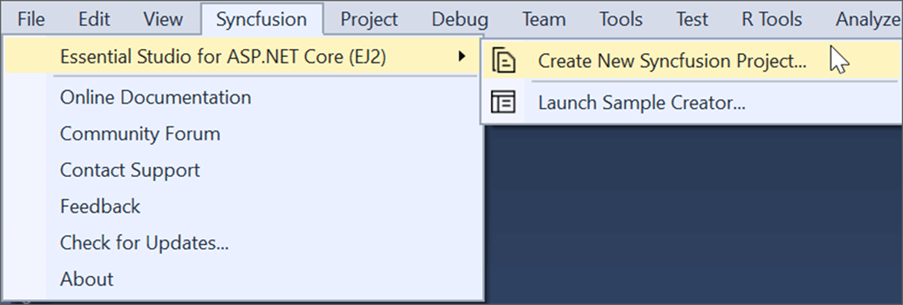
 If you’re using Visual Studio 2017, click the Syncfusion menu and choose Essential Studio® for ASP.NET Core (EJ2)-> Create New Syncfusion Project. Refer to the following image.
Option 2
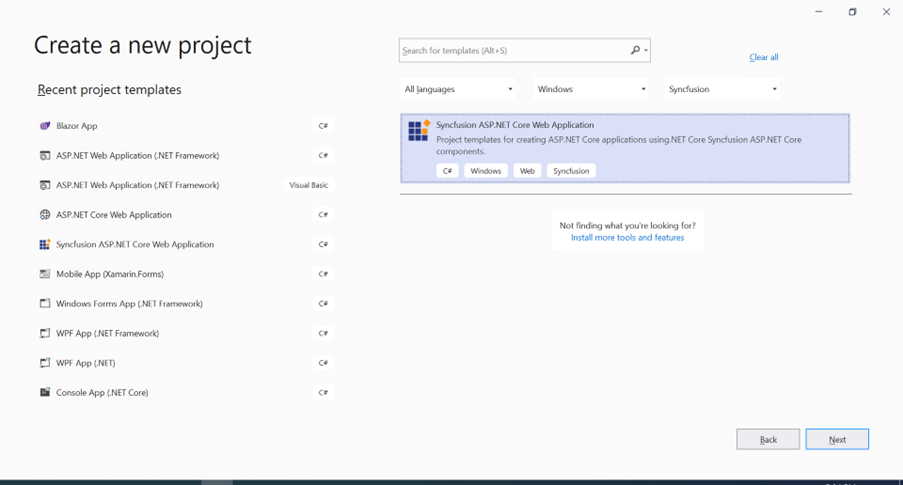
Open Visual Studio. Choose File –> New –> Project. The Create a new project dialog will open.
Filter the projects with the Syncfusion keyword in the search bar. You will be presented with the Syncfusion template for ASP.NET Core web apps. Select it and then click Next. Refer to the following image.
 Step 2: Name the project, choose the destination location, and then click OK. The project configuration wizard will appear.
Step 3: Choose the options to configure the Syncfusion ASP.NET Core app in the project configuration dialog. Refer to the following image.
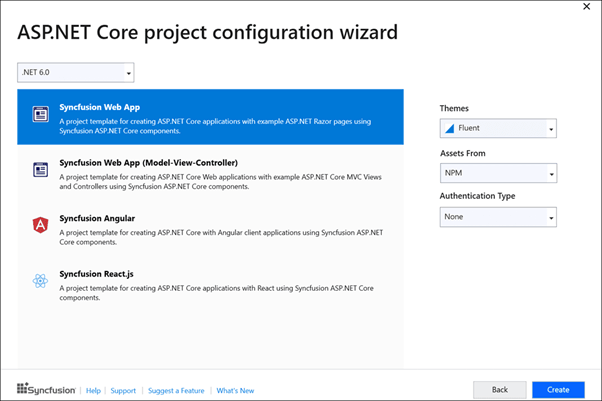 Project configurations:
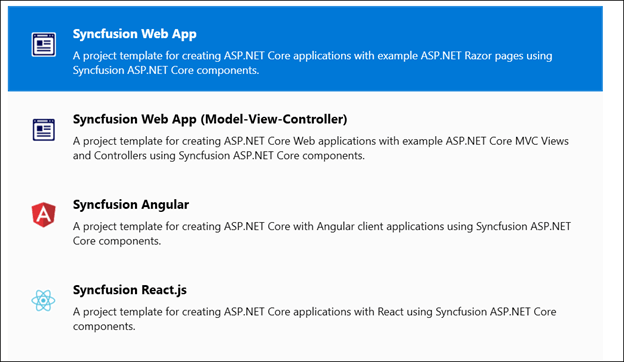
- Project type: Select Syncfusion Web App, Syncfusion Web App (Model-View-Controller), Syncfusion Angular, or Syncfusion React.js.
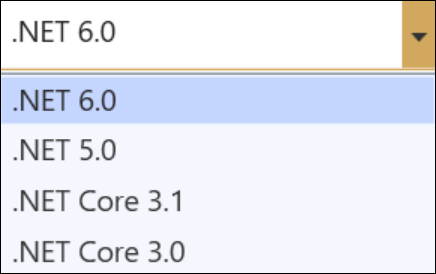
- .NET Core Version: Select the required .NET Core version for the project.
- Assets From: Load the Syncfusion EJ2 assets for the ASP.NET Core project from NPM, CDN, or an installed location.
Note: The installed location option will be available only when the Syncfusion Essential JS 2 setup has been installed.
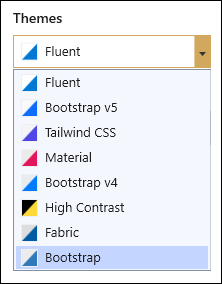
- Themes: Choose a required theme from the list of themes.
- Authentication Type: The authentication types will be listed based on the selected project type. Choose the required authentication type from the list.
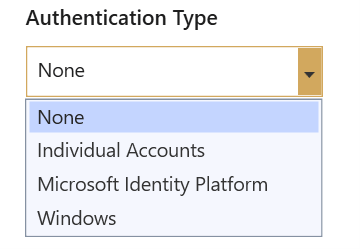
Note: Microsoft identity authentication and Windows authentication will not be shown for Angular and React projects.
Step 4: Click Create. The Syncfusion ASP.NET Core app will be created with the specified configuration. Refer to the following image.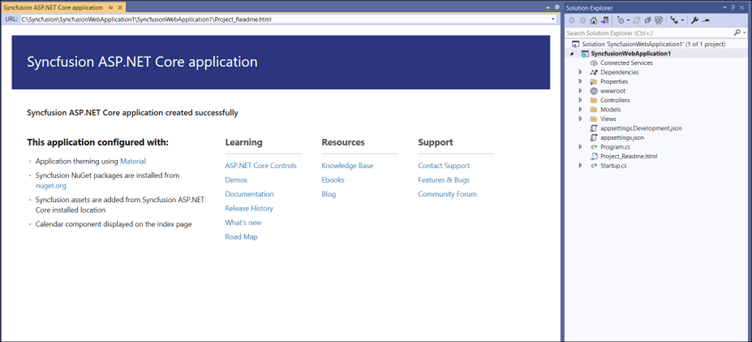
The created Syncfusion ASP.NET Core app configures the most recent Syncfusion ASP.NET Core NuGet packages, selected style, scripts, and NPM packages to render Syncfusion components.
Step 5: The Syncfusion license registration message box will be shown if you installed the trial setup or NuGet packages. Navigate to the help topic shown in the licensing message box for instructions on generating and registering the Syncfusion license key to your project.
Now that we have configured the project, let’s see about authentication.
Authentication configuration
For the Microsoft identity platform, we need to register the newly created app in Azure Active Directory. We can obtain the tenant ID and application client ID for the Microsoft identity platform through Azure Active Directory registration.
We have to configure these ID values in the created app, and only then will authentication work in the app.
Note: You don’t need to configure the application for both the individual and Windows authentications.
Microsoft identity platform
Step 1: Go to the Azure Active Directory App registrations page and then click the Azure Active Directory App Registration link.
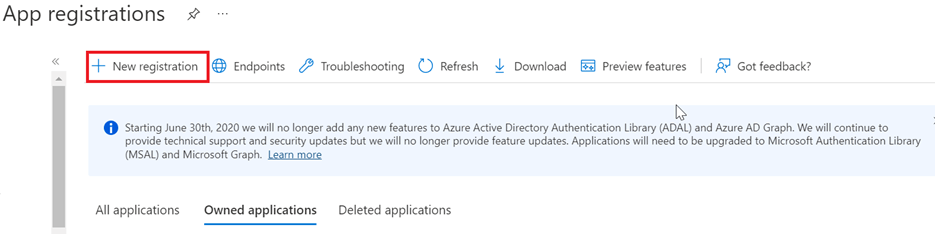
Step 2: Click the New Registration tab on the App registrations page.
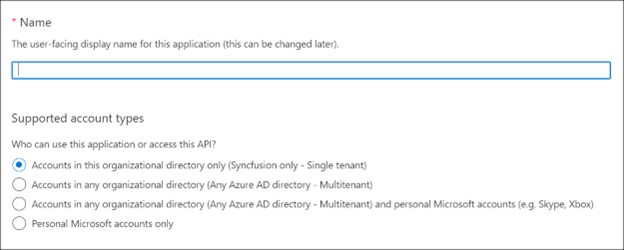
 Step 3: Provide the name of the app and set the supported account type as single tenant.
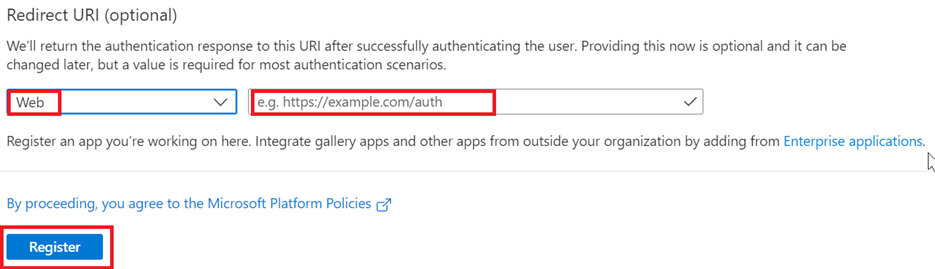
 Step 4: Scroll down the App registrations page, set the platform as web, and provide your app Redirect URI with a signin-oidc string. E.g.: {Redirect URI}/signin-oidc. Then click Register.
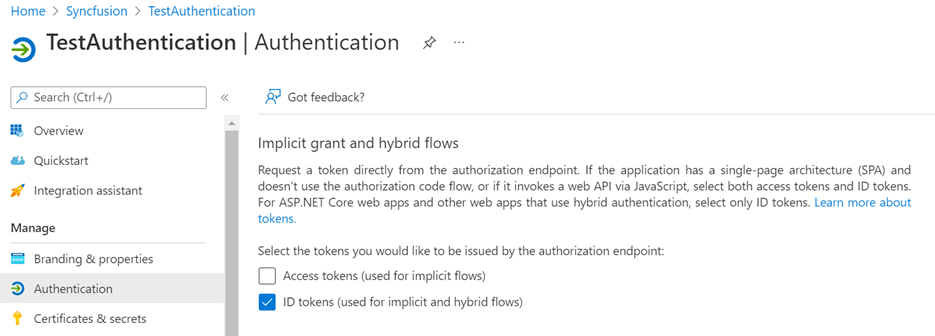
 Step 5: Now our app is registered. Go to the Authentication page and select the ID tokens checkbox. Refer to the following image.
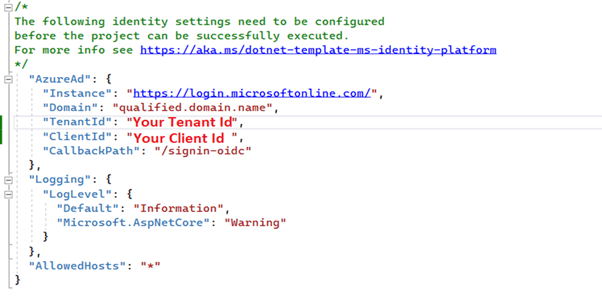
Step 6: Now, get the client tenant ID and application ID from the Overview page.

Step 7: Finally, configure those client tenant and application IDs in the appsettings.json file. Refer to the following image.
Register and log in to the application
Individual authentication
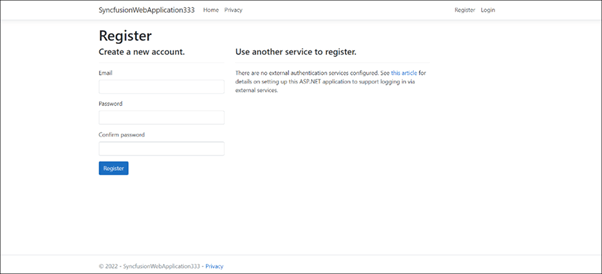
Step 1: To register the app, submit your email address and create a password. Then click Register.
Step 2: Confirm the registration by clicking Click here to confirm your account. Refer to the following image.

Step 3: You can then submit your registered email address and password to log in to the app.
Microsoft identity platform authentication
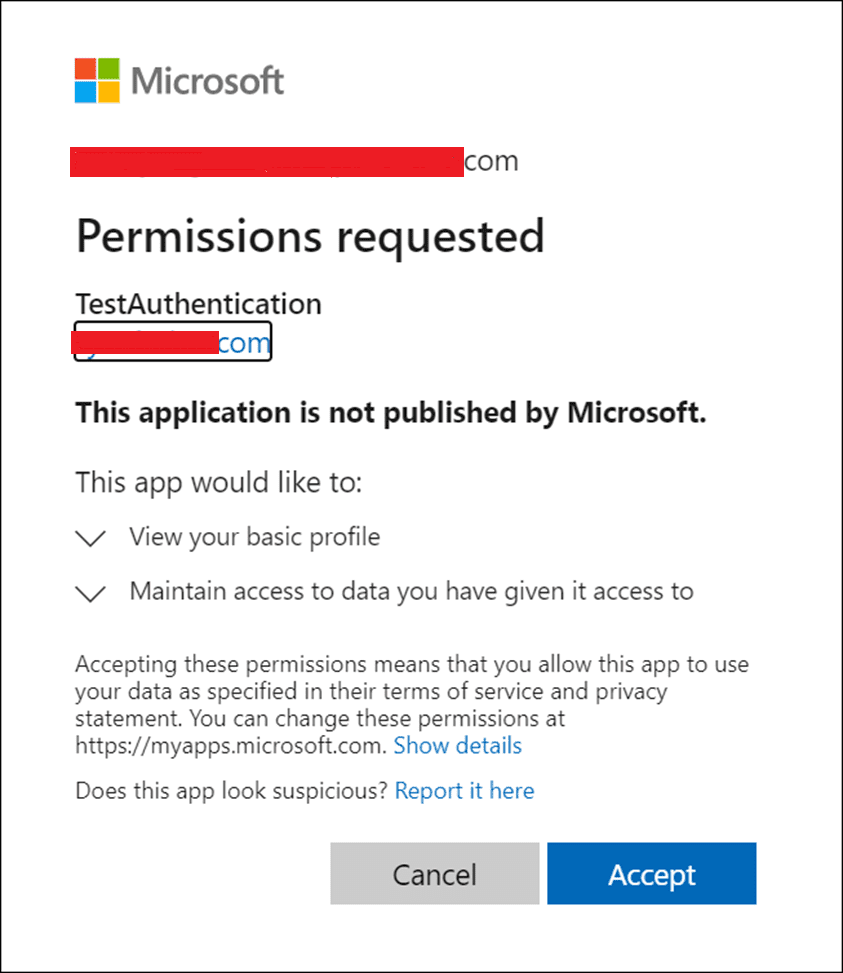
Step 1: Log in to your app using your Microsoft account.
Step 2: Accept the permissions request for your app. Refer to the following image.
Windows authentication
Windows authentication automatically retrieves the username from the Windows machine. There is no registration and login process involved.
Conclusion
Thanks for reading! In this blog, we have learned how to create an ASP.NET Core app with the various authentications supported in the Syncfusion ASP.NET Core project template. This will help you create impressive, secure web apps in less time. Follow the steps provided in this blog and leave your feedback in the comments section below!
If you have any questions, you can also contact us through our support forum, support portal, or feedback portal. We are always happy to assist you!
 No spam, just valuable updates.