
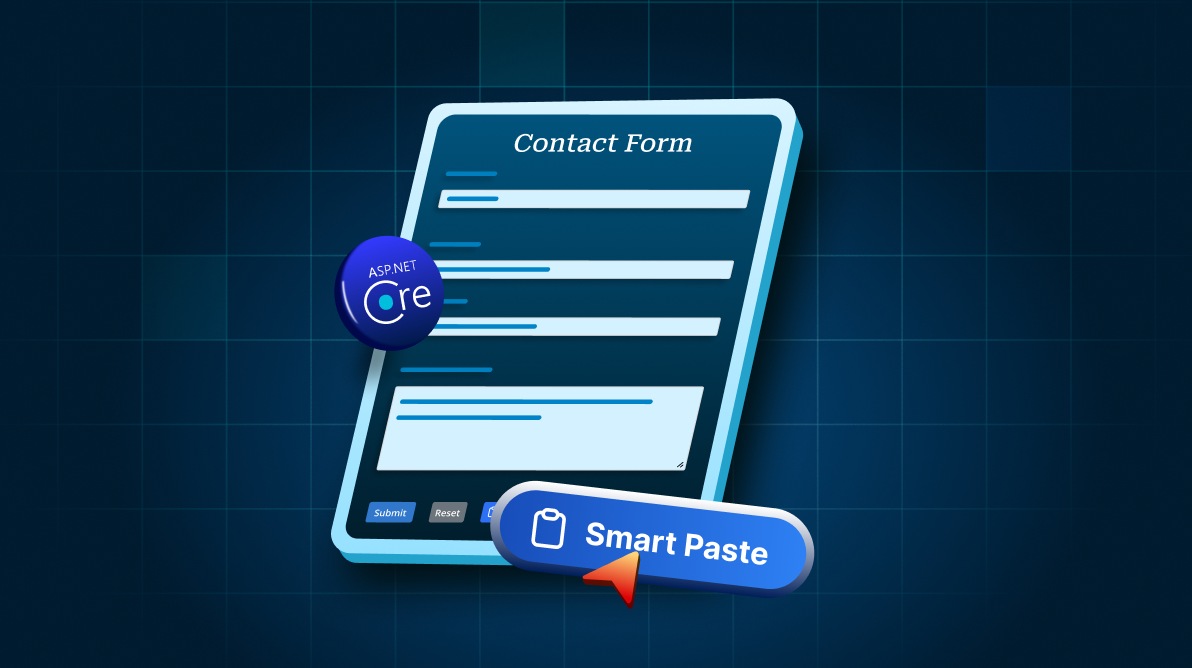
TL;DR: The Smart Paste Button in Syncfusion ASP.NET Core suite, introduced in the 2025 Volume 4 release, brings AI-powered clipboard intelligence to your forms. It analyzes clipboard content, understands context, and pastes data into the right fields with proper formatting.
As developers, we constantly look for ways to streamline workflows and deliver smoother user experiences. Syncfusion already provides a solid suite of ASP.NET Core UI controls, and with the Smart Paste Button, things get even better.
This new control, introduced in the 2025 Volume 4 release, uses AI to understand clipboard content and auto‑fill form fields intelligently, no more manual parsing, reformatting, or validation headaches. In this article, you’ll explore what the Smart Paste Button offers, how it works behind the scenes, and how to add it to your ASP.NET Core application.
In this guide, you’ll learn how to integrate Azure OpenAI (or other AI providers) with the Smart Paste Button to enable seamless auto‑fill in your ASP.NET Core apps.
Why the Smart Paste Button matters
Traditional paste functionality simply dumps raw text into a field, and that’s where the work begins. You still need to clean, format, and map the data.
The Smart Paste Button changes this completely. It uses AI to:
- Identify data types like text, numbers, emails, and dates.
- Understand the user’s intent.
- Map clipboard data to the correct form fields.
- Format values automatically based on rules you define.
The result? Faster workflows and a more polished user experience.
Here’s what makes this Smart Paste Button so powerful:
- Clipboard integration: Pulls data from the clipboard, reducing the need for manual typing.
- Autofill capability: Automatically populates multiple form fields with a single click.
- Smart data parsing: Detects structure and formats clipboard content to match form requirements.
- Custom rules: Define how different content types should be handled.
How it works
The Smart Paste Button uses AI to analyze the clipboard content and decide where each piece of information belongs. When a user clicks the Smart Paste:
- The control scans the form for elements like
<input>,<select>, and<textarea>. - It reads their associated
<label>, name, id, or nearby text. - It sends descriptive metadata + clipboard data to your configured AI model.
- The AI determines the correct field mappings.
- The control fills in the values instantly.
This gives users a faster, more accurate paste experience, especially in forms with multiple fields.
Let’s look at the benefits:
- Increased efficiency: Automate repetitive formatting and validating work.
- Improved accuracy: AI reduces data-entry mistakes and keeps formatting consistent.
- Customization: Developers can tailor the component to meet the specific needs of their applications, ensuring that the pasted content adheres to the desired standards and conventions.
Note: The Smart Paste Button inherits all styling and behavior from the existing Syncfusion ASP.NET Core Button control.
Getting started with the ASP.NET Core Smart Paste Button control
You’ve seen what the Smart Paste Button can do; now let’s integrate it. In the next section, we’ll walk you through setting it up in your ASP.NET Core application.
Prerequisites:
Before you begin, ensure you’ve installed the following:
- .NET 8 SDK or later.
- A new or existing ASP.NET Core application.
- An OpenAI, Azure OpenAI Account, or Ollama environment.-
Step 1: Create a new ASP.NET Core project
You can use Visual Studio via Microsoft Templates or the Syncfusion ASP.NET Core Extension to scaffold your app.
Step 2: Install Syncfusion ASP.NET Core NuGet in the App
To use the Smart Paste Button in your ASP.NET Core app, install the Syncfusion.EJ2.AspNet.Core NuGet package.
You can do this through Visual Studio:
- Open Tools → NuGet Package Manager → manage NuGet Packages for solution.
- Search for Syncfusion.EJ2.AspNet.Core.
- Install the package into your project.
Step 3: Add Syncfusion ASP.NET Core Tag Helper
Enable Syncfusion Tag Helpers so you can use the Smart Paste Button in your Razor pages.
Open ~/Pages/_ViewImports.cshtml and add:
@addTagHelper *, Syncfusion.EJ2This globally registers Syncfusion Tag Helpers across all your Razor pages.
Step 4: Add stylesheet and script resources
Next, reference the required Syncfusion CSS and JavaScript files in your layout.
Edit ~/Pages/Shared/_Layout.cshtml and include the following inside the <head> section:
<head>
    ...
    <link rel="stylesheet" href="https://cdn.syncfusion.com/ej2/32.1.19/fluent.css" />
    <script src="https://cdn.syncfusion.com/ej2/32.1.19/dist/ej2.min.js"></script>
</head>
This ensures the Smart Paste Button and other Syncfusion controls render correctly with the required styles and scripts.
Step 5: Configure AI service
The Smart Paste Button relies on an AI provider to analyze clipboard content. You can integrate OpenAI, Azure OpenAI, or Ollama on your setup. Follow the instructions below to register your preferred AI model in the application.
Option 1: Configure OpenAI
First, create an API key and assign it to openAIApiKey. Then choose the model you want to use such as gpt‑4o or gpt‑4o‑mini, and set it in openAIModel.
Install the following NuGet packages into your project:
Install-Package Microsoft.Extensions.AI
Install-Package Microsoft.Extensions.AI.OpenAI
To configure the AI service, add the following settings to the ~/Program.cs file in your ASP.NET Core Application:
using Microsoft.Extensions.AI;
using OpenAI;
using Syncfusion.EJ2;


builder.Services.AddRazorPages();

string openAIApiKey = "API-KEY";
string openAIModel = "OPENAI_MODEL";

OpenAIClient openAIClient = new
OpenAIClient(openAIApiKey);
IChatClient openAIChatClient = openAIClient.GetChatClient(openAIModel).AsIChatClient();
builder.Services.AddChatClient(openAIChatClient);

builder.Services.AddSyncfusionSmartComponents()
    .InjectOpenAIInference();

var app = builder.Build();
....
Option 2: Configure Azure OpenAI
Before configuring Azure OpenAI, deploy an Azure OpenAI Service resource and model. Then assign the following values:
azureOpenAIKeyazureOpenAIEndpointazureOpenAIModel
Install the following NuGet packages into your project:
Install-Package Microsoft.Extensions.AI
Install-Package Microsoft.Extensions.AI.OpenAI
Install-Package Azure.AI.OpenAI
To configure the AI service, add the following settings to the ~/Program.cs file in your ASP.NET Core Application.
Program.cs:
using Syncfusion.EJ2;
using Microsoft.Extensions.AI;
using Azure.AI.OpenAI;
using System.ClientModel;

builder.Services.AddRazorPages();

string azureOpenAIKey = "AZURE_OPENAI_KEY";
string azureOpenAIEndpoint = "AZURE_OPENAI_ENDPOINT";
string azureOpenAIModel = "AZURE_OPENAI_MODEL";
AzureOpenAIClient azureOpenAIClient = new AzureOpenAIClient(
     new Uri(azureOpenAIEndpoint),
     new ApiKeyCredential(azureOpenAIKey)
);
IChatClient azureOpenAIChatClient = azureOpenAIClient.GetChatClient(azureOpenAIModel).AsIChatClient();
builder.Services.AddChatClient(azureOpenAIChatClient);

builder.Services.AddSyncfusionSmartComponents()
    .InjectOpenAIInference();

var app = builder.Build();
....
Option 3: Ollama
To use Ollama for running self-hosted models:
- Download and install Ollama
Visit Ollama’s official website and install the appropriate application for your operating system. - Install the desired model from the Ollama library
You can browse and install models from the Ollama Library (e.g., llama2:13b, mistral:7b, etc.). - Configure your application
- Provide the Endpoint URL where the model is hosted (e.g., http://localhost:11434).
- Set ModelName to the specific model you installed (e.g., llama2:13b).
Install the following Nuget packages into your project:
Install-Package Microsoft.Extensions.AI
Install-Package OllamaSharp
Add the following settings to the ~/Program.cs file in your ASP.NET Core Application:
using Syncfusion.EJ2;
using Microsoft.Extensions.AI;
using OllamaSharp;

builder.Services.AddRazorPages();

string ModelName = "MODEL_NAME";
IChatClient chatClient = new OllamaApiClient("http://localhost:11434", ModelName);
builder.Services.AddChatClient(chatClient);

builder.Services.AddSyncfusionSmartComponents()
    .InjectOpenAIInference();

var app = builder.Build();
....
Step 6: Add the ASP.NET Core Smart Paste Button control
Next, add the Syncfusion ASP.NET Core Smart Paste Button tag helper in ~/Pages/Index.cshtml page:
<h1>Contact Form</h1>
<form action="/submit" method="post">
    <div class="mb-2">
        <label for="name" class="form-label">Full Name</label>
        <input type="text" class="form-control" id="name" name="name" required>
    </div>
    <div class="mb-2">
        <label for="email" class="form-label">Email</label>
        <input type="email" class="form-control" id="email" name="email" required>
    </div>
    …
    <!—Refer to the GitHub sample attached below for complete code examples -->
    …
    <div class="mb-2">
        <label for="country" class="form-label">Country</label>
        <select class="form-select" id="country" name="country">
            <option value="">Select Country</option>
            <option value="United States">United States</option>
            <option value="Canada">Canada</option>
            <option value="United Kingdom">United Kingdom</option>
        </select>
    </div>
    <button type="submit" class="btn btn-primary">Submit</button>
    <button type="reset" class="btn btn-secondary">Reset</button>
    <ejs-smartpaste id="smartPasteBtn" content="Smart Paste" cssClass="e-primary" iconCss="e-icons e-paste"></ejs-smartpaste>
</form>
Press Ctrl+F5 (Windows) or ⌘+F5 (macOS) to run the app, copy the sample content and click Smart Paste to see how the form is instantly filled.
Annotation
By default, the Smart Paste Button automatically scans form elements such as <input>, <select>, and <textarea>. It analyzes each field’s <label>, name, id, and any nearby descriptive text to generate a semantic description. These descriptions are sent to the AI model, enabling accurate mapping between clipboard content and form fields.
If you require more control over how the AI interprets a field, you can override the default description using data-smartpaste-description attribute. This allows you to provide custom instructions specific to that field.
Refer to the code example below.
<h1>Contact Form</h1>
<form action="/submit" method="post">
    <div class="mb-2">
        <label for="name" class="form-label">Full Name</label>
        <input type="text" class="form-control" id="name" name="name" required data-smartpaste-description="All characters must be uppercase.">
    </div>
    …
</form>
Now run the app again, copy the sample content, and click Smart Paste. The AI processes the clipboard data and maps it to the correct form fields. In this example, the Full Name field will apply uppercase formatting based on your custom description.
Here’s a quick demo of the control in action:
GitHub reference
You can find the complete sample for ASP.NET Core Smart Paste Button on GitHub.
Try the AI Smart Paste Button in your ASP.NET Core app today
The Syncfusion ASP.NET Core Smart Paste Button transforms data entry by intelligently parsing and mapping pasted content with accuracy and context awareness. By integrating this AI‑powered control, you can reduce input errors, boost productivity, and streamline workflows across your applications.
Discover what else’s included in this release by exploring our Release Notes and What’s New pages, and share your thoughts or questions in the comments, we’d love to hear how this feature fits into your projects.
If you’re already a Syncfusion customer, download the latest setup from the license and downloads page. New users can get started with a free 30-day trial and experience the Smart Paste button in action.
Need help or have questions? Reach out through our support forum, support portal, or feedback portal, our team is always happy to assist.


 No spam, just valuable updates.