---
title: "React Multicolumn MultiSelect Dropdown Component"
published_at: "2023-02-21T11:30:00+00:00"
modified_at: "2026-02-10T08:55:34+00:00"
url: "https://www.syncfusion.com/blogs/post/react-multicolumn-multiselect-dropdown"
excerpt: "This blog article will look at customizing and creating a React multicolumn multiselect dropdown utilizing the template functionality."
taxonomy_category:
- "Development"
- "React"
- "Syncfusion"
- "UI"
- "Web"
taxonomy_post_tag:
- "dropdown"
- "React"
- "UI"
- "Web Development"
---
# React Multicolumn MultiSelect Dropdown Component
[Saravanan G](https://www.syncfusion.com/blogs/author/saravanang)
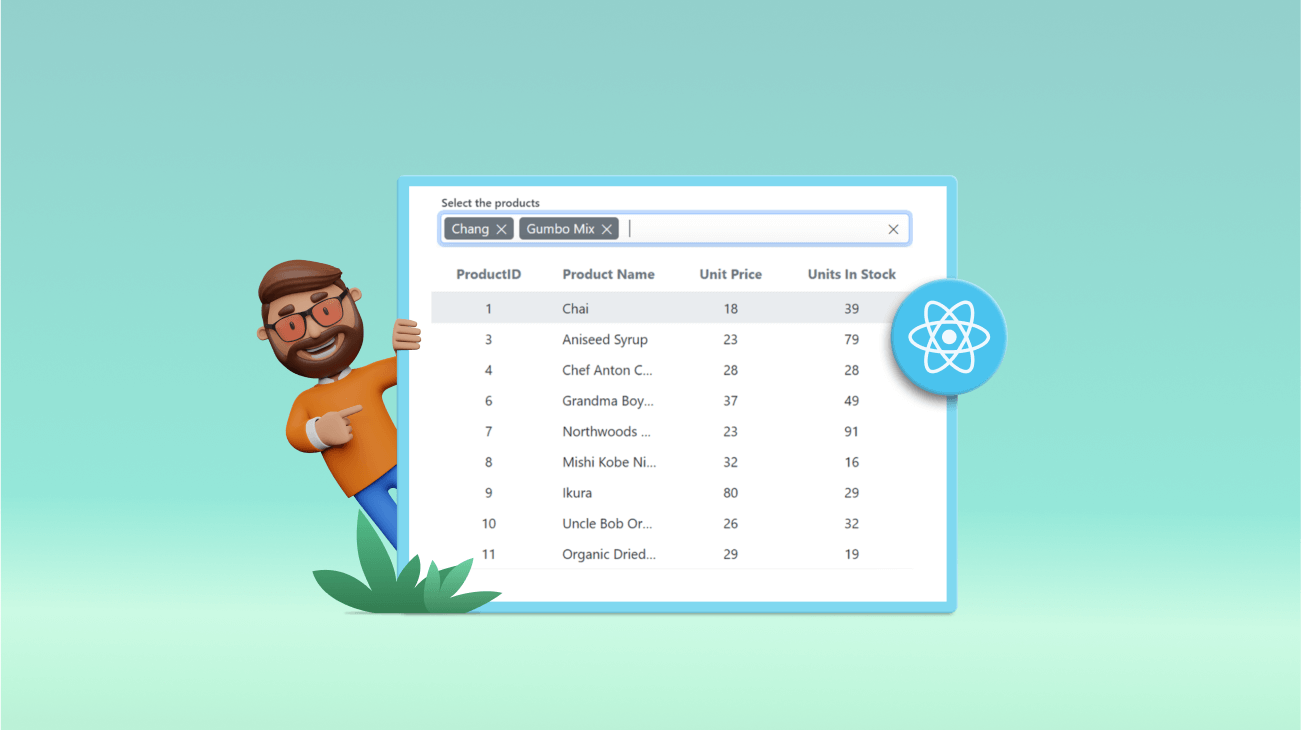
This blog post will look at the Syncfusion [React MultiSelect Dropdown](https://www.syncfusion.com/react-components/react-multiselect-dropdown)
component. Learn how to create and configure multiple columns in it using the template feature.
## Use of the multicolumn data list
The MultiSelect Dropdown displays list items in multiple columns, like in a grid view. So, it displays more information in a single list.
Let’s suppose the user wants to select products based on unit price and units in stock. So, we provide options to allow users to filter by their search criteria (by unit price, for example). This gives them a quick and detailed glance at all relevant information regarding a product.
Using the Syncfusion React MultiSelect Dropdown, let’s efficiently implement multiple columns with the templates feature.
## Create a new React application
**Step 1:** We’ll create the React getting started application.
First, install the [create-react-app](https://www.npmjs.com/package/create-react-app)
npm package in the desired location using the following command.
```
npx create-react-app my-app
```
Then, refer to the [Getting Started with React Apps](https://create-react-app.dev/docs/getting-started/)
documentation to create a React app using the npm and yarn commands.
**Step 2:** Add Syncfusion packages for the [MultiSelect Dropdown](https://www.npmjs.com/package/@syncfusion/ej2-react-dropdowns)
with the following commands.
```
npm install @syncfusion/ej2-react-dropdowns –save-dev
```
**Step 3:** Add the following CSS files as references for the component in the ** src/App.css** file. These files are available in the **../node_modules/@syncfusion** package folder.
```
@import '../node_modules/@syncfusion/ej2-base/styles/bootstrap5.css';
@import '../node_modules/@syncfusion/ej2-icons/styles/bootstrap5.css';
@import '../node_modules/@syncfusion/ej2-inputs/styles/bootstrap5.css';
@import '../node_modules/@syncfusion/ej2-lists/styles/bootstrap5.css';
@import '../node_modules/@syncfusion/ej2-popups/styles/bootstrap5.css';
@import '../node_modules/@syncfusion/ej2-react-dropdowns/styles/bootstrap5.css';
```
**Step 4:** Place the following code in the ** src/App.js** file to add the MultiSelect Dropdown component.
```
import './App.css';
import { MultiSelectComponent } from '@syncfusion/ej2-react-dropdowns';
function App() {
return (
// specifies the tag for rendering the MultiSelect component
);
}
export default App;
```
**Step 5:** Configure the product data and map the field settings to populate the list in the pop-up.
```
// define the JSON of data
const productsData = [
{ProductID: 1, ProductName: 'Chai', UnitPrice: 18, UnitsInStock: 39},
{ProductID: 2, ProductName: 'Chang', UnitPrice: 19, UnitsInStock: 45},
{ProductID: 3, ProductName: 'Aniseed Syrup', UnitPrice: 23, UnitsInStock: 79},
{ProductID: 4, ProductName: 'Chef Anton Cajun Seasoning', UnitPrice: 28, UnitsInStock: 28},
{ProductID: 5, ProductName: 'Gumbo Mix', UnitPrice: 11, UnitsInStock: 50},
{ProductID: 6, ProductName: 'Grandma Boysenberry', UnitPrice: 37, UnitsInStock: 49},
{ProductID: 7, ProductName: 'Northwoods Cranberry Sauce', UnitPrice: 23, UnitsInStock: 91},
{ProductID: 8, ProductName: 'Mishi Kobe Niku', UnitPrice: 32, UnitsInStock: 16},
{ProductID: 9, ProductName: 'Ikura', UnitPrice: 80, UnitsInStock: 29},
{ProductID: 10, ProductName: 'Uncle Bob Organic Dried Pears', UnitPrice: 26, UnitsInStock: 32},
{ProductID: 11, ProductName: 'Organic Dried Pears', UnitPrice: 29, UnitsInStock: 19}
];
// maps the appropriate column to the fields property
const fields = { text: 'ProductName', value: 'ProductID' };
return (
// specifies the tag for rendering the MultiSelect component
);
```
**Step 6:** Now, we need to display the pop-up list item in a multicolumn view to show more information when the user opens it. Use the [item template](https://ej2.syncfusion.com/react/documentation/api/multi-select/#itemtemplate)
to display column data in the table view and the [header template](https://ej2.syncfusion.com/react/documentation/api/multi-select/#headertemplate)
to display the table of column names.
```
// set the value to the header template
function headerTemplate(data) {
return (| ProductID | Product Name | Unit Price | Units In Stock |
|---|
);
}
// set the value to the item template
function itemTemplate(data) {
return (| {data.ProductID} | {data.ProductName} | {data.UnitPrice} | {data.UnitsInStock} |
);
}
return (
// specifies the tag for rendering the MultiSelect component
);
```
**Step 7:** We configure the multicolumn CSS class. We have provided the multicolumn style class in the built-in Syncfusion React theme files. We need to give the multicolumn root class name ** e-multi-column** in the [cssClass](https://ej2.syncfusion.com/react/documentation/api/multi-select/#cssclass)
API.
```
```
Run the application with the following command.
```
npm start
```
After executing the previous code examples, we’ll get output like the following screenshot. See how it displays the MultiSelect Dropdown pop-up list items information in the multicolumn view.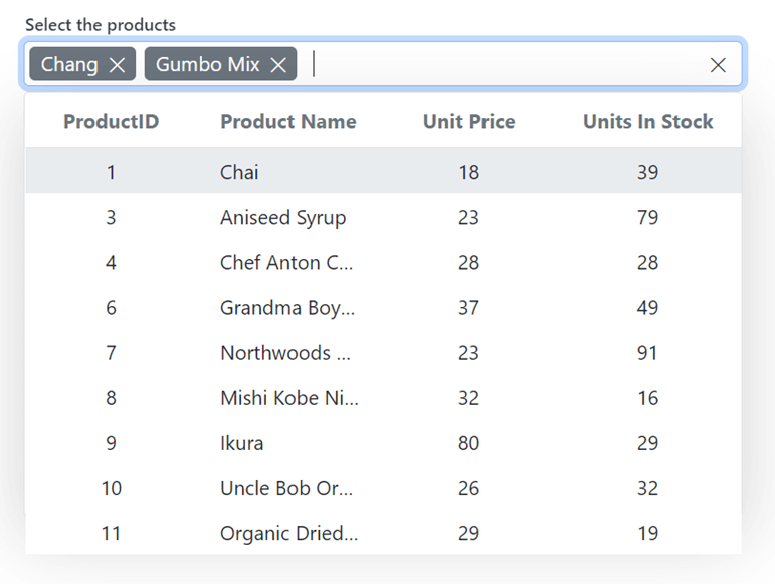
## GitHub reference
For additional information, see the GitHub demo of the [React MultiSelect Dropdown component with multiple columns](https://github.com/SyncfusionExamples/react-multiselect-dropdown-with-multiple-columns)
.
## Conclusion
Thank you for your time! I hope you can now add and show MultiSelect Dropdown items in a multicolumn view. Using the template option, you can alter the pop-up and list items, as seen in the examples in this [demo](https://ej2.syncfusion.com/react/demos/#/bootstrap5/multi-select/default)
.
The latest version of Essential Studio® is available from the [license and downloads page](https://www.syncfusion.com/account/downloads)
for current Syncfusion customers. If you are not a client, you can take advantage of our 30-day [free trial](https://www.syncfusion.com/downloads)
to test our controls.
If you have questions, please contact us via our [support forums](https://www.syncfusion.com/forums)
, [feedback portal](https://www.syncfusion.com/feedback)
, or [support portal](https://support.syncfusion.com/)
. We are always delighted to help!
## Related blogs
- [7 VS Code Extensions for React Developers](https://www.syncfusion.com/blogs/post/7-vs-code-extensions-for-react-developers.aspx)
- [Create a Simple Dashboard for Data Analysis in React](https://www.syncfusion.com/blogs/post/create-a-simple-dashboard-for-data-analysis-in-react.aspx)
- [Create a Redux Form with Syncfusion React Components](https://www.syncfusion.com/blogs/post/create-redux-form-with-syncfusion-react-components.aspx)
- [Integrate Syncfusion React Mention Component with Rich Text Editor](https://www.syncfusion.com/blogs/post/integrate-react-mention-component-with-rich-text-editor.aspx)