---
title: "Easily Integrate Blazor Components into Any SPA Framework as Custom Elements"
published_at: "2023-03-14T11:00:00+00:00"
modified_at: "2026-02-10T06:17:40+00:00"
url: "https://www.syncfusion.com/blogs/post/integrate-blazor-components-into-any-spa-framework"
excerpt: "This blog will delve into the process of constructing custom elements using Blazor Razor components and examine how they can be incorporated into an Angular application."
taxonomy_category:
- "Angular"
- "Blazor"
- "Development"
- "React"
- "Web"
taxonomy_post_tag:
- "Angular"
- "Blazor"
- "productivity"
- "React"
- "Web Development"
---
# Easily Integrate Blazor Components into Any SPA Framework as Custom Elements
[Navin Vinayagam](https://www.syncfusion.com/blogs/author/navin-vinayagam)
With the [release of .NET 7](https://dotnet.microsoft.com/en-us/download/dotnet/7.0)
, the [Blazor framework](https://www.syncfusion.com/blazor-components)
enables developers to integrate Razor components into popular JavaScript [SPA frameworks](https://single-spa.js.org/docs/getting-started-overview/)
such as Angular and React. The key advantage of using Blazor custom elements is their ability to increase reusability while creating dynamic and engaging web applications.
In this blog, we will explore how to create custom elements from Blazor Razor components and learn how they can be integrated into an [Angular](https://www.syncfusion.com/Angular-components)
application.
## Creating a Blazor Server application
Let’s create a Blazor Server application with the **Blazor Server App Empty** template by following the guidelines to [build your first Blazor app](https://dotnet.microsoft.com/en-us/learn/aspnet/blazor-tutorial/create)
.
The Blazor Server application will be created, as shown in the following screenshot.
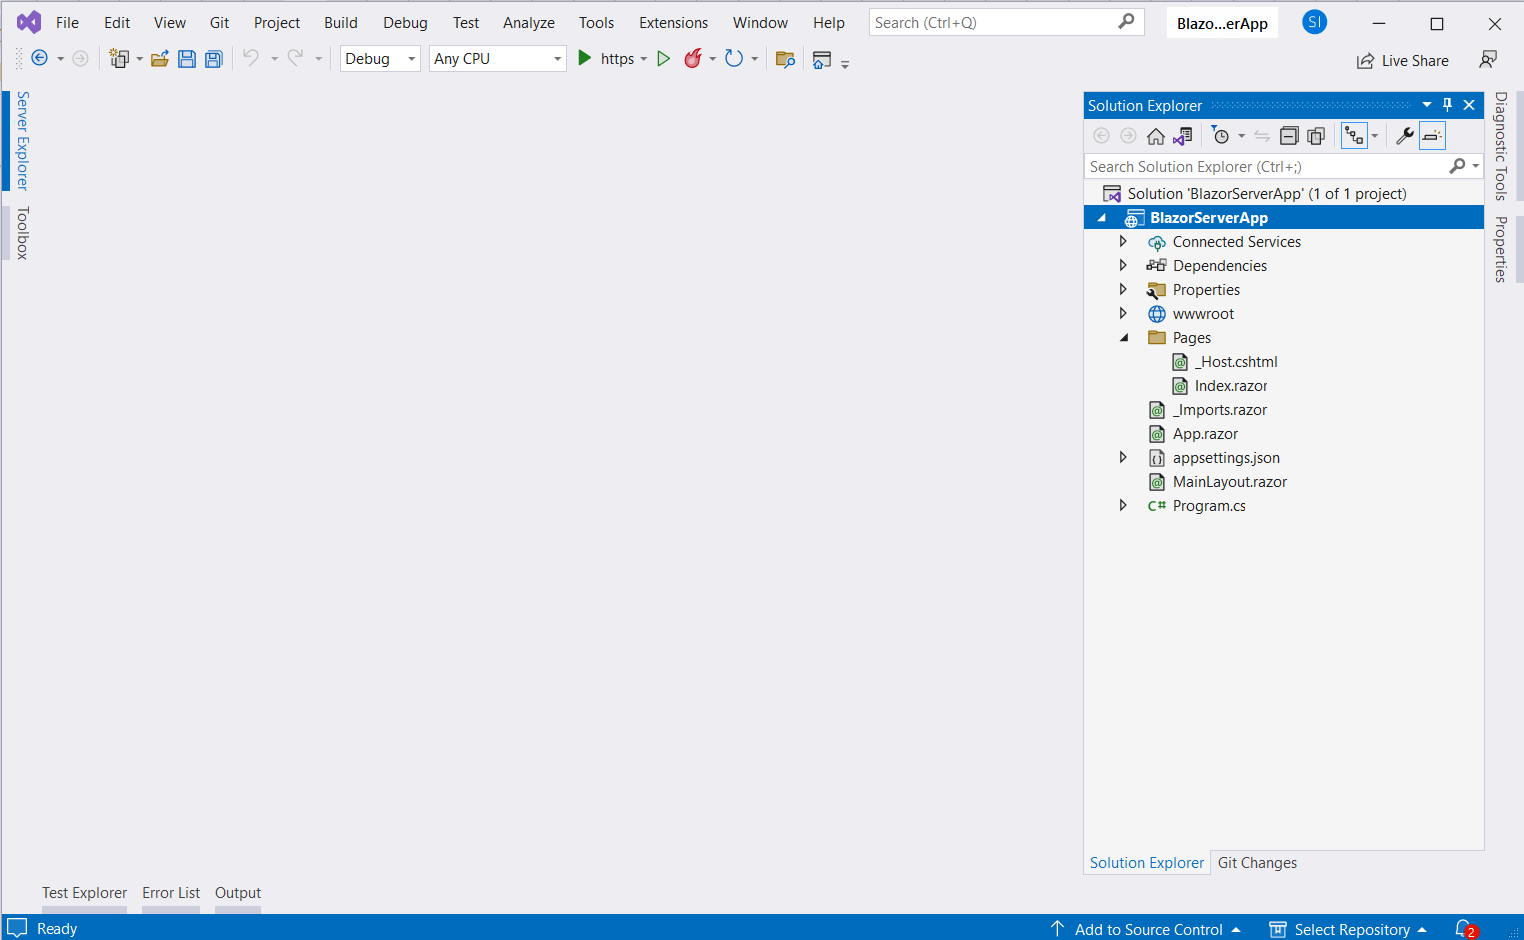
Blazor Server Application
### Creating a Razor Component
1. We have created the Blazor Server application. Now, let’s create a new Razor component called **CustomElements** by right-clicking the ** Pages** folder, clicking ** Add**, and then selecting ** Razor Component**. 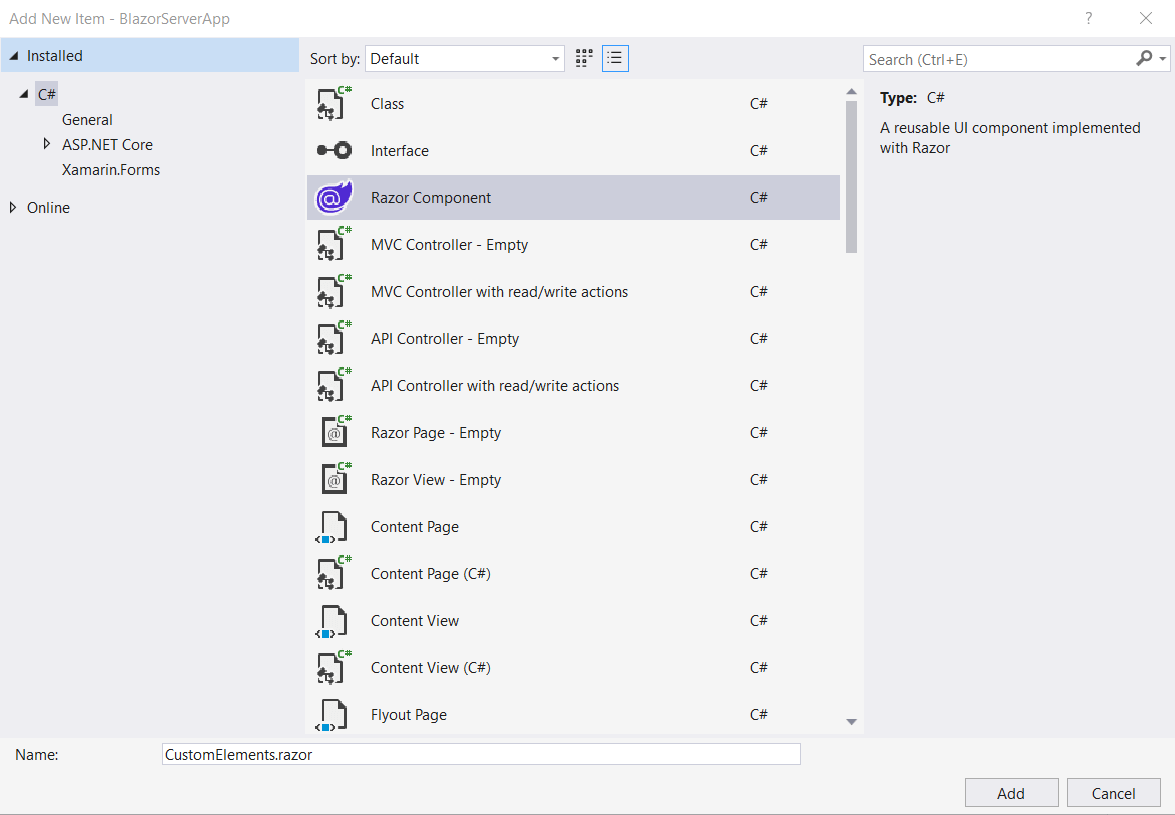 Add Razor Component
1. Then, add the required HTML markup and C# code in the Razor component. I add the Blazor built-in component [InputSelect](https://learn.microsoft.com/en-us/dotnet/api/microsoft.aspnetcore.components.forms.inputselect-1?view=aspnetcore-7.0) and the [Syncfusion Blazor Dropdown List](https://www.syncfusion.com/blazor-components/blazor-dropdown-list) component with **SelectedGame** defined as the parameter. For more information on the Syncfusion Blazor Dropdown List, refer to this [getting started documentation](https://blazor.syncfusion.com/documentation/dropdown-list/getting-started) . ** CustomElements.razor**``` @using Microsoft.AspNetCore.Components.Forms @using Syncfusion.Blazor.DropDowns
Blazor component
Selected Game: @SelectedGame @foreach (var game in Games) { }
@code { [Parameter] public string SelectedGame { get; set; } = "Badminton"; public List Games = new List() { "Badminton", "Basketball", "Cricket", "Football", "Hockey" }; } ```
### Registering the Razor Component as a custom element
1. First, install the NuGet package [Microsoft.AspNetCore.Components.CustomElements](https://www.nuget.org/packages/Microsoft.AspNetCore.Components.CustomElements) , which is used for Blazor custom element configuration. 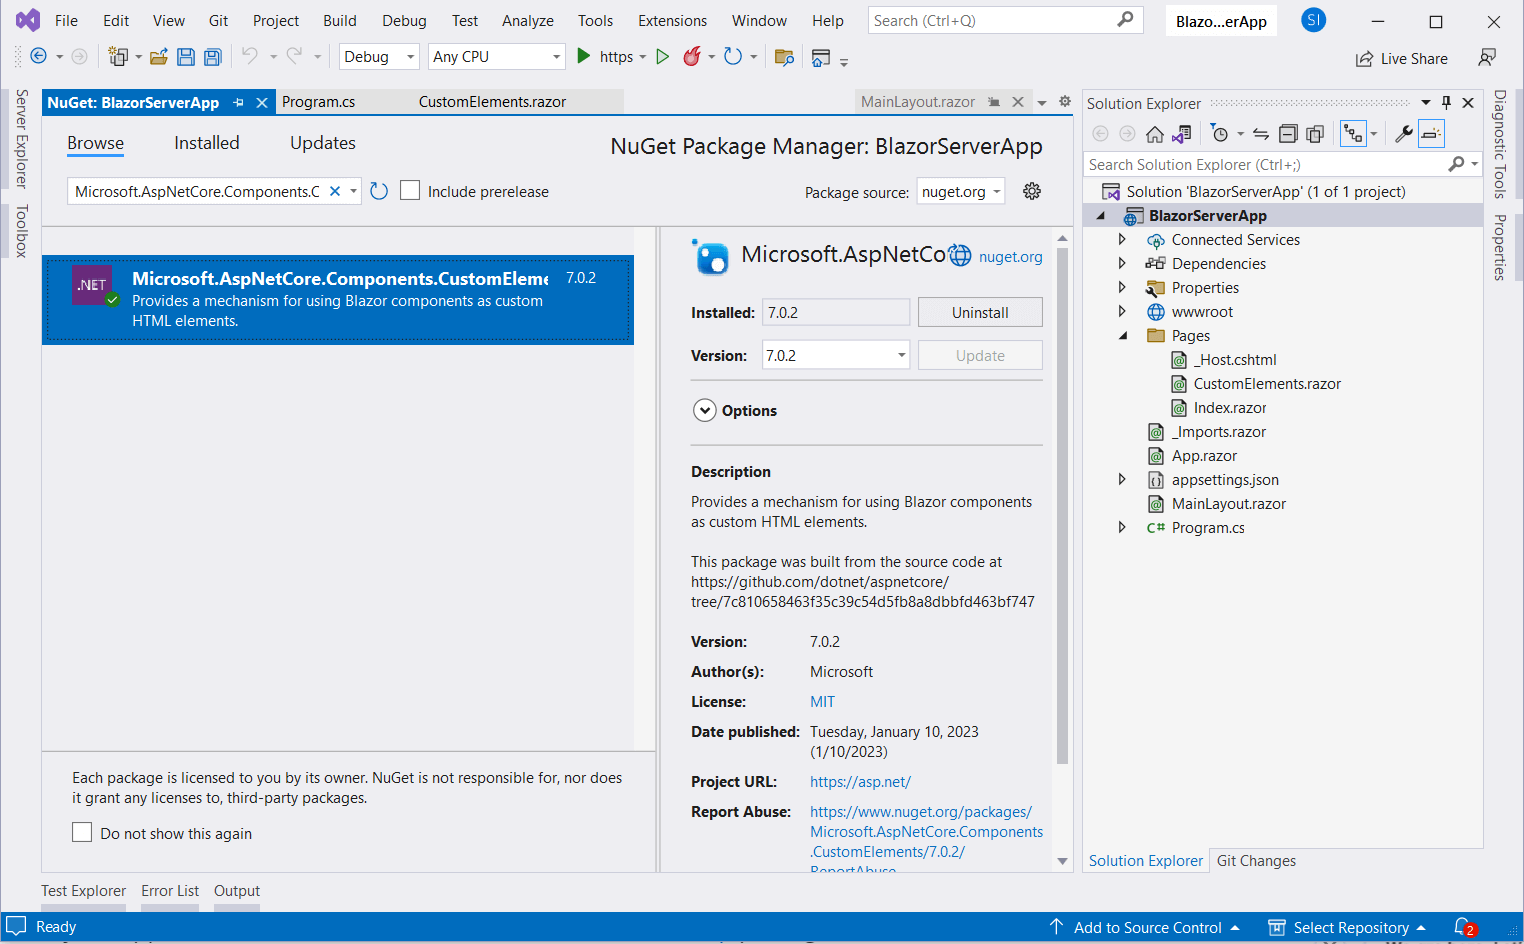
1. Register the **CustomElements** Razor component as a custom element with the tag name ** my-blazor-component** in the ** Program.cs** file. Refer to the following code.``` using BlazorServerApp.Pages; using Microsoft.AspNetCore.Components.Web; using Syncfusion.Blazor; //... builder.Services.AddServerSideBlazor(options => { options.RootComponents.RegisterCustomElement("my-blazor-component"); }); builder.Services.AddSyncfusionBlazor(); //... ```
1. Now, we are ready with that part of the Blazor Server application. Run the application and note down the hosted URL link for the Angular application proxy configuration. The Blazor application will be launched in the URL [https://localhost:7039](https://localhost:7039/) .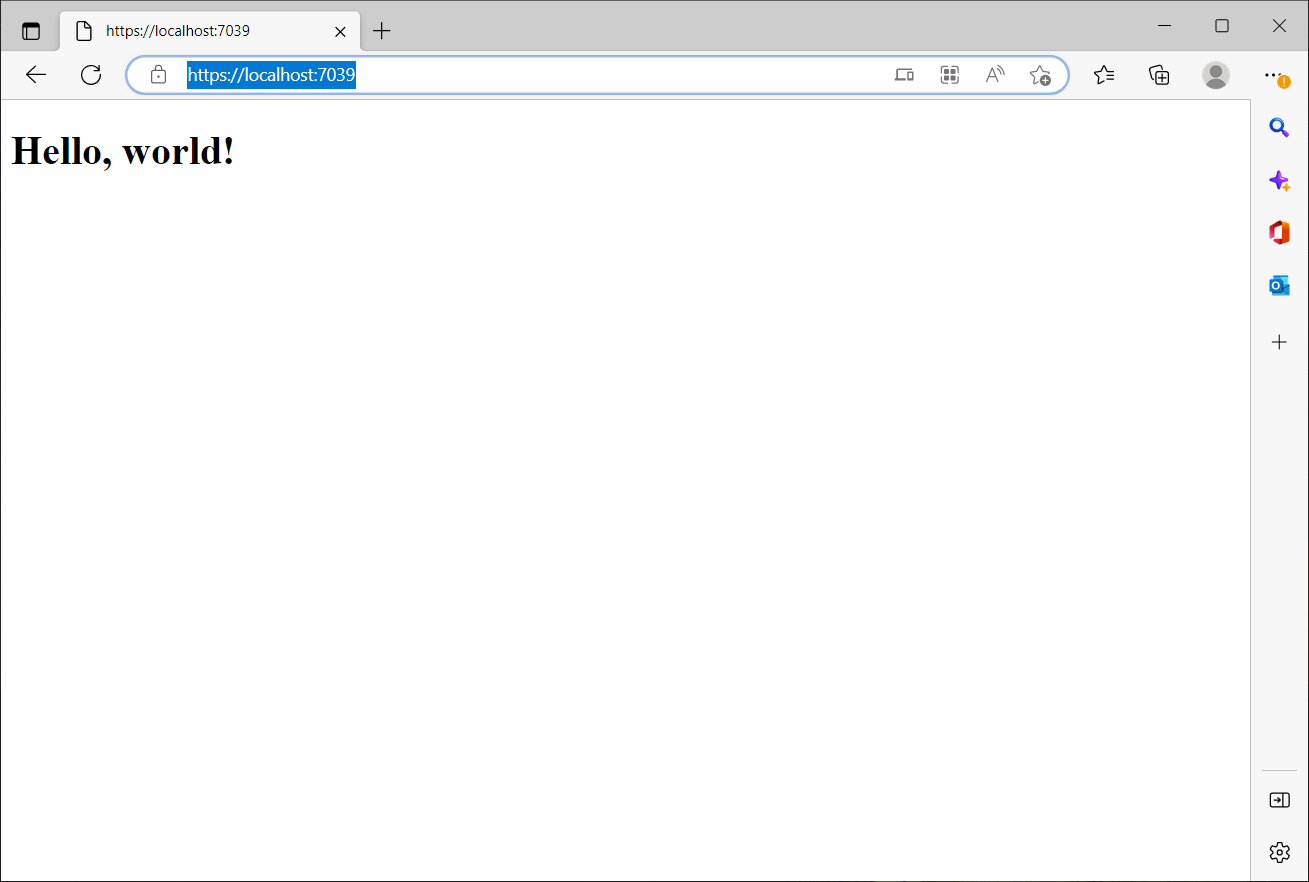
## Creating an Angular application
Follow these steps to create an Angular application with the required configuration setup.
First, create a simple Angular application with the Angular CLI by following the steps described [in this link](https://github.com/angular/angular-cli#setting-up-a-project)
.
### Configuring the proxy to access the Blazor Server app
1. Create a file named **proxy.conf.js** in the Angular project’s ** src/folder** and add the following configuration code. ** proxy.conf.json**``` const target = "https://localhost:7039/" // Blazor application hosted URL const PROXY_CONFIG = [ { context: [, "/_content", "/_framework", "/_blazor", ], proxyTimeout: 3000, target: target, secure: false, headers: { Connection: 'Keep-Alive' } }, { context: [ "/_blazor" ], target: target, secure: false, ws: true, logLevel: "debug" } ]; module.exports = PROXY_CONFIG; ```
1. Add the **proxyConfig** option to the ** serve** target in the Angular CLI configuration. Refer to the following code. ** angular.json**``` "serve": { "builder": "@angular-devkit/build-angular:dev-server", "options": { "proxyConfig": "src/proxy.conf.js" }, //... }, ```
### Configuring the Angular app to use custom elements
Add the **CUSTOM_ELEMENTS_SCHEMA** to allow the Angular application to use our Blazor custom elements.
**app.module.ts**
```
import { NgModule, CUSTOM_ELEMENTS_SCHEMA } from '@angular/core';
import { BrowserModule } from '@angular/platform-browser';
import { AppRoutingModule } from './app-routing.module';
import { AppComponent } from './app.component';
@NgModule({
declarations: [
AppComponent
],
imports: [
BrowserModule,
AppRoutingModule
],
providers: [],
bootstrap: [AppComponent],
schemas: [
CUSTOM_ELEMENTS_SCHEMA
]
})
export class AppModule { }
```
### Adding Blazor custom element
1. Add the following scripts and style dependencies for our Blazor custom element in the **index.html** file. ** index.html**``` //... ```
2. Add the Blazor custom element in the Angular application using the tag with which we registered the custom element in the Blazor Server application. Here, we replace all the content with the following code in the **app.component.html** file. ** app.component.html**``` //... ```
### Run the application
Let’s run the Angular project using the following command. Also, ensure the Blazor Server application is hosted in that runnable URL.
```
npm start
```
You can see the demo of the runnable application in the following GIF image.
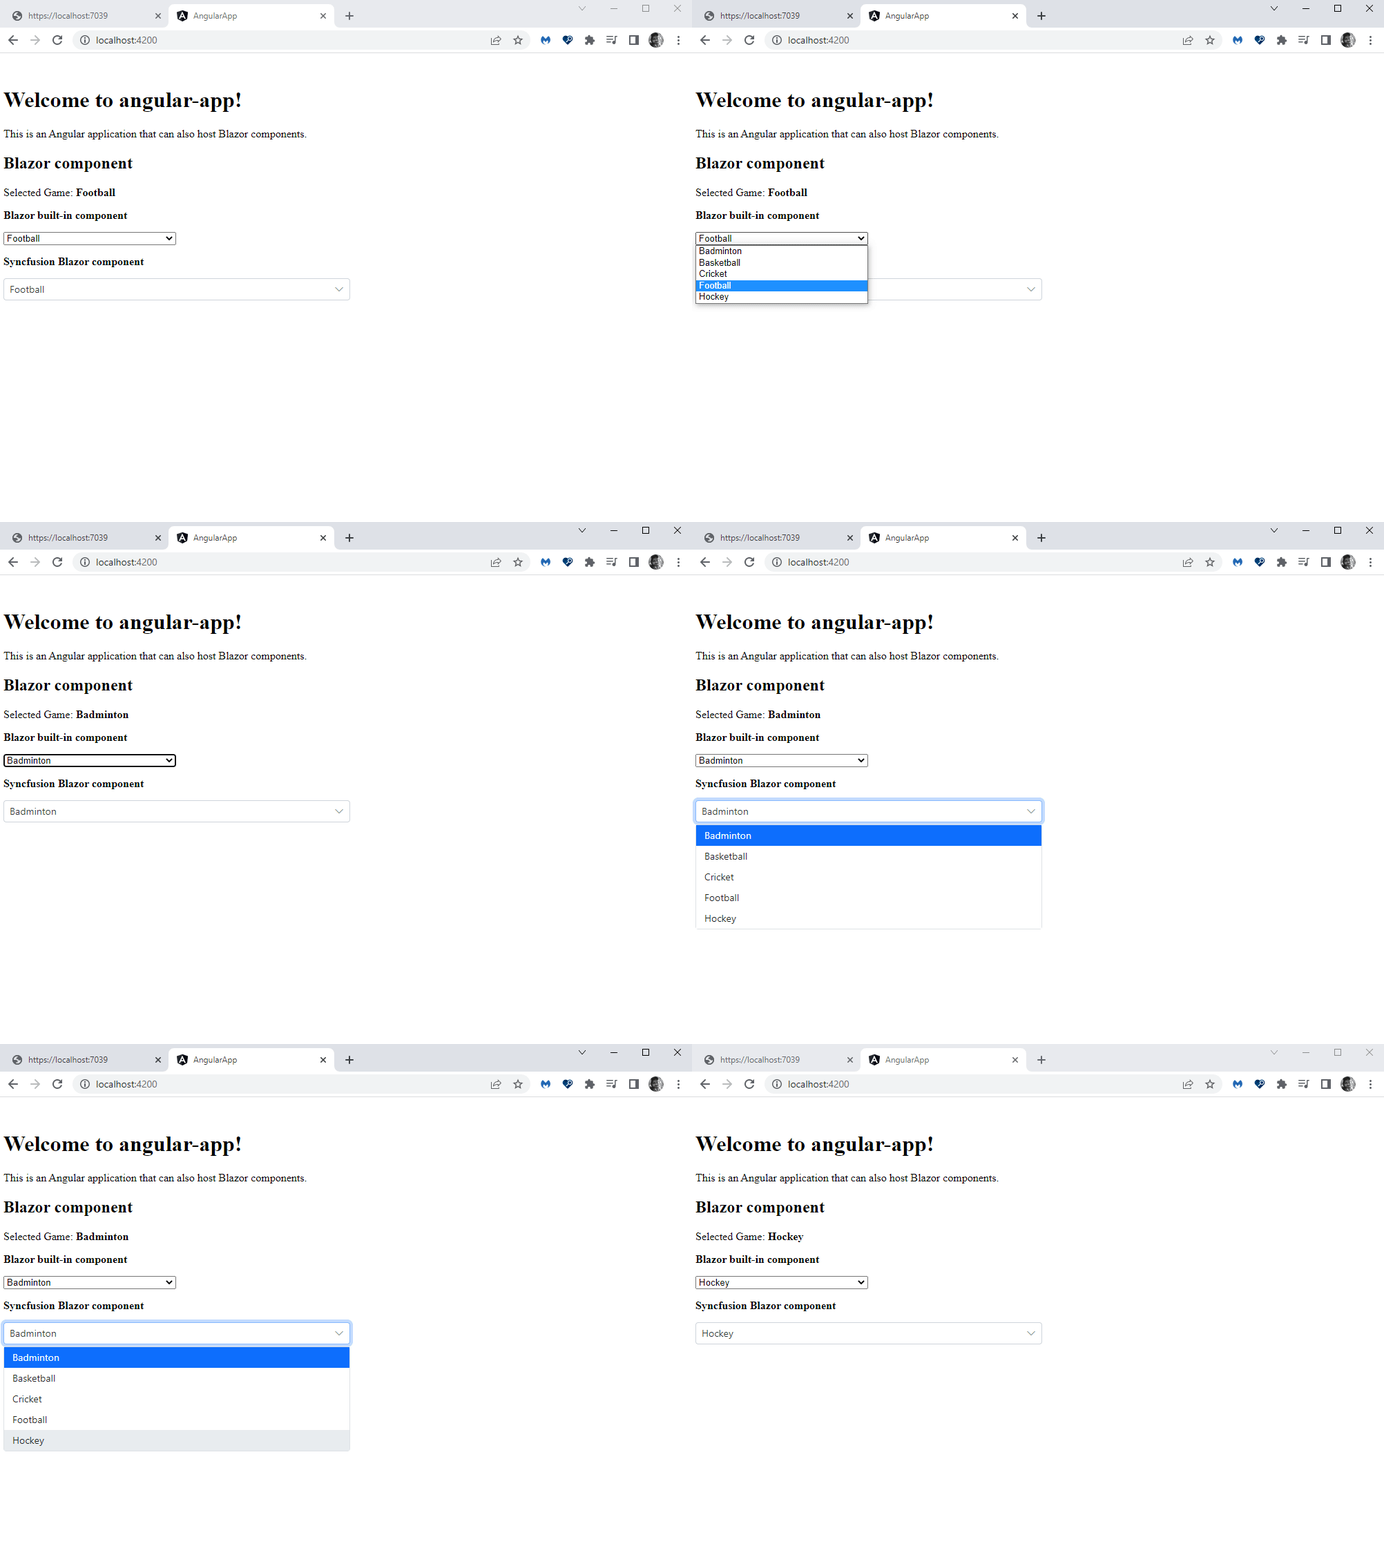
Blazor Custom Element Used in Angular App
The Angular application used the Blazor custom element example.
## GitHub reference
You can download the complete source code for [integrating Syncfusion’s Blazor components into any SPA framework as custom elements on GitHub](https://github.com/SyncfusionExamples/Integrate-Blazor-component-as-Custom-elements-in-JavaScript-SPA)
.
## Conclusion
Thank you for your time. This blog post covered how to utilize [Blazor](https://www.syncfusion.com/blazor-components)
’s custom elements within the SPA framework Angular.
You can render Blazor custom elements within any SPA framework for reusability as a custom element. Please refer to [this documentation link](https://learn.microsoft.com/en-us/aspnet/core/blazor/components/?view=aspnetcore-7.0#blazor-custom-elements)
for more information on Blazor’s custom elements. If you have any questions or feedback, feel free to let us know in the comments section below.
You can try out our [Blazor components](https://www.syncfusion.com/blazor-components)
by downloading a [free 30-day trial](https://www.syncfusion.com/account/manage-trials/downloads)
. If you have any questions, you can reach us through our [support forum](https://www.syncfusion.com/forums/blazor-components)
, [support portal](https://support.syncfusion.com/)
, or [feedback portal](https://www.syncfusion.com/feedback)
. We are always happy to assist you!
## Related blogs
- [Building an Application for Microsoft Teams with Blazor](https://www.syncfusion.com/blogs/post/building-an-application-for-microsoft-teams-with-blazor.aspx)
- [Task Scheduling and Markers in Blazor Gantt Chart](https://www.syncfusion.com/blogs/post/task-scheduling-and-markers-in-blazor-gantt-chart.aspx)
- [Implement User Tagging in Blazor Rich Text Editor with Mention Component](https://www.syncfusion.com/blogs/post/user-tagging-in-blazor-rich-text-editor.aspx)
- [Seamlessly Create a Mind Map Using the Blazor Diagram Component](https://www.syncfusion.com/blogs/post/mind-map-using-blazor-diagram.aspx)