---
title: "Improve Your XAML Skill by Replicating a Camping App UI in .NET MAUI"
published_at: "2022-10-10T11:00:05+00:00"
modified_at: "2026-01-09T14:01:28+00:00"
url: "https://www.syncfusion.com/blogs/post/improve-xaml-skill-camping-app-ui-in-dotnet-maui"
excerpt: "Howdy! As the proverb says, practice makes perfect. You can improve and become a master in designing XAML UIs if you practice a lot. In this blog, we’ll see how to replicate a camping app UI in .NET MAUI based..."
taxonomy_category:
- ".NET MAUI"
- "Desktop"
- "Development"
- "Mobile"
- "UI"
taxonomy_post_tag:
- ".NET MAUI"
- "development"
- "Mobile"
- "UI"
- "Xamarin.Forms"
---
# Improve Your XAML Skill by Replicating a Camping App UI in .NET MAUI
[Leomaris Reyes](https://www.syncfusion.com/blogs/author/lreyes)
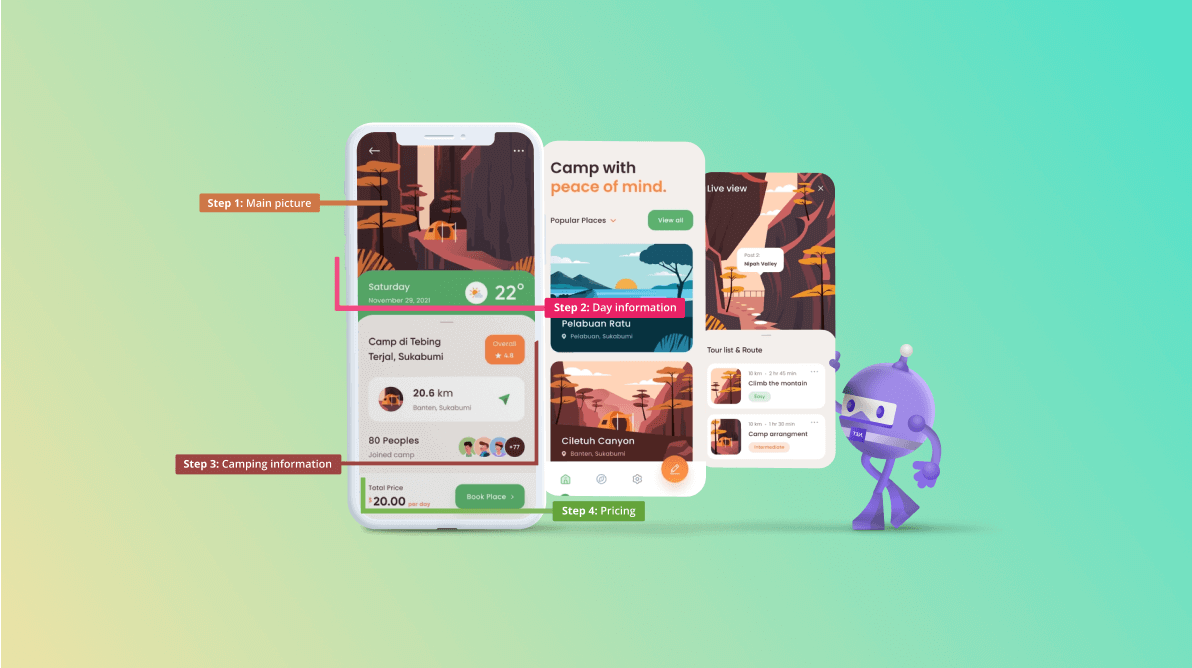
Howdy! As the proverb says, **practice makes perfect**. You can improve and become a master in designing XAML UIs if you practice a lot. In this blog, we’ll see how to replicate a camping app UI in .NET MAUI based on this [this Dribbble design](https://dribbble.com/shots/16957455-Camping-Spots-App-Design)
.
We are going to develop the UI by following the steps listed in this image.
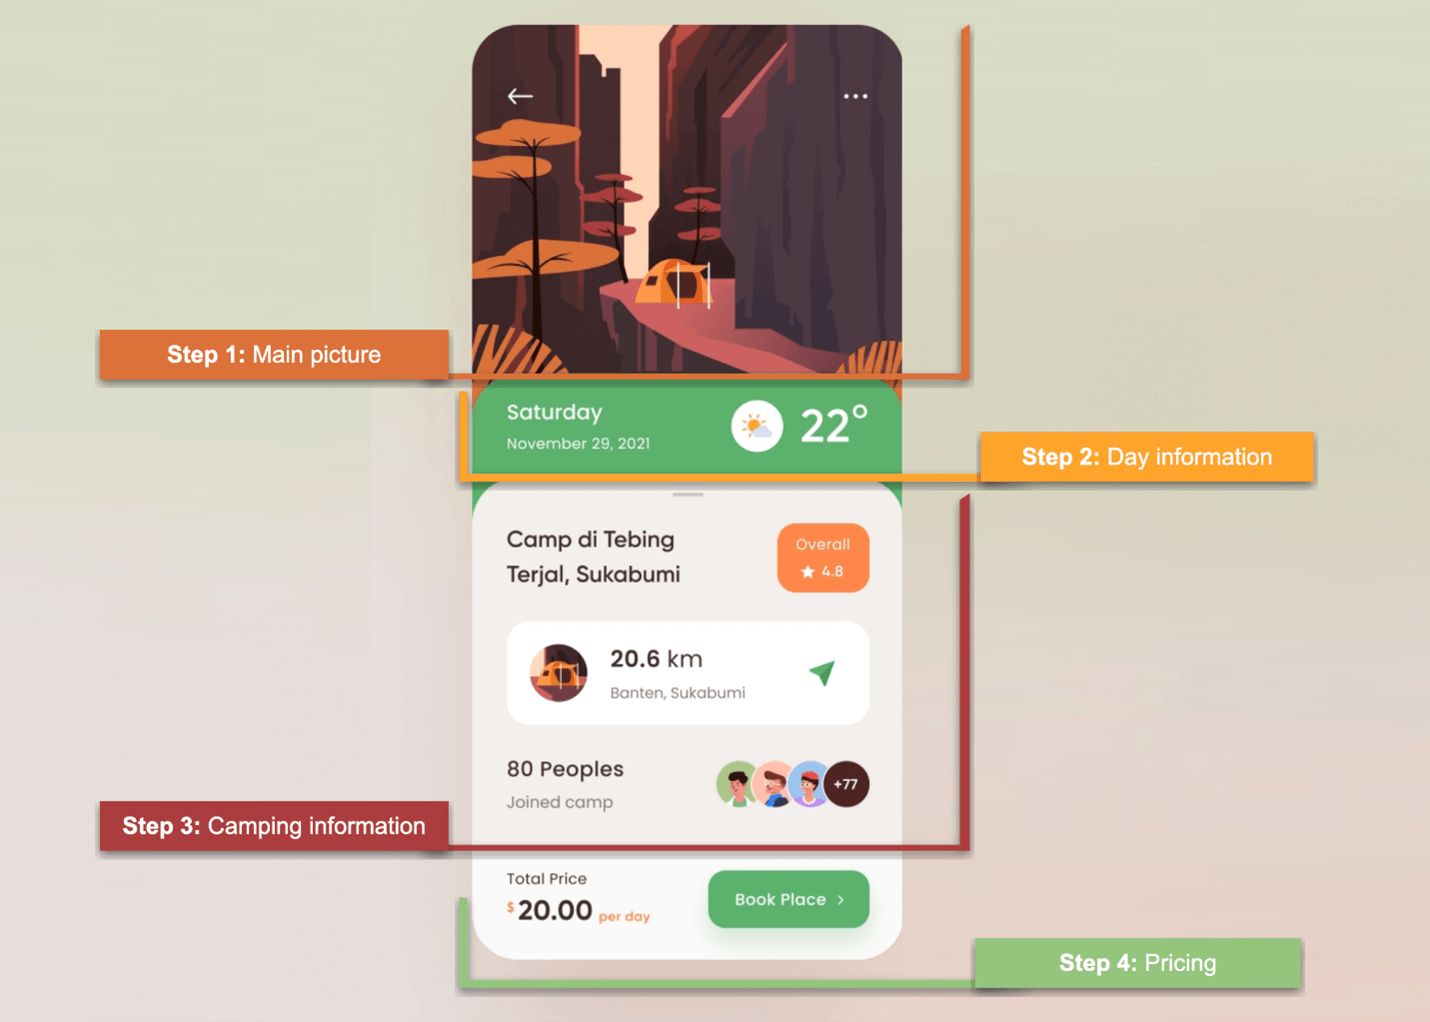
Replicating a Camping UI in .NET MAUI
Before starting, let’s highlight some important points. In the course of this blog post, we will learn to:
- Implement the Syncfusion [.NET MAUI Avatar View](https://www.syncfusion.com/maui-controls/maui-avatarview) and [ListView](https://www.syncfusion.com/maui-controls/maui-listview) controls.
- Add shadows in .NET MAUI.
- Replicate an amazing UI to continue improving our XAML skills!
Let’s code!
## Main layout
Let’s start designing the main layout of the UI.
Here, we will use a **ScrollView** to make layouts scrollable. Inside it, add a ** Grid** with four rows to organize each of the frames that are shown in the design.
Refer to the following code example.
```
```
## Step 1: Main picture
This is one of the simplest steps. Here, we only have to add the main photo to the design. Refer to the following code example.
```
```
## Step 2: Day information
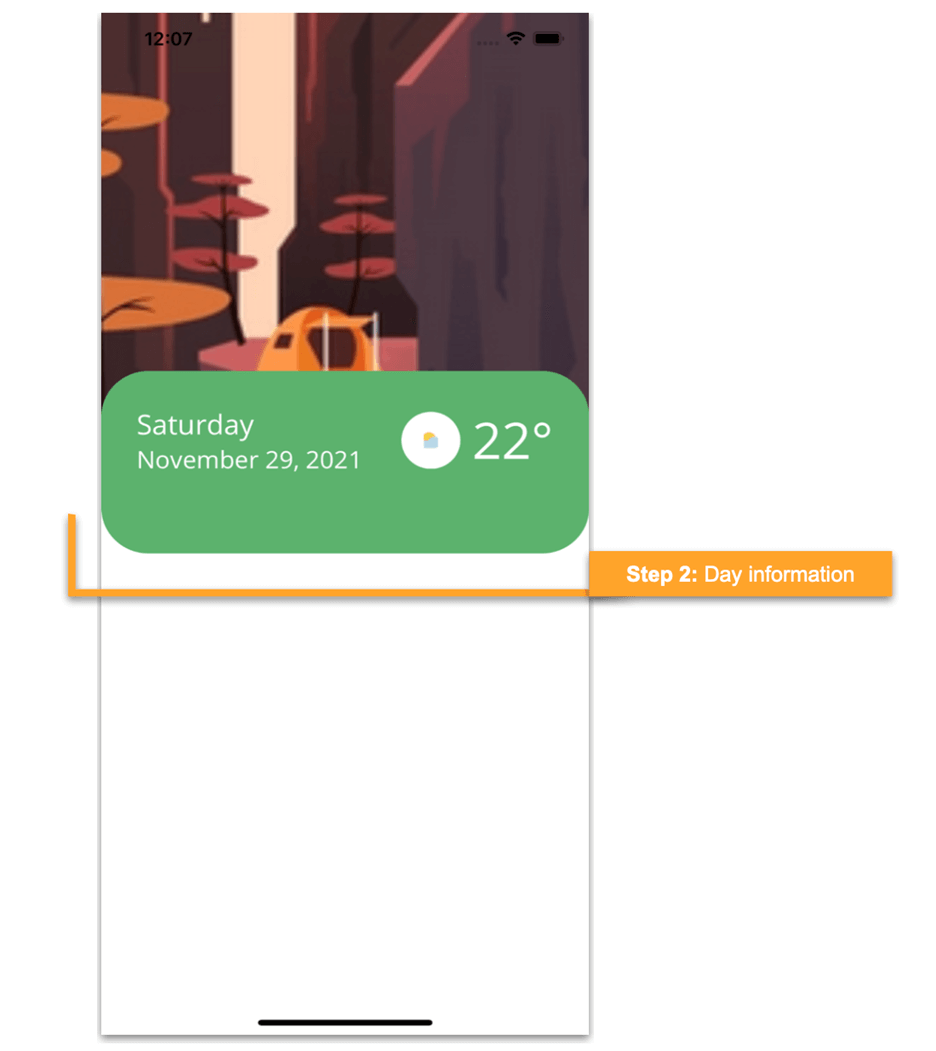To understand the code in this step clearly, we have divided this step into the following substeps:
### Step 2.a: Frame overlapping the image
First, we are going to design a frame that slightly overlaps the main image. To do so, add the frame as usual. Then, add the **Margin** property and make sure to mark the top value position as ** negative**. (For example: Margin=”0,-40,0,0″). Also, add a layout (in this case, a Grid) inside the frame to organize the required information.
Refer to the following code example.
```
```
### Step 2.b: Adding day content information
Within the previously added frame, add the following information:
- Day
- Date
- Temperature
Refer to the following XAML code example.
```
```
## Step 3: Camping information
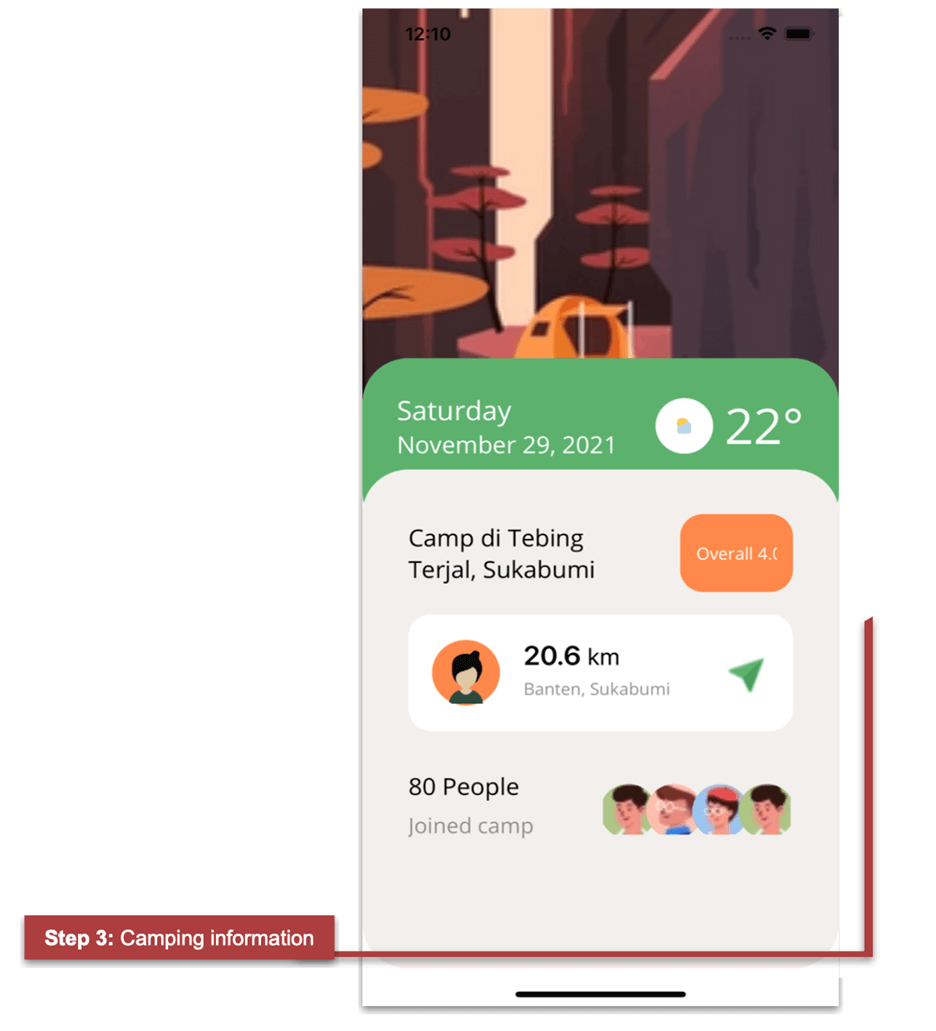An important point here is that this frame covers a large part of the remaining vertical space of the device. To achieve this, assign a proportional value (*) to this row in the Grid.
```
```
Now, let’s add the camping information contained in this block.
### Title and Overall button
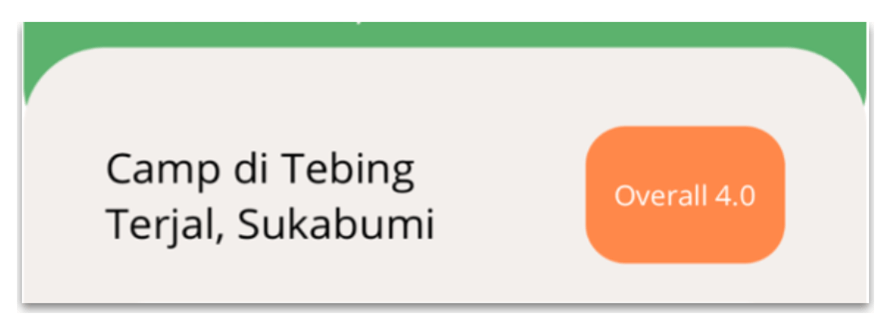Refer to the following code to render the **title** and ** Overall** button.
```
```
### Location card
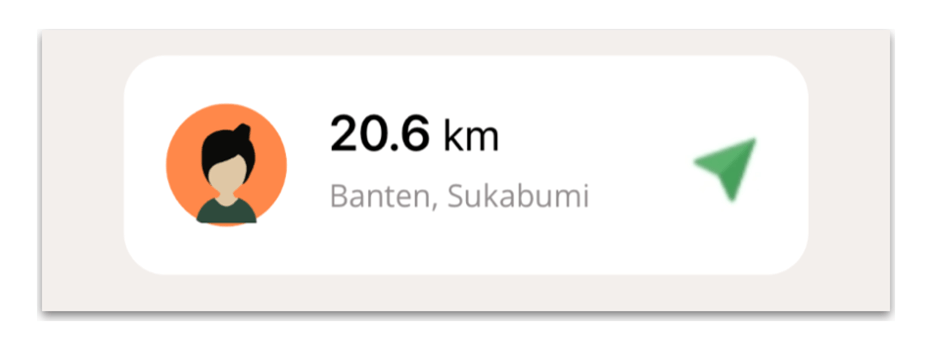To design the location card, we’ll use another frame, which contains different information such as an avatar image, distance in kilometers, location, and an arrow icon.
### Frame details
Let’s design the complete frame details by adding the following code.
```
"
```
### AvatarView
To design the avatar image, we use the [Syncfusion .NET MAUI Avatar View control](https://www.syncfusion.com/maui-controls/maui-avatarview)
. To implement it, add the [Syncfusion.Maui.Core](https://www.nuget.org/packages/Syncfusion.Maui.Core)
NuGet package.
****
### Handler registration
Now, go to your **MauiProgram.cs** file and register the handler for the ** Syncfusion Core**. To do so, go to the ** CreateMauiApp** method and just below the line **.UseMauiApp()**, add the **.ConfigureSyncfusionCore()** method.
### Add the namespace
Then, add the **Syncfusion.Maui.Core** namespace in your XAML file.
```
xmlns:sfControl="clr-namespace:Syncfusion.Maui.Core;assembly=Syncfusion.Maui.Core"
```
### Adding Syncfusion .NET MAUI AvatarView
Let’s add the Syncfusion .NET MAUI AvatarView control using the following code.
```
```
### People counter
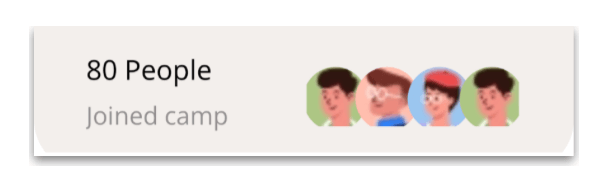In this part, we will render the information about the people who have joined the camp.
### People information
Refer to the following code to render the people’s information.
```
```
### Avatar collection
To design the Avatar View collection of the people who joined the camp, we use the [Syncfusion .NET MAUI ListView Control](https://www.syncfusion.com/maui-controls/maui-listview)
. To implement it, add the [Syncfusion.Maui.ListView](https://www.nuget.org/packages/Syncfusion.Maui.ListView/)
NuGet package.
****
### Handler registration
Now, go to your **MauiProgram.cs** file and register the handler for the Syncfusion .NET MAUI ListView. To do so, go to the ** CreateMauiApp** method and just before the line ** return builder.Build();**, add the ** builder.ConfigureSyncfusionListView();** method.
### Add the namespace
Then, add the namespace **Syncfusion.Maui.ListView** in your XAML file.
```
xmlns:syncfusion="clr-namespace:Syncfusion.Maui.ListView;assembly=Syncfusion.Maui.ListView"
```
### Adding Syncfusion .NET MAUI ListView
Refer to the following code to add the Syncfusion .NET MAUI ListView control.
```
```
To fill the ListView data, we have created examples for the [Model](https://github.com/SyncfusionExamples/camping-spot-app-ui-in-.net-maui/blob/master/CampingSpotsUI/Models/UserInfo.cs)
and [ViewModel](https://github.com/SyncfusionExamples/camping-spot-app-ui-in-.net-maui/blob/master/CampingSpotsUI/ViewModels/UserViewModel.cs)
on GitHub. Please refer to them.
**Note:** For more details about the Syncfusion .NET MAUI ListView control, refer to its [getting started documentation](https://help.syncfusion.com/maui/listview/getting-started)
.
## Step 4: Pricing
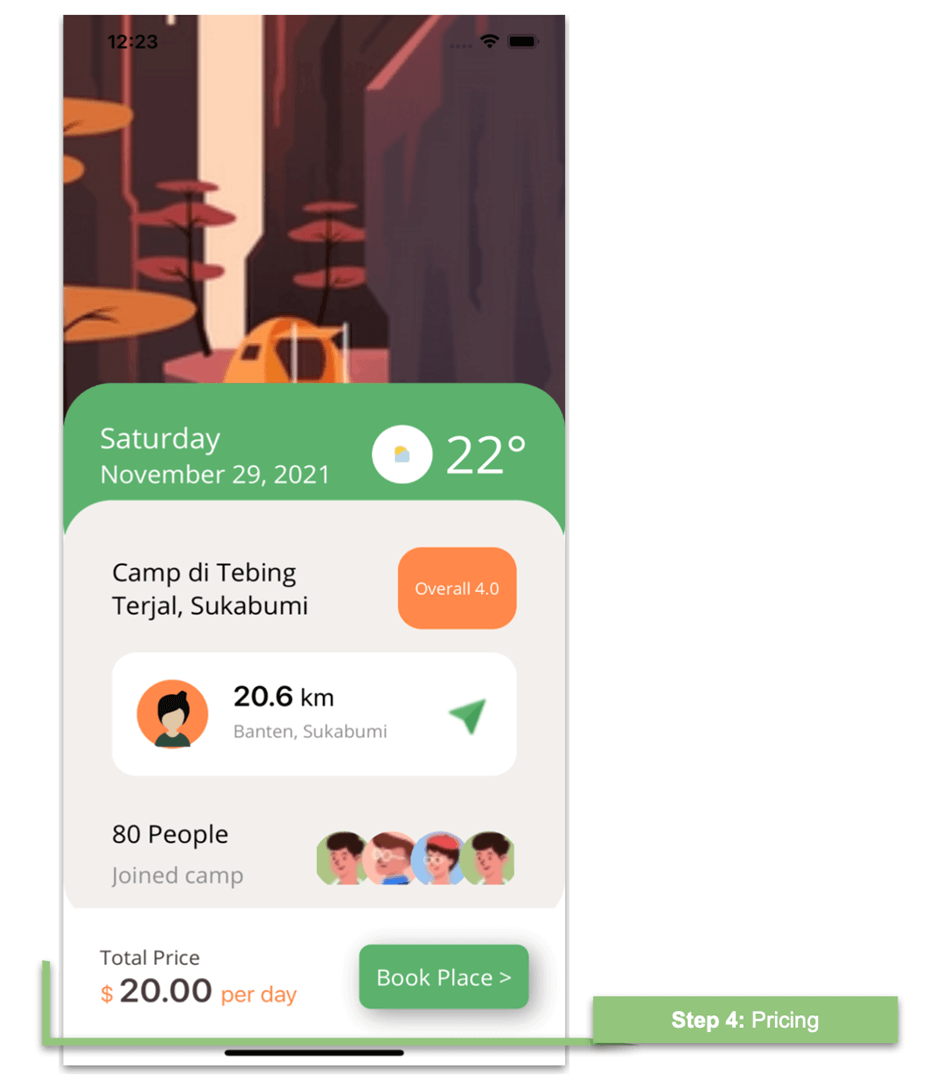Finally, add the pricing information. To do so, first, add a Grid.
```
```
### Title
Refer to the following code to render the title.
```
```
### Price
As you can see in the sample UI, we have a price label that contains text in different formats (colors, sizes, etc.). To design it, here I have used the **FormattedText** property.
In this way, in a single label, you can add text with different characteristics without having to add a separate label for each of these styles.
**Note:** For more details about the FormattedText property, refer to the [Label in .NET MAUI documentation](https://docs.microsoft.com/en-us/dotnet/maui/user-interface/controls/label)
.
```
```
### Book Place button
Let’s render the **Book Place** button and add shadow effects to it. Refer to the following code example.
```
```
**Note:** For more details, refer to the [Shadow in .NET MAUI documentation](https://docs.microsoft.com/en-us/dotnet/maui/user-interface/shadow)
.
Finally, I present you the results for both iOS and Android platforms!
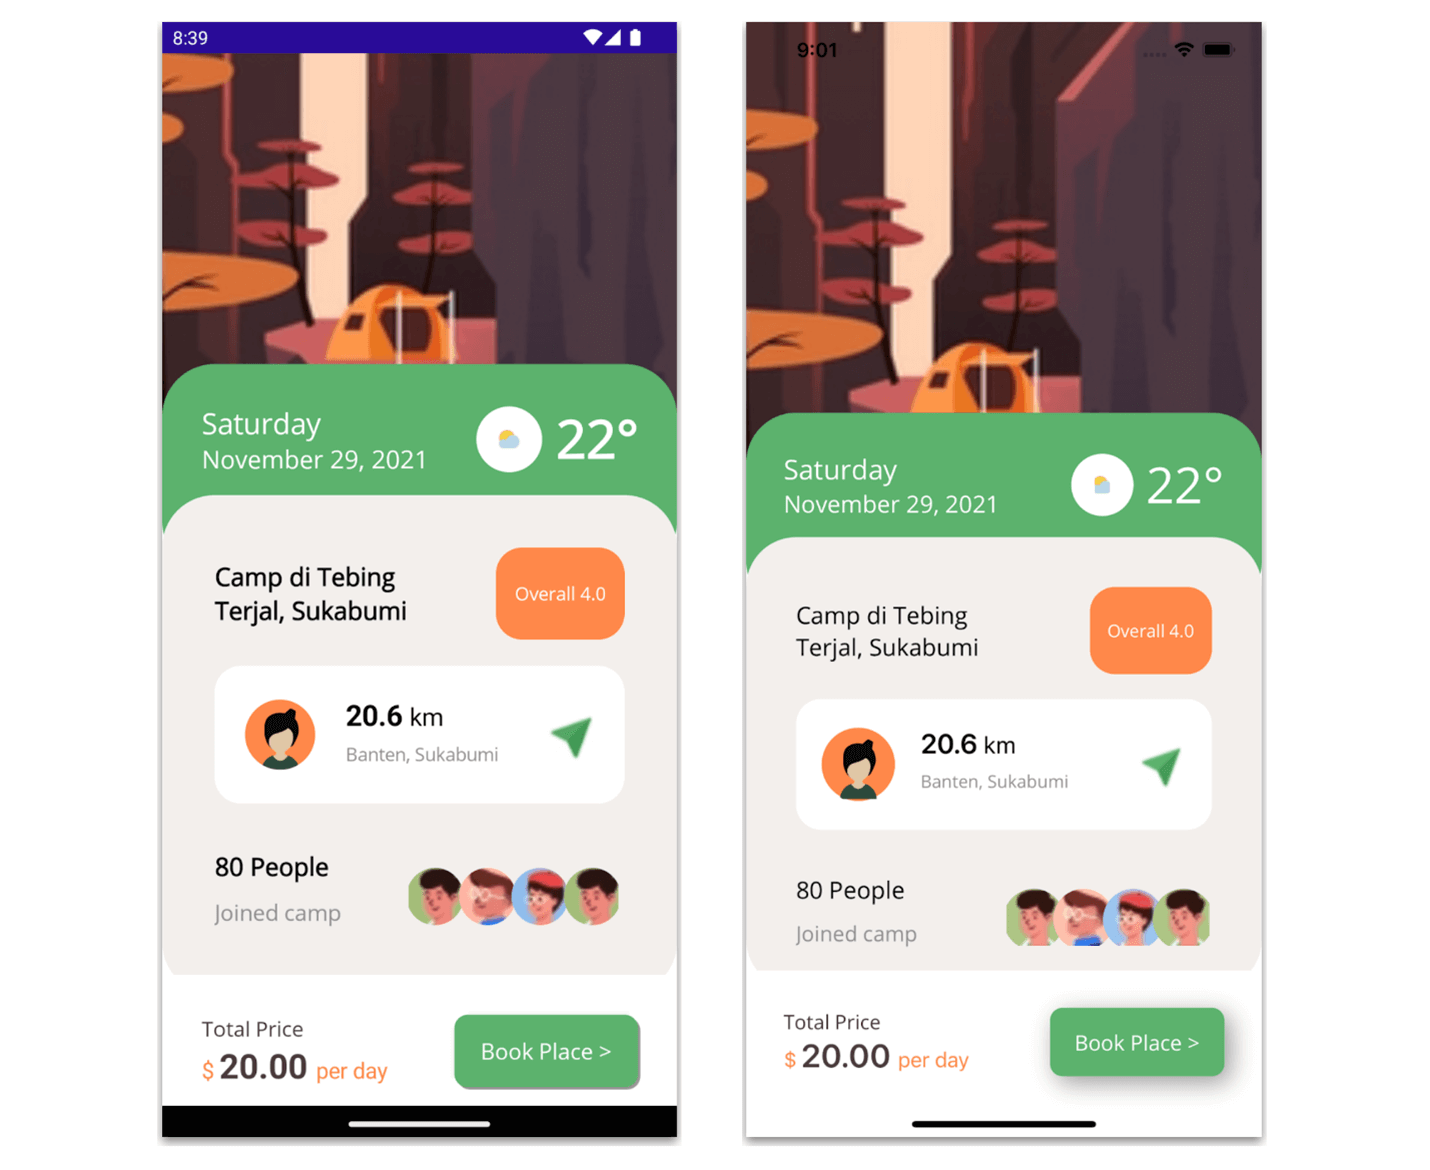
Camping App UI in .NET MAUI
## GitHub reference
To see the complete code structure of this project, refer to our [Camping UI in .NET MAUI demo on GitHub.](https://github.com/SyncfusionExamples/camping-spot-app-ui-in-.net-maui)
[https://www.syncfusion.com/downloads/maui](https://www.syncfusion.com/downloads/maui)
## Summary
Thanks for reading! In this blog, we have seen how to replicate a camping app UI using Syncfusion [.NET MAUI](https://www.syncfusion.com/maui-controls)
controls. Try out the steps here and let us know what you think!
Syncfusion [.NET MAUI](https://www.syncfusion.com/maui-controls)
controls were built from scratch using .NET MAUI, so they feel like framework controls. They are fine-tuned to work with a huge volume of data. Use them to build your cross-platform mobile and desktop apps!
For current customers, the new Essential Studio® version is available for download from the [License and Downloads](https://www.syncfusion.com/account/downloads)
page. If you are not yet a Syncfusion customer, you can always download our [free evaluation](https://www.syncfusion.com/downloads)
to see all our controls in action.
If you have questions, you can contact us through our [support forum](https://www.syncfusion.com/forums)
, [support portal](https://support.syncfusion.com/)
, or [feedback portal](https://www.syncfusion.com/feedback/xamarin-forms)
. We are always happy to assist you!
See you next time!
## Related blogs
- [Learn Performing Animation in .NET MAUI: Part 1](https://www.syncfusion.com/blogs/post/learn-performing-animation-in-net-maui-part-1.aspx)
- [Create a Shopping UI in .NET MAUI with SQLite [Webinar Show Notes]](https://www.syncfusion.com/blogs/post/create-a-shopping-ui-in-net-maui-with-sqlite-webinar-show-notes.aspx)
- [Add Busy Notifications to Your .NET MAUI Application](https://www.syncfusion.com/blogs/post/add-busy-notifications-to-your-net-maui-application.aspx)
- [What’s New in .NET MAUI: 2022 Volume 3](https://www.syncfusion.com/blogs/post/whats-new-in-net-maui-2022-volume-3.aspx)